ORC Week 6: How to make a custom Flag GarlandWelcome to A Day in the Life, where lately it has been creative and full of projects! One of those projects is the One Room Challenge, if you have been following along, thank you! We have made it to Week 6 of the challenge, and the weeks are going by too fast, am I right?! You can read more about the ORC here, and find out what all the other participants are doing! Today, with only 1 week left of the challenge, I have the Nature Boy's Bedroom installation planned for this weekend. I am hitting pause on the progress button, until I can get both the painters and my handyman over to help me. Both have been so busy over the past couple of weeks. So I guess we can all just stay in bed today...;) Unless you want to make Graphic Flag Pendant Banner with me? 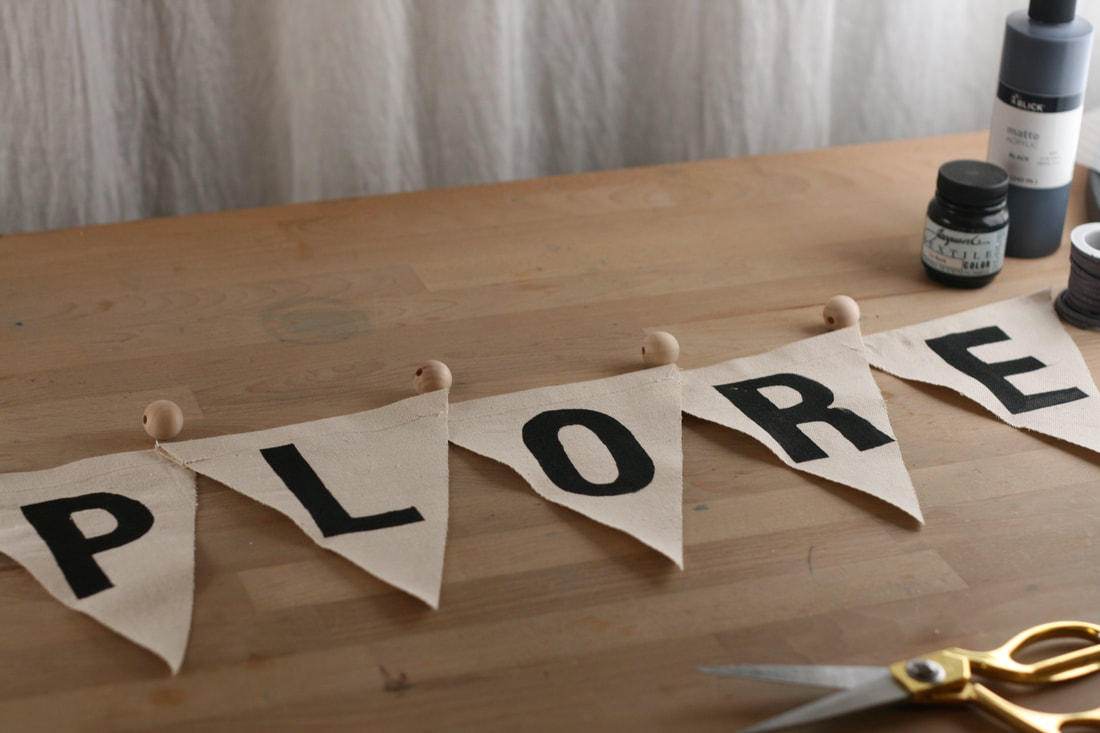 Here is a quick how-to project that I hope you will enjoy! You can use it as a guide to create a graphic flag banner for your children's space or your event. It is fairly simple project with a short list of supplies. In the spirit of adventure for Nature Boy's Bedroom, we wanted our banner to read E-X-P-L-O-R-E. Continue reading to see how to make a Graphic Flag Pendant Banner, receive the full list of supplies and see a sneak peak of the bedding we chose! Gather your Craft Banner making SuppliesI gathered all of my supplies for this project, most of which I happened to have at home:
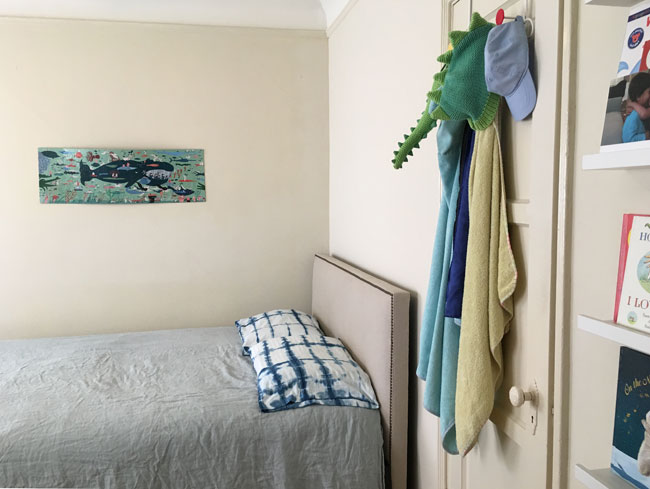
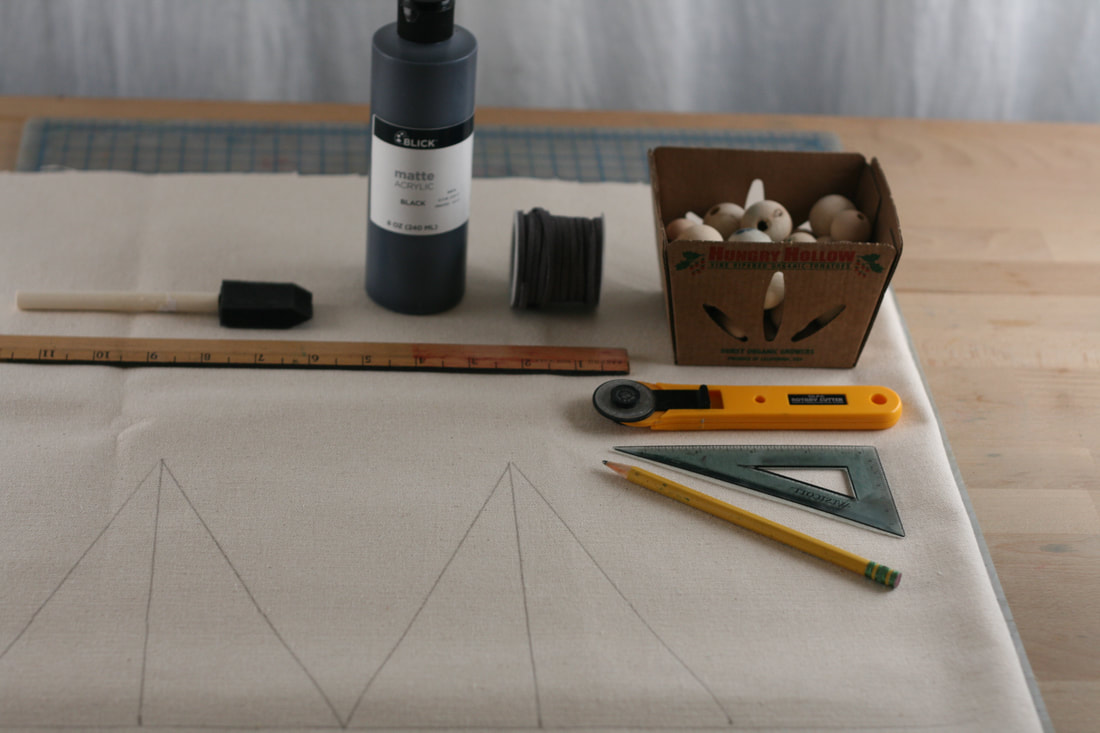 For the tall triangle pendant shape, I drew a 6" base with my ruler then a 7.5" center line, then I connected the right angle with a diagonal line. I cut out the flags using my rotary blade that I use to cut most fabrics. If you do not have a rotary blade, then I would recommend using fabric scissors, like these. I was impressed by how little the utility fabric frayed.  Then, I printed out the letters to the word E-X-P-L-O-R-E, in a Helvetica-like font. I sized them at 3.5" which I really the tallest that would fit. I would recommend going a little smaller. I copied those letters onto contact paper, which I had at home. 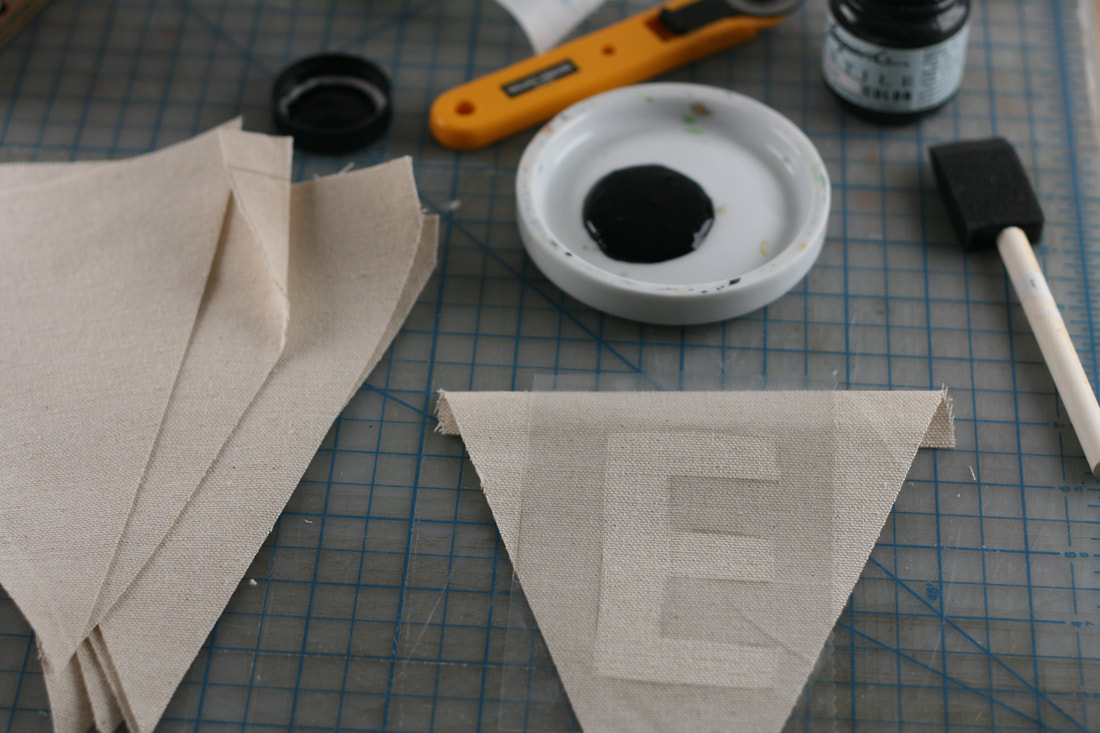 After making sure that the contact paper was really sticking down to the fabric, you will brush in the textile paint into the empty shape of the stencil. 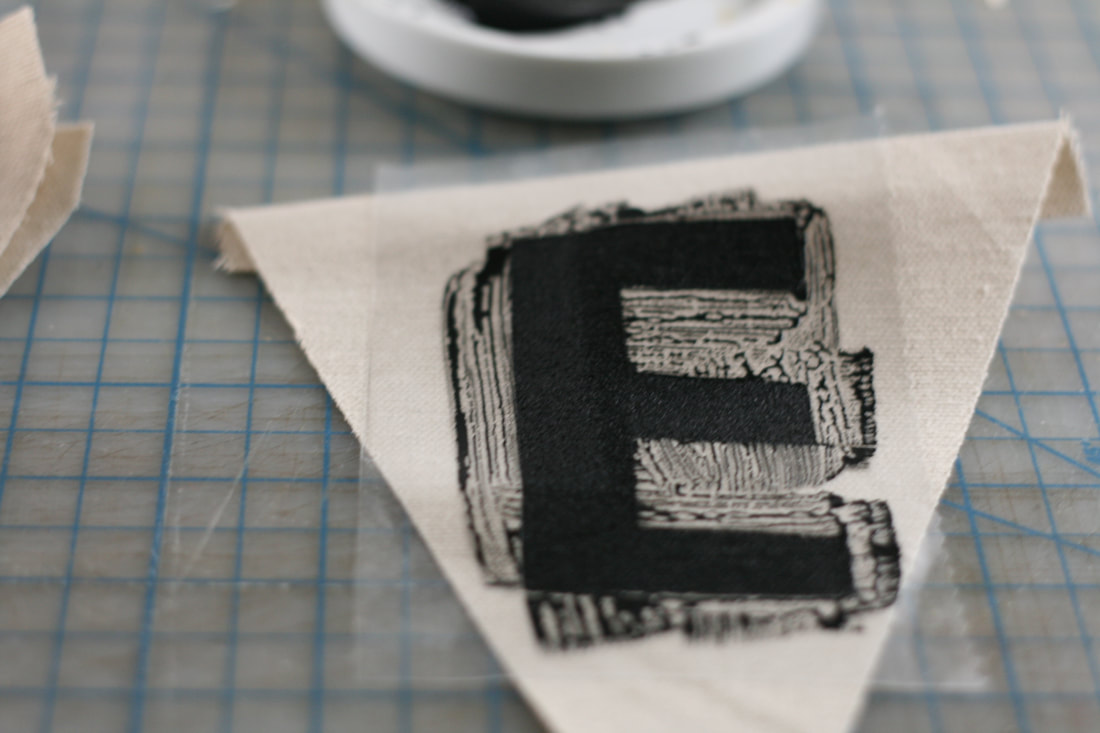 Here they are all lined up below and ready to be strung onto the line. I used a wooden bead as a spacer between each shape. I heat set the textile paint with an iron. Scroll on down to see it hanging up in the space! 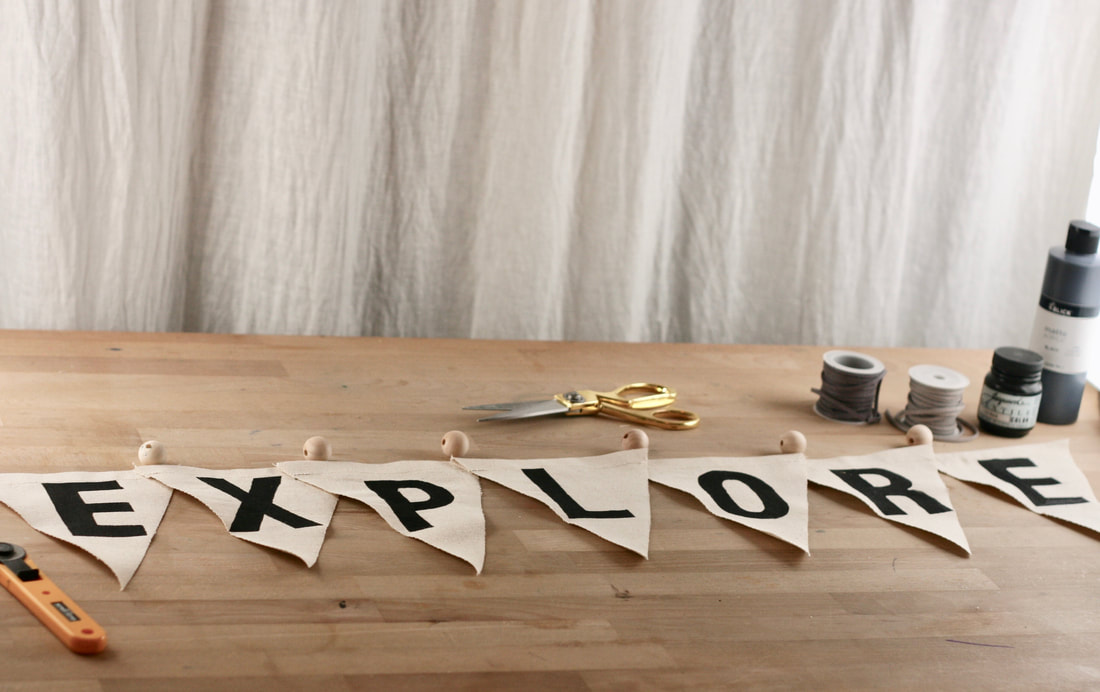 yay! I like how it looks against Dusk Blue and Owl Gray paints. Very soon, there will be nature photography layered in to the left and the right of this piece. 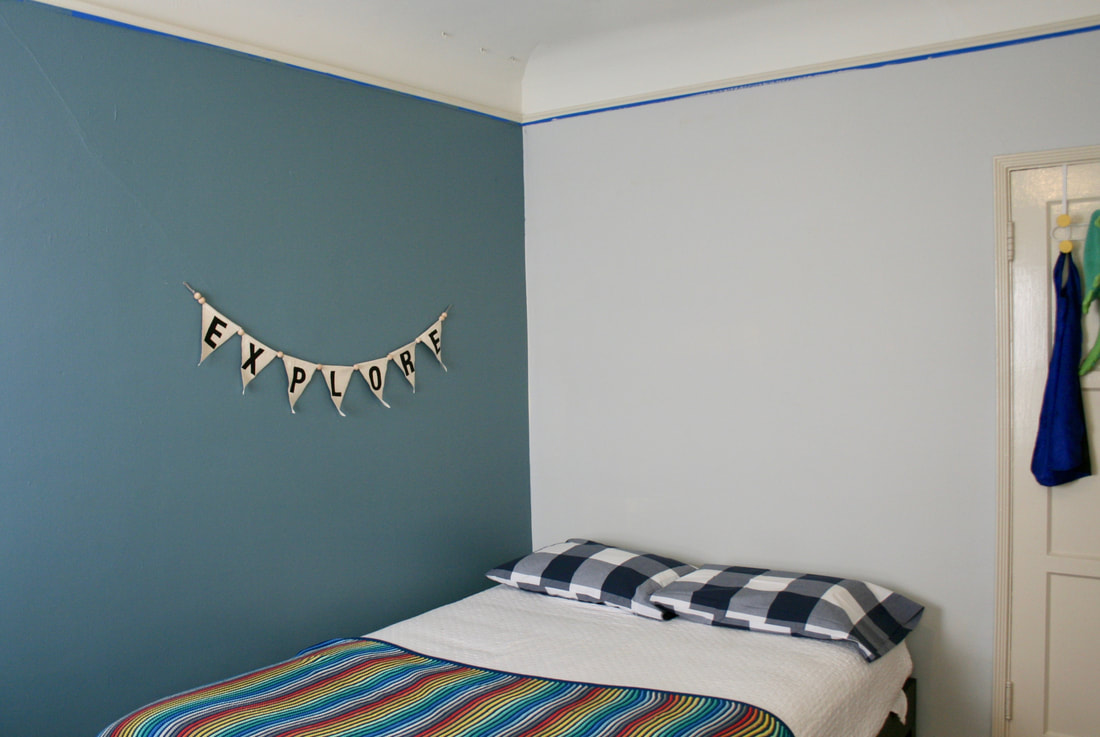 As you can see below, our rainbow blanket has arrived. I am digging the pop of colors that it is adding to the space paired with the plaid pillowcases. I ordered a pair, one for the twin daybed and one for it's trundle. We are simply placing them for now to get a better sense of how the room is going to look! With the long weekend ahead, we are all wishing that we all could just stay in bed and snuggle instead. Alas, we will be up and about finishing up this room challenge and we are in the home stretch. The best part is still to come! Be sure to follow my Instagram stories for a few peaks over this weekend. 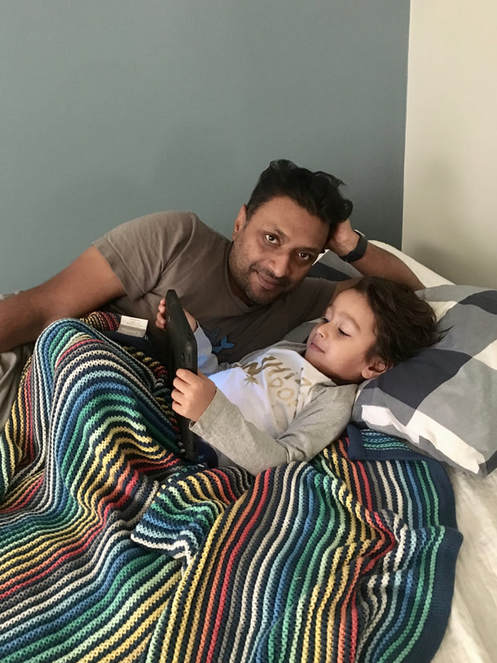 I hope you have enjoyed seeing the direction that the room is headed. At left below, is the before picture of the space, where we started 6 weeks ago, for you to compare. If you would like to see some of the previous week's posts, you can catch up on everything here: week 1/ week 2/ week 3/ week 4/ week 5  Thank you to Linda and to House Beautiful for giving me this awesome challenge to work on!
The rest will be coming together this weekend as we prepare for the big reveal.
2 Comments
Leave a Reply. |

HI, I'M HILARY.
This is where I share inspiration for creative well living & following your dreams. With a love to sustainable conscious creation. You will notice that I offer workshops that inspire you to LIVE a soul-inspired life and manifest your dreams. I hope to meet you at one of my retreats or inside one of my group programs. I truly believe in the power of community and connecting with visionary femme creatives like you! For weekly inspiration -find me on YouTube 


Categories
All
FAVORITES
Archives
September 2023

BLOG COURTESY:
All layouts on this blog are created solely for, A Day in the Life. I enjoy sharing information and love when others enjoy my ideas enough to post the links on their own sites. I simply ask that you credit photos and link back to all original posts. Any comments that are inappropriate or spam will be deleted. All other rights reserved. |


 RSS Feed