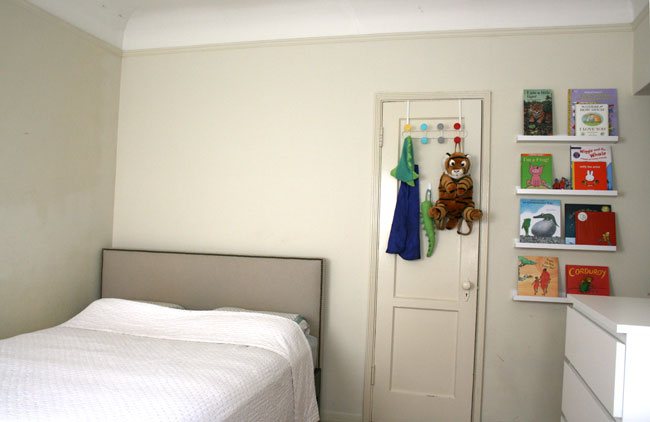
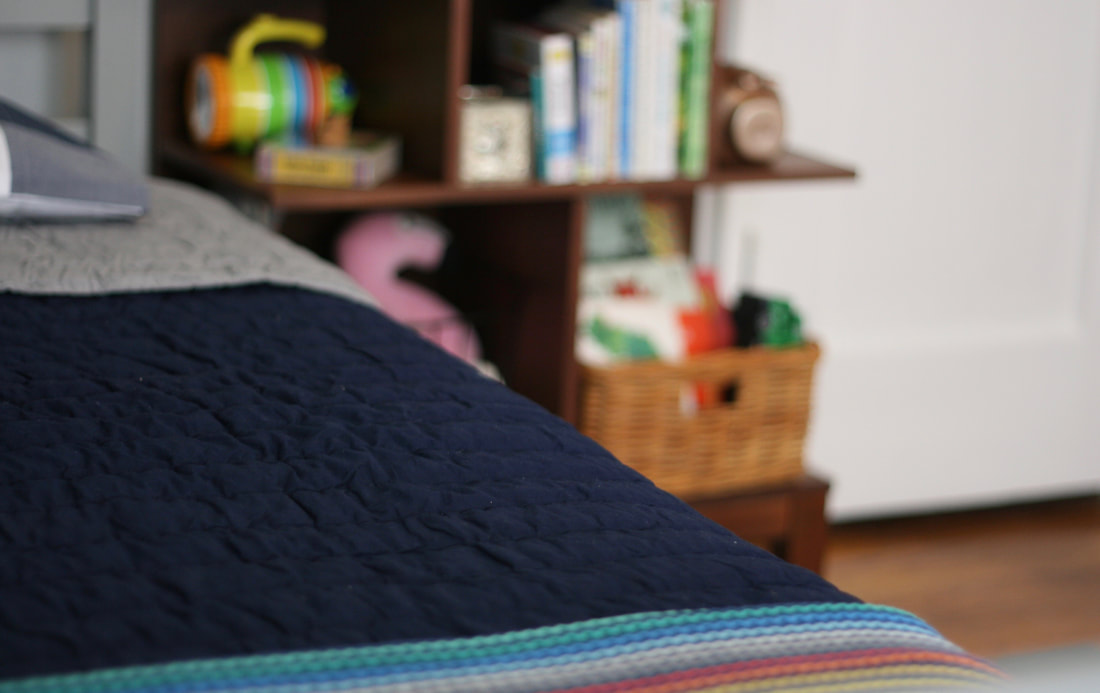
Week 7: One Room Challenge BOYS NATURE ROOM REVEALIt's finally here! Week 7 of the One Room Challenge, which means we have reached the finish line on this one and it's time for the much anticipated reveal. For this project, I am re-designing our son's nursery turned guest room, into a boy's nature inspired bedroom. You can catch up on the previous week's posts here: Inspiration/ Product Boards/ Before Photos/ Paint guide/ Painting/ Decor + Bedding Sneak Peak This how the room looked before, when we had temporarily been using it first as a nursery then as a guest room. We always planned to transform it back into our son's bedroom. My son loves the outdoors and I wanted to create a peaceful space inspired by nature. Since we currently rent in Los Angeles, I decided to change the space primarily through paint, lighting and photography. I do believe in keeping kid's spaces simple, so that their minds are uncluttered and free to explore toys and objects more deeply. I noticed that when we keep alot of toys out in the room, my son can become easily distracted. My goal was to personalize his space while keeping the room minimal. I always felt that I would finish the challenge no matter what, but I have to admit to a few hiccups along the way. I had a handyman cancel on me twice, right as the painting needed to happen, I ended up painting 2 of the walls myself! All that along with the personal launch of a textile workshop that I had been planning for months, and yet some how I made it to the end! Are you guys ready to see the final room results? because I am excited to share them along with a full list of sources at the bottom of this post!
0 Comments
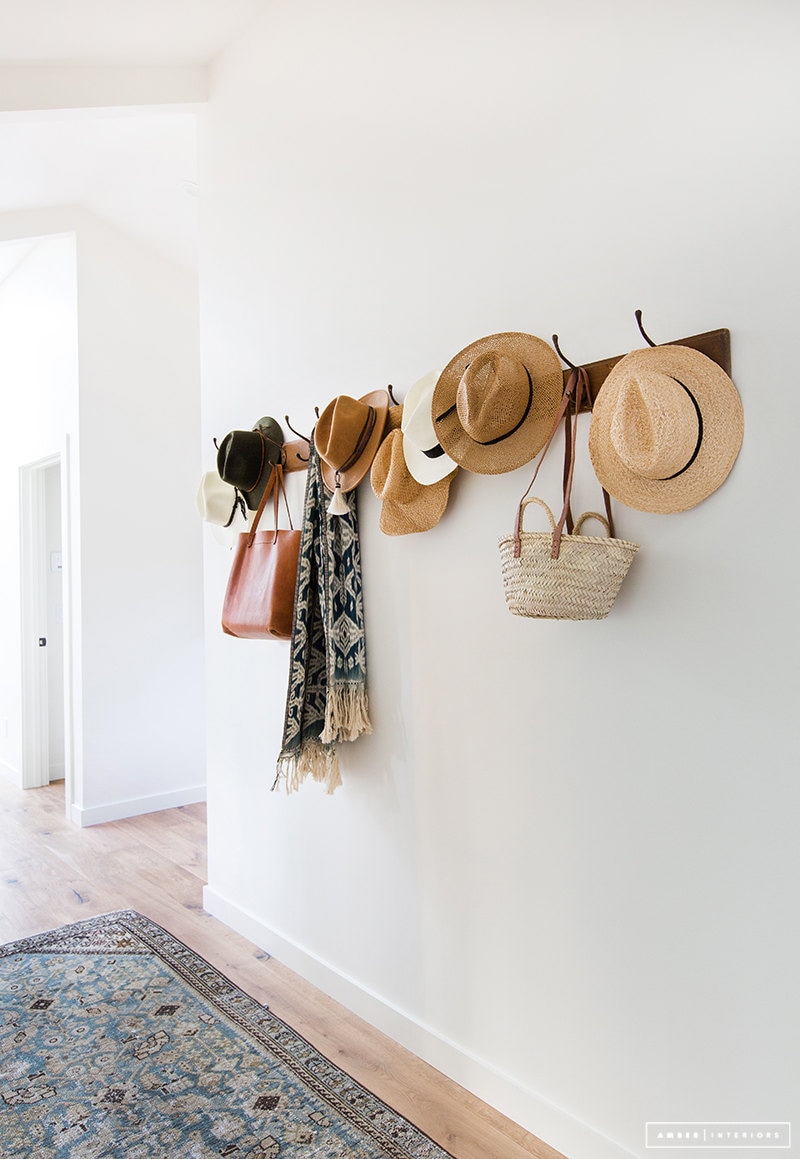
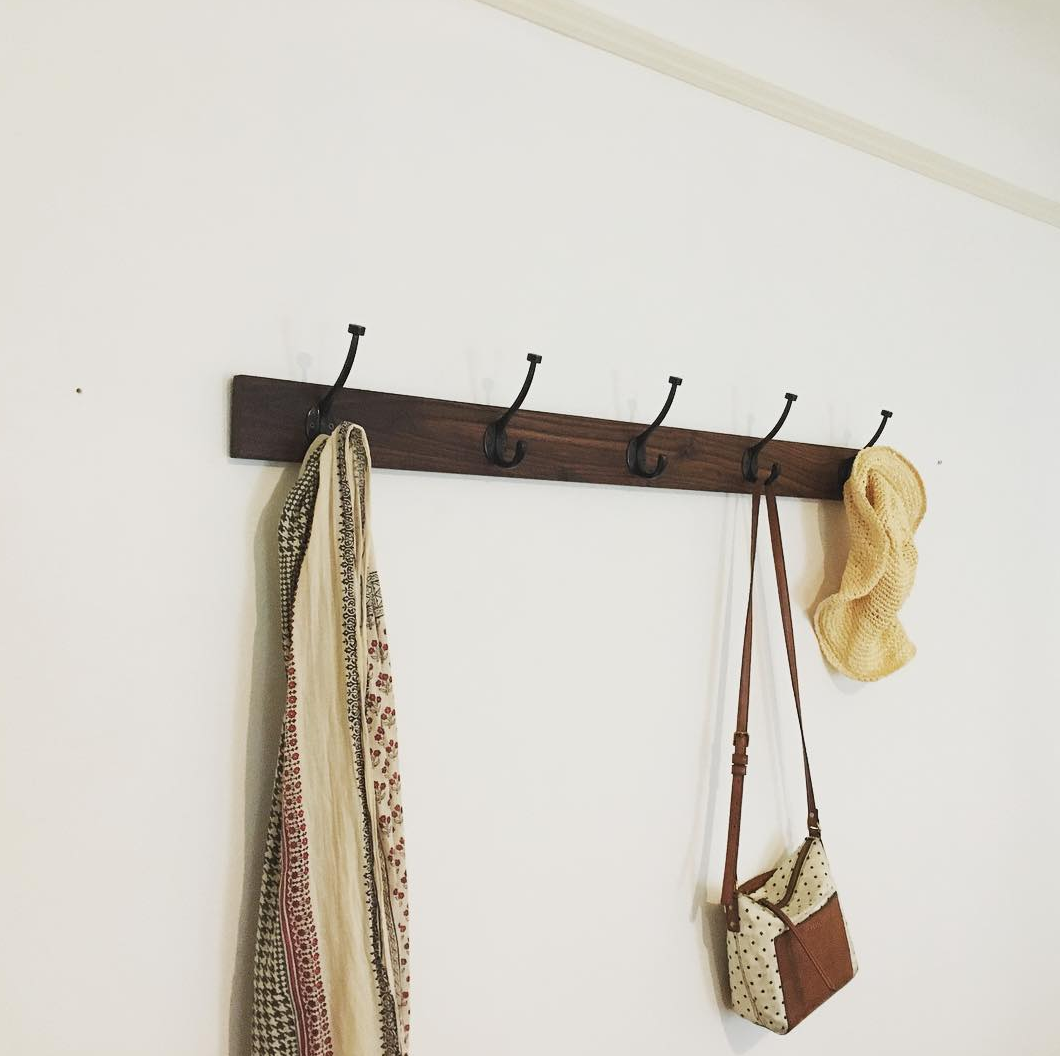
One new project that I recently finished is a Handmade Walnut Coatrack. A client sent me this beautiful photo as inspiration inquiring about a new piece for her entryway. She wanted a long coat rack to replace her existing one, with a slight ledge so small items could be stored on top as well. She liked the idea of using sturdy 5" bronze hooks that would be in a dark oil rubbed finish. I loved the inspiration photo above and how the hats and belongings added to the overall style and feeling of the entryway, which reminded me of how we used these 5 tips to declutter our entryway at the start of the year. For me, the height and structure of the hooks, complimented the long 48" rectangular shape of the rack. I love it when, a custom project leads to a new product in my shop! Currently, I plan to explore other types of hardwood such as Hickory that would pop against the darker hooks, I always admire lighter wood for a Scandinavian look. What other types of wood would you like to see this rack available in? It feels like summer is just around the corner in L. A, which means we will be spending more time outdoors and at the beach. We will have beach totes, sun hats and summer scarves that all need arranging. How about you?! What activities do you have planned this summer?
I promise to post follow-up pics of this project showing the new coat racks in Hickory hardwood, along with photos of my client's entryway, so check back in with me:) Wood Table Glue-up Repair
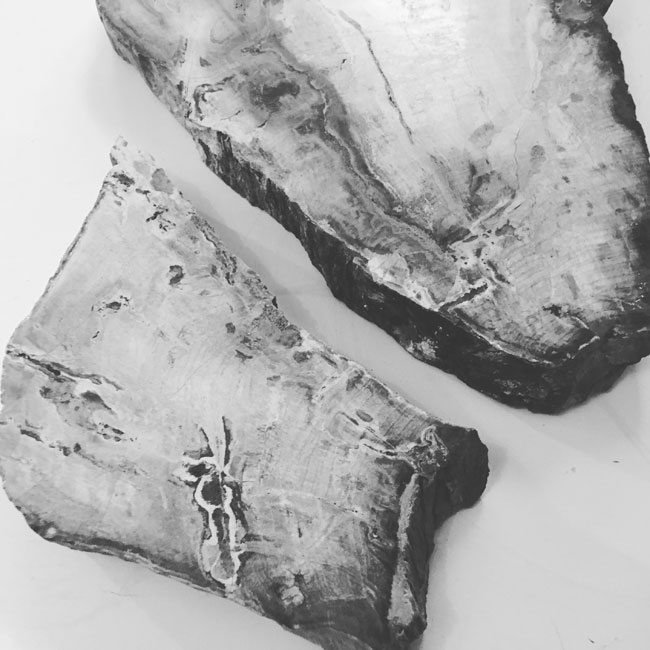
Today, I invite you to see how I repair simple slab of petrified wood in my studio. If you are interested in wood glue-ups or need to do a simple wood repair, then you can use this simple process.
This wood slab came from a high-end side table that my client purchased a few years back. When she reached out to me, I offered to repair the piece of furniture.
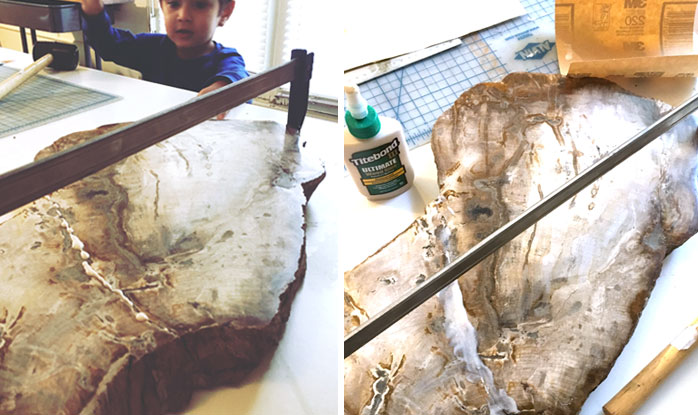
I was excited about this repair because the table was so beautiful and I felt like it could be repaired. I do occasional glue-ups when making a table top or even a large cutting board and I use a similar process to combine the two lengths of wood. In my woodworking class, I learned that wood glue dries stronger than nails. I use Titebond III for glue-ups because it is water resistant, which is perfect for both tabletops and cutting boards, anything that you want to resist moisture.
I use my 24" bar clamp a lot because most chairs and small tables fit within that size. The next size up, which comes in handy is the 36" bar clamp. I got lucky with this glue-up and was able to position the sides of the clamp on two semi-flat sections on the side of the table. I've found that it can be tricky, when glueing to natural edges and it helps if you can find 2 flat spaces on the edge which to clamp onto. After I run glue along both edges of the wood, I position the wood and tighten my clamp.
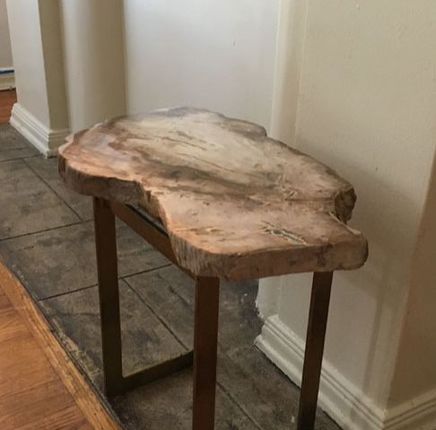
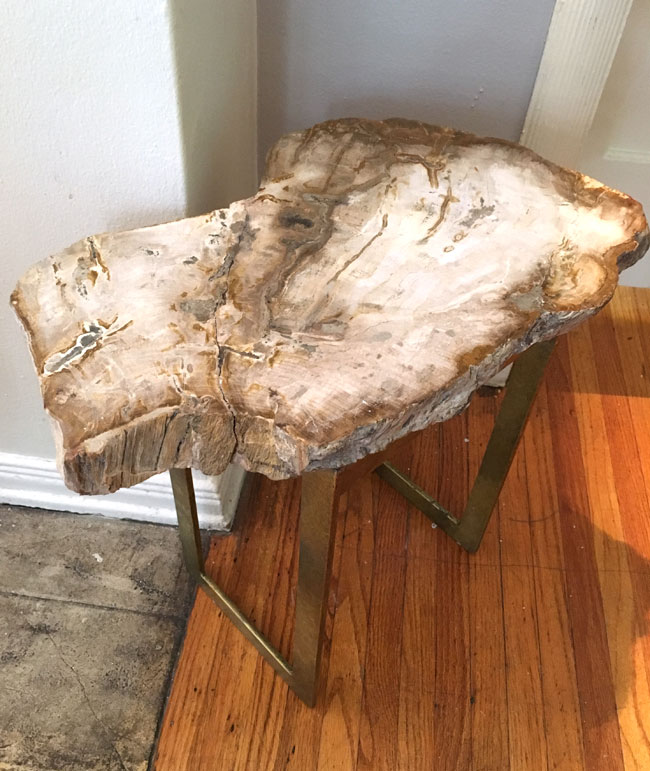
Once the wood glue had dried, I used a little bit of walnut wood putty with a putty knife to the crack to make it blend into the rest of the table. The crack is still slightly noticeable but gets lost in the style of the piece. I also sanded the wood putty filler once it was dry. Next, I used a multi-purpose adhesive to adhere the table top to the metal base. It works well and I use this product often when attached wood to metal or glass to wood. Then, I sand away the excess putty.
Below, you can see the side table after repairs. I plan to add a light coat of polyurethane to seal in the wood putty and ultimately seal the crack. I hope you have enjoyed this mid-week project and that this info will help you with any simple wood repair.
If you enjoyed learning about this simple wood repairs, then you might like to see how I refinished a vintage desk recently and you can too! To see more, repairs and tricks on wood refinishing please join my mailing list to receive monthly updates on how you can improve your home.
|
HI, I'M HILARY.
This is where I share inspiration for creative well living & following your dreams. With a love to sustainable conscious creation. You will notice that I offer workshops that inspire you to LIVE a soul-inspired life and manifest your dreams. I hope to meet you at one of my retreats or inside one of my group programs. I truly believe in the power of community and connecting with visionary femme creatives like you! For weekly inspiration -find me on YouTube Categories
All
FAVORITES
Archives
September 2023
BLOG COURTESY:
All layouts on this blog are created solely for, A Day in the Life. I enjoy sharing information and love when others enjoy my ideas enough to post the links on their own sites. I simply ask that you credit photos and link back to all original posts. Any comments that are inappropriate or spam will be deleted. All other rights reserved. |












 RSS Feed
