Design Dye Workshop with Madder and CutchLast weekend, we explored Cutch and Madder Natural Dye in a custom workshop created for the California lifestyle brand Jenni Kayne. One thing, that appeals to me about the brand is the beautiful aesthetic and soft natural fibers like cotton and wool. Both of which dye readily with natural dyes. The artist in me always enjoy a collaboration and challenge to create some thing truly unique. For this workshop, we decided to hand-dye 100% cotton bandanas inspired the JK Summer Fall palette Blush and Canyon. For this, we began with a layer of avocado as dye, then we over-dyed with Cutch and Madder in combination to achieve the Canyon color-way shown in the pic at left. As a dyer with a background in painting, it was fun to play and experiment with what combinations could help us to accomplish something close to that palette. The idea is that the bandanas could compliment other colors in the collection. There are plenty of neutrals and with natural dye, we dive into the world of plant color. For orange/reds we used madder and to deepen it and add brown we used Cutch. The madder, we used Rubia Cordifolia, a plant that has been cultivated as dye for centuries. The color comes from the root of the plant once it has been ground up. Cutch comes from the resin of the acacia tree. The unique part is that participants in the workshop could play with the balance of colors to achieve the desired results and balance the colors more red or more rust, hence the name: Design Dye workshop. 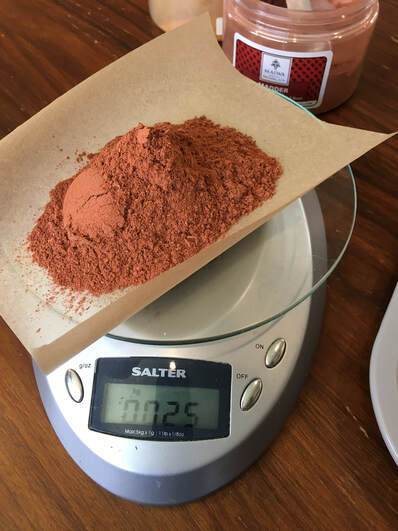 Because Natural Dyeing is a truly an art that takes lots of practice. I decided for this workshop to send out the materials in a kit that was pre-measured in advance. I needed to be sure that the weight of the fiber estimated at 200 grams max for those who wished to up-cycle or dye a new t-shirt along with the bandana.  Grab your Design Dye Kit : while supplies last!The Design Dye kit included:
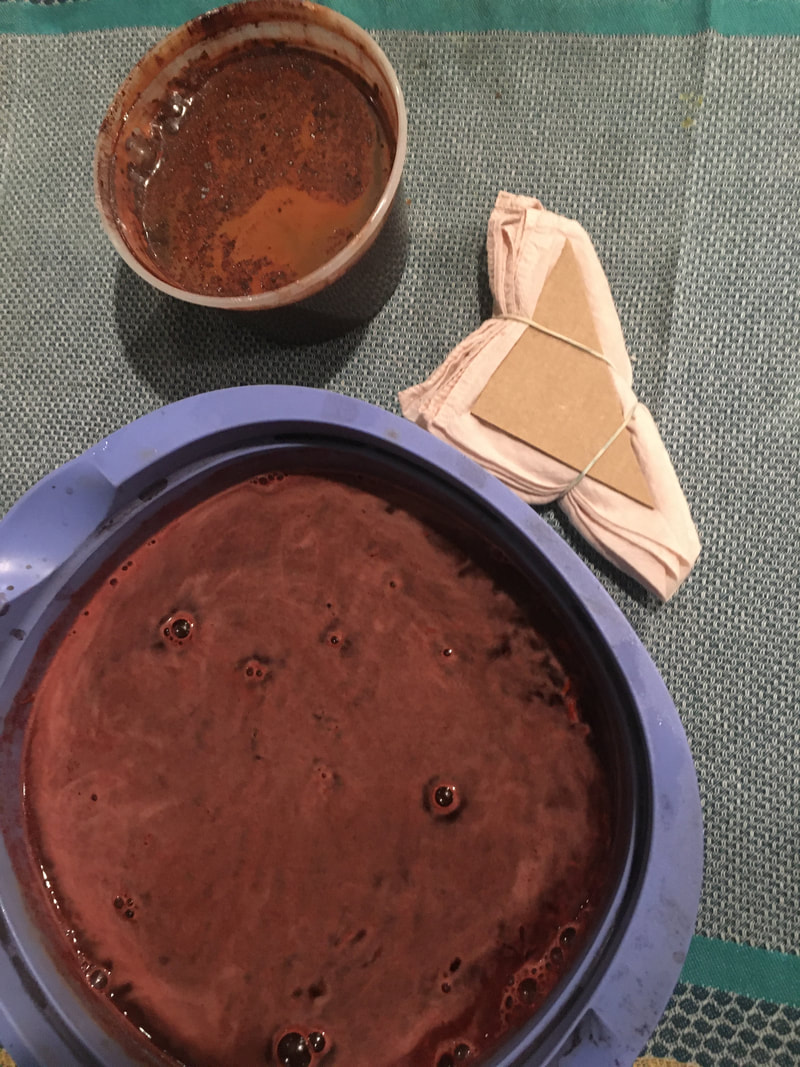
 Although, I prepared my first bandana by under-dyeing with avocado (thereby adding tannin) and over-dyeing with 10 grams Cutch and 10 grams madder combined in a steel dye pot. Once the fiber was in- I kept the heat low for about 30 minutes. 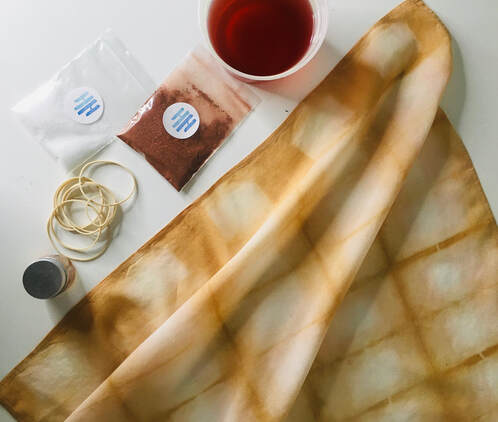 Want to explore Madder root? Join the new course!I had an equally effective result by letting the dye-stuff open up in containers of very warm water and dyeing an additional piece. Madder is shown soaking in the large blue bowl, while cutch is in a smaller container up top. For this, I referenced Jenny Dean's book, Wild Color and followed instructions for similar to cold water dyeing. As you can see the triangle to the right has been under-dyed using avocado. Here is a side by side of the pieces, with the one to the right being dyed in the steel pot with both colors at once, whereas the one on the left was first soaked in madder then in cutch. This worked well because many new to natural dyeing might not have a steel pot. Last but not, least I did a piece that featured the leftover madder bath and dipped the end of the piece separately in Cutch. The bottom edge became extremely dark as I walked away from the dye pot and left it simmering for an hour. 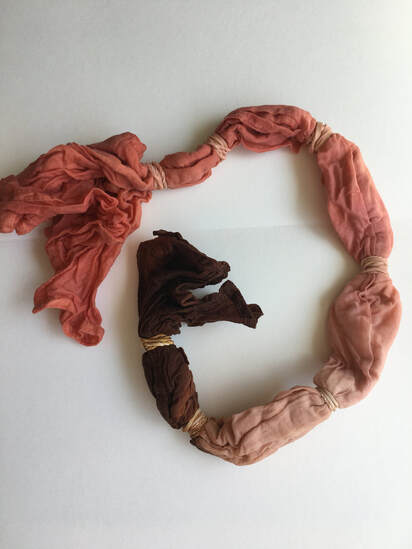 For this one, I say that I was channeling Georgia O'Keefe as she is one of my favorite painters and the result reminds me a bit of Southwestern Art and her paintings of canyons. 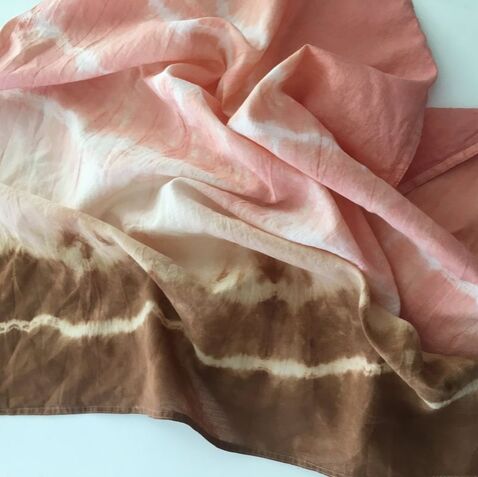 I personally love a bandanna because it accessorizes nicely! Check out the lovely color that Jenn, one of our workshop guests got on her tee shirt to the left. 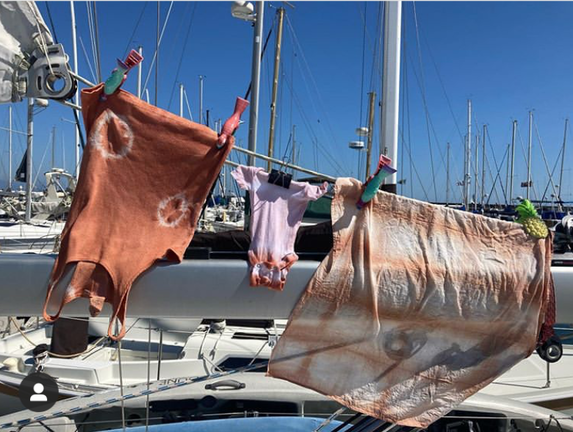 I hope you are inspired by the colors of avocado, cutch and madder root in combination. Are you looking for an opportunity to learn the fundamentals of natural dyeing in a relaxed setting with guided lessons? Find more info on my brand new course Intro to Natural Dyes: Primary, which includes madder root. 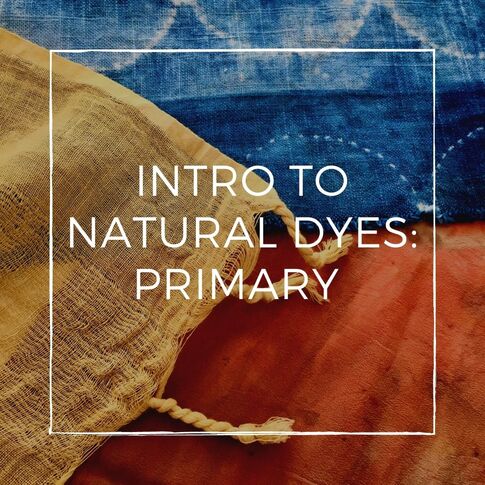 Want to accomplish a weekend project that uses food waste as "dye"? Find out how to use food waste to Dye with Avocado to form a base layer here.
0 Comments
inTERVIEW WITH LINDSEY FOUTS OF LAST CHANCE TEXTILESHow did you get started working with the medium of wax batik? It was actually a candle making project that led me to batik. I made beeswax candles as Christmas presents one year, and we had some left over wax. I found the wax medium so satisfying to work with, I decided to explore what else could be done with it. I was already working with fabric dyeing and painting around that time so it just made sense to experiment by incorporating the leftover wax into my process. What kind of designs inspire you the most? I’m inspired by textile designs from other mediums, like traditional quilting patterns, for example. I start thinking about how they could be put through the lens of batik. The batik adds so much organic texture, it is exciting to see how even very simple patterns can be transformed. 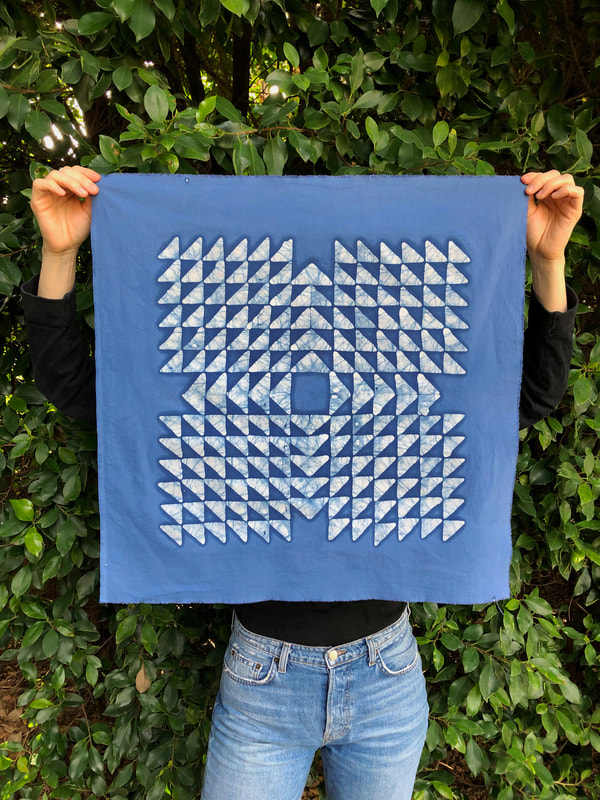 How do you create all of your designs? Once you have penciled in a design on white fabric, you can begin applying hot melted wax to the surface. (We'll explore several application tools and techniques in the class.) Next, the entire waxed piece is submerged into a dye bath. The areas that have wax will remain white and everything else will be dyed- this is when you start to see the design come to life. The most exciting stage comes at the very end; it isn't until the wax is completely removed from the fabric that you can see the final effect and appreciate all the sparkling details. What are the most fun applications for batik? Once you know the basics, what can you do with it? So many possibilities, but I’ll just list a few: Batik is a great way to breath life back into old clothing or fabrics. The residual wax left in the fabric creates beautiful glow when used as a window or lamp treatment. It can be a fun project to share with children as the tactile process is a fun way to learn the concept of working in resist. Finally, as a fine-art medium- batik has a lot of possibilities- for example you can choose to leave some wax in the cloth to create a malleable material for sculpture. What exciting discoveries have you seen unfold during your batik workshops? The wax medium is very responsive to an individual's hand and the application can be manipulated in countless ways. Because of these unique properties, I have never seen two people's batiks look the same, even though we are all using the same set of tools! It is exciting to see how many different results and styles are revealed at the end of class.  I hope you enjoyed this brief interview with Lindsey. I can't wait to learn new wax resist techniques from her in just a few short weeks, maybe even up-cycle a few pieces of clothing with that new knowledge. I have been very into, creating a custom wardrobe these days, and workshops like this, only serve to further inspire me. You can follow more of her work @lastchancetextiles. Be sure to stay in the loop about workshops and other textile related info my signing up to receive monthly updates below!
Indigo, avocado and Marigold Dyes
That's a wrap on our Natural Dye and Embroidery workshop, marking the end of our Summer Workshop Season. Throughout the course of the summer, I met many people and together we explored many things, from Botanical prints, Aromatherapy, Artisanal Bandhani, to Natural Dye and embroidery. It was fun to step outside of my Indigo Shibori routine, while still mixing in a few techniques in this last workshop.
We started out in the dye garden by applying various Shibori techniques to 11" pieces of natural fiber, i.e. vintage cotton, linen, canvas, and muslin. Everyone picked something that inspired them. Some even chose to use 2 different types of fabric. Each guest received 2 pre-cut fabric squares to dip into a dye bath of their choosing! We used 3 of my all time favorite natural dye colors: indigo, avocado and marigold and a collection of my accumulated Shibori tools and materials. 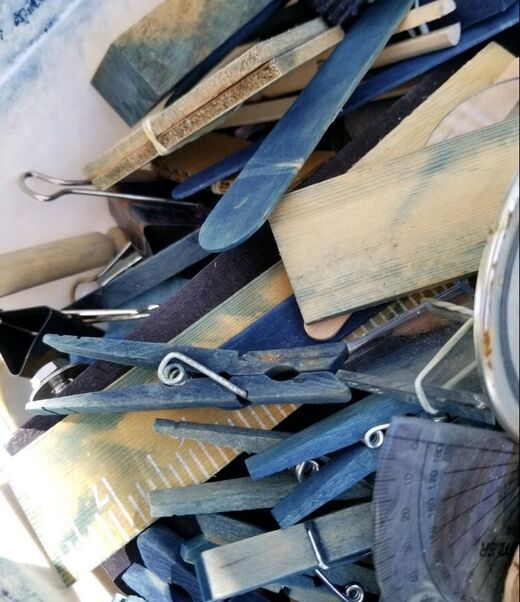
all photos by Sara Cohen unless otherwise noted.
Keep on reading to see the stunning from our super creative group of participants, see the demo by fiber artist, Lori Zimmerman, who co-instructed this workshop.
|

HI, I'M HILARY.
This is where I share inspiration for creative well living & following your dreams. With a love to sustainable conscious creation. You will notice that I offer workshops that inspire you to LIVE a soul-inspired life and manifest your dreams. I hope to meet you at one of my retreats or inside one of my group programs. I truly believe in the power of community and connecting with visionary femme creatives like you! For weekly inspiration -find me on YouTube 


Categories
All
FAVORITES
Archives
September 2023

BLOG COURTESY:
All layouts on this blog are created solely for, A Day in the Life. I enjoy sharing information and love when others enjoy my ideas enough to post the links on their own sites. I simply ask that you credit photos and link back to all original posts. Any comments that are inappropriate or spam will be deleted. All other rights reserved. |


 RSS Feed