Main Bath Midcentury Shower & mosaic Tile DesignWeek 4 has been exciting and there has been some progress! Also, disclaimer: All the photos that you are about to see look totally 80s due to the purple drywall and the hunter green shower/sealant being used inside the shower. This is according to my contractor a new technique that is easier than hot mopping. The effects are stunning;)
This week's journal is a smorgasbord of photos that reveal some tiling progress since Week 3. You might remember that we included a hall closet into the bath and we are now converting it to a 36" x 36" shower, to open it up a bit, we created a pony wall where a half sheet of glass will sit dividing the tub and the shower space. So scroll on down and enjoy! At the end perhaps you can help me to answer a burning question!
0 Comments
Have you ever thought about hosting an experience, workshop or activity? I began hosting experiences through Airbnb this year as a way to spread the word about my Natural Dye Workshops and also connect to a wider audience. To get started hosting through Airbnb, you need to apply. Here, I will break down the steps that I took to apply, so that you can bring your unique experience to the community. One thing that I liked about being an experience host was that many locals and travelers attended my event, which gave my teachings a global reach!
Before offering my workshop through Airbnb I was inspired to create a series of workshops called Creative Sundays to offer an array of professionals, creatives and parents an opportunity to connect while exploring a craft or a skill with their hands. As a parent, I longed for an outlet to connect with new people, energy and creativity beyond my day job. My Creative Sundays, series of workshops has helped me to grow professionally, explore new dye techniques, and hone my skills in natural dyeing so I feel comfortable with teaching! Which brings us to our first consideration, what area of expertise are you ready to share with a group? Read on down to find out more, and use this link to get started hosting your own event with Airbnb. areas of Expertise
photo via Unsplash
In what area or subject do you currently have a wealth of experience or knowledge? This could relate to a sport or a hobby. All sorts of things come to mind: are you an avid hiker, photographer or maker of some sort? Do you know a lot about the architecture or history of your particular city? My background is in fine art, textiles, and interiors, so a natural dye class was right up my alley!
Join our Indigo Natural Dye + Aromatherapy Workshop!
In order to become an experience host, you will need to get approved by Airbnb.
You will want to consider what makes you an expert in your field before applying to host. For me, I own my handmade textile business, and I have taught fine-art for over 15 years. I felt comfortable teaching a group of artists. CHoose the Perfect location
Before I began hosting through Airbnb, I ran my first Creative Sundays workshops at my apartment. The apartment was a good place to start, I organized my art studio and I had professional photos taken and invited all of my closest creatives and friends to partake while I tweaked the first workshop! Another time, I rented out a light and bright room at a Beverly Hills community center- which had long rows of tables, a sink, and an outdoor space. You will want to consider your needs before you determine the place, do you need access to outdoors, water or electricity? Perhaps location is decided by the activity. For example, a site-seeing activity would need a specific meeting place.
To further grow and collaborate I partnered with a business and a vineyard to offer private indigo workshops! In this way, I was able to connect with a new people and groups! This year, we purchased a home with the perfect outdoor space and garden- then I new the garden would be the perfect place to host my Airbnb events. One thing to know is that when you apply, you need to put down an exact address where your experience will be held. 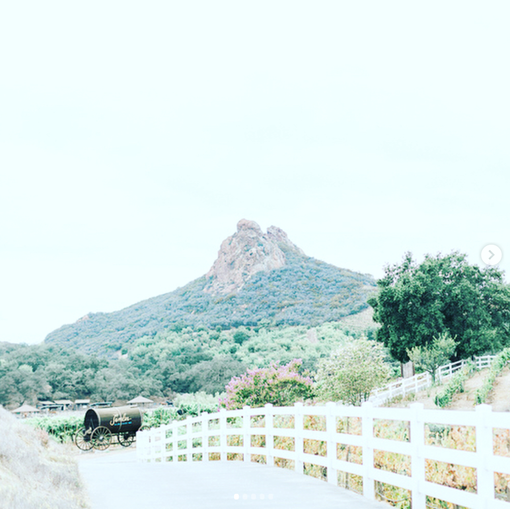
photo via Saddlerock Gardens
Gather the Perfect event photos
Also, I recently read that a good photo will sell a workshop, whereas a bad image may actually deter participants from sign-ing up. When I started hosting these specific workshops about a year and a half ago, each time I made sure to take some pics. Especially if I offered a new location in the class. Often, my participants click and share an amazing photo or two and I use their photos (with permission) So be sure to pick out some of your best photos!
get it your date on the Calendar
For me, it's all about getting those dates on the calendar. I often do planning sessions 2-3 months in advance. I recommend that you publish your event at least one month beforehand. This allows allows people to browse, plan, and reach out with any questions in advance. Plus, if they are traveling to your city, then they can plan out a few fun activities such as your experience. Additionally, I got many last minute sign-ups prior to the day of the event.
be authentic to set yourself apart
My last tidbit of advice, is to be YOU! Think about what makes your experience unique and why people might enjoy it? I think that by being authentic, we naturally attract in the right participants and people to our experience. If you would like to see a bit more about what I mean, please feel free to visit my upcoming Indigo Horizons and Aromatherapy workshop that I co-host with Certified Aromatherapist Flin K. Grant. On Airbnb, there is a wealth of info and you can read through our experience description to get a feel for how we approach it. I hope to meet you at one of my workshops!
Lastly, please share your experiences and experience ideas with me. I would love to hear them! One way, that I awoke my inspiration, when I started this blog was through attending a woodworking workshop in Downtown L.A. That class really ignited my creativity and passion for design and craftsmanship all over again. You may be interested in reading about some of the other workshops that I offer along with one that I attended too: 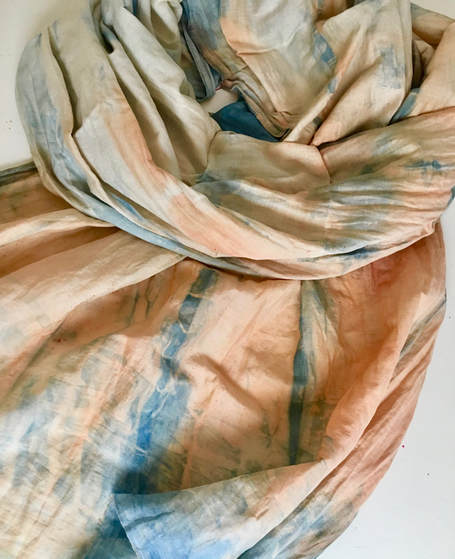
ORC Week 3: Main Bath Progress and DesignWe made some progress on the bath this week- so I guess we are really inching along here. Are you ready some framing and drywall progress?! Here is the view of the space from the doorway, which we repositioned about 2 feet to the right. To the left, is the shower surround, and beyond that is the space where the freestanding tub will go. Overall, I am happy with the space plan, but if I did it again, I would actually place the shower in the back corner of the room (where the ladder is) and have the tub be the first thing you see as you walk into the space. 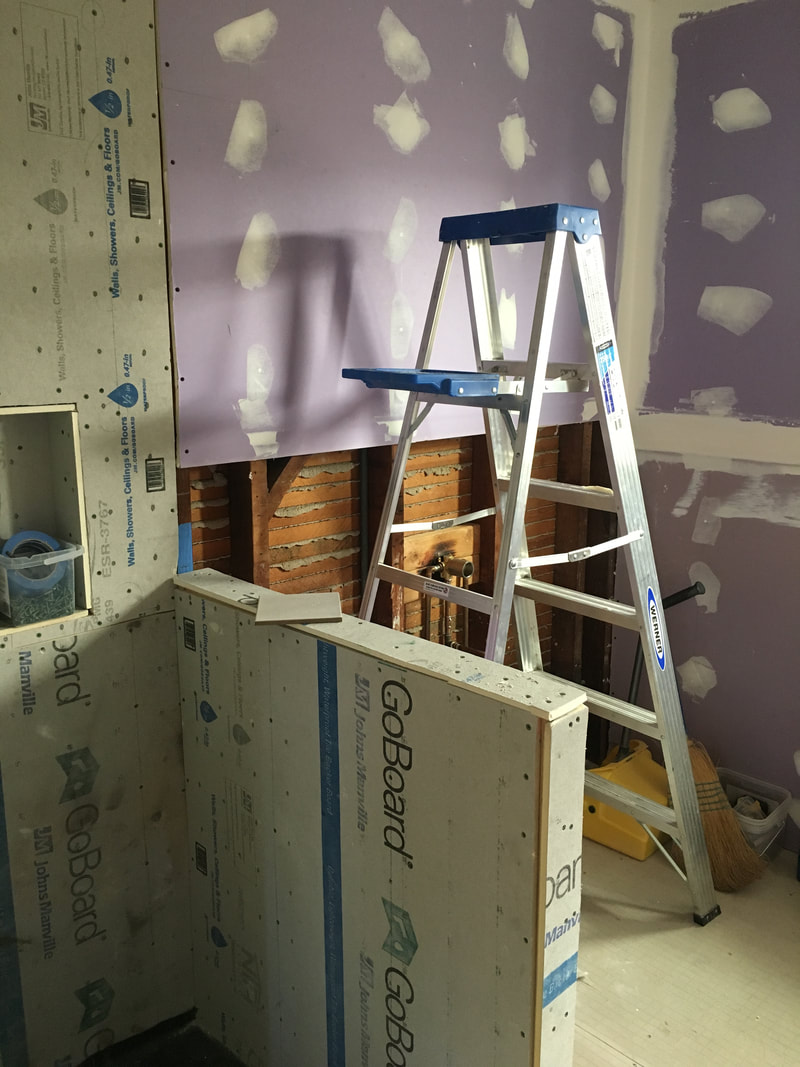 Here is a pic of the freestanding acrylic tub that we went with! It was the perfect size 59" for the space. We just couldn't go any larger than that for the nook with the tub. Later it dawned on us that a Japanese soaking tub might have been fun. 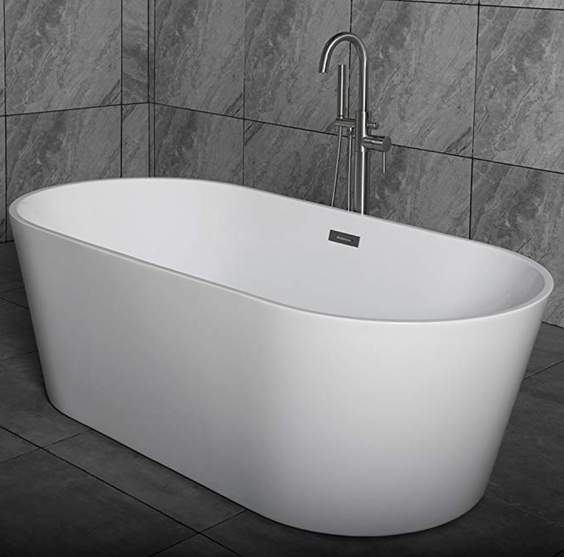 In the photo below, you can see that the sub-floor has been prepped with a Hardie Backer board for tile. We had selected a 12" concrete tile but in a twist of fate, we are considering doing a polished concrete floor in the bath. I am a big fan of the polished concrete look, and I want the bathroom floors to flow from the rest of the house. I have shared a few pictures of the polished concrete look below. I hope this extra step does not slow us down. I already have a concrete flooring specialist coming by on Monday to take a look, fingers crossed- we can do this! MAin Bath Flooring treatment: Polished Concrete inspiration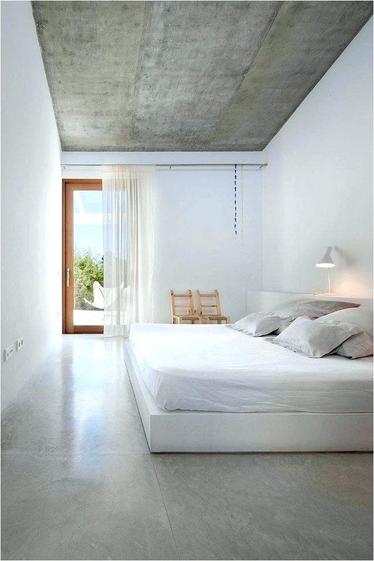 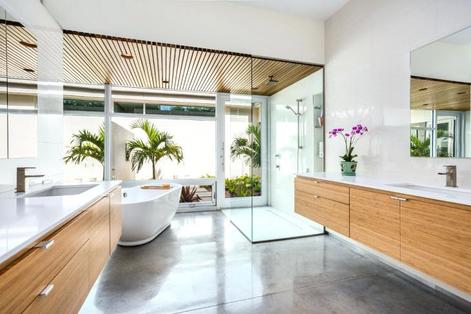 I leave you with the future site of our vanity mirror on the right. It will be a recessed medicine cabinet because that is what we really needed. Since, I am doing a floating vanity with storage baskets underneath, I needed a place to store small items away. 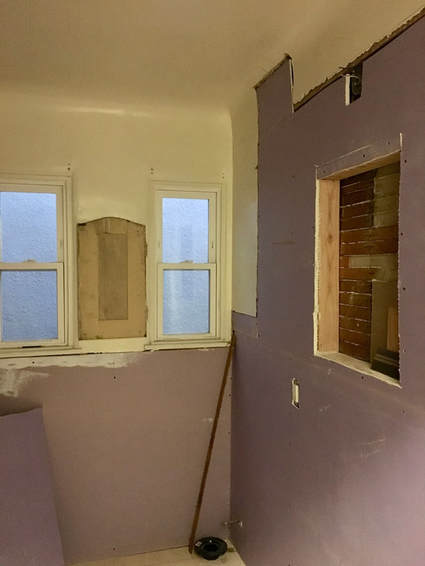 Also, we managed to install a recessed fan light this week. This is the first time that I am using something like this in lieu of a more traditional fan/light combo and I am happy with the look. We have a warmer and more decorative vanity light that I hope to have installed next week. In this photo, you can also see how we rebuilt the Spanish style arch in a more modern way. It is shallow and open and should be a nice touch in the space. 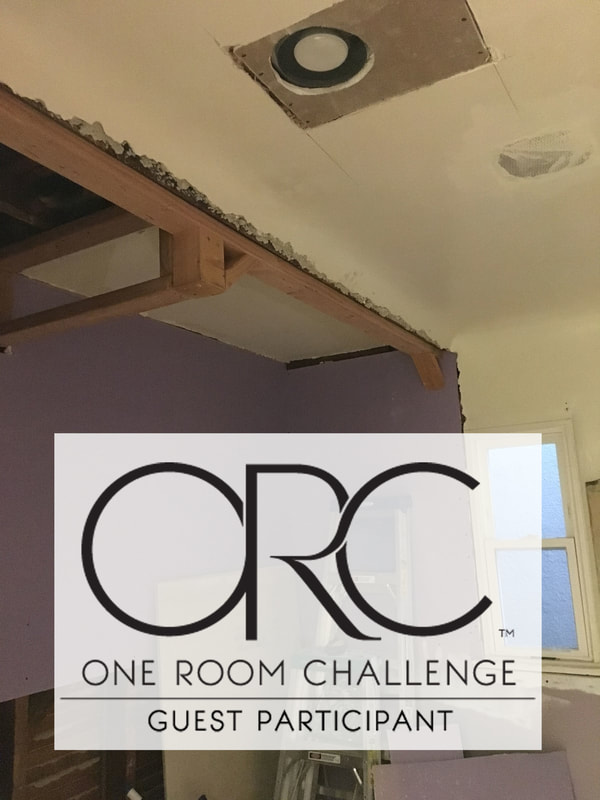 Until then, enjoy the weekend! I may pop-in back in with a to-do list or I might just save that until week 4, when things get serious! Also, I promise another amazing woodworking DIY in the next 2 weeks, so stay tuned. Be sure to check out the accomplishments of other the featured designers and guests participating in the challenge, and feel free to follow along on Instagram where I will be sharing other snippets of this project and more!
|

HI, I'M HILARY.
This is where I share inspiration for creative well living & following your dreams. With a love to sustainable conscious creation. You will notice that I offer workshops that inspire you to LIVE a soul-inspired life and manifest your dreams. I hope to meet you at one of my retreats or inside one of my group programs. I truly believe in the power of community and connecting with visionary femme creatives like you! For weekly inspiration -find me on YouTube 


Categories
All
FAVORITES
Archives
September 2023

BLOG COURTESY:
All layouts on this blog are created solely for, A Day in the Life. I enjoy sharing information and love when others enjoy my ideas enough to post the links on their own sites. I simply ask that you credit photos and link back to all original posts. Any comments that are inappropriate or spam will be deleted. All other rights reserved. |


 RSS Feed