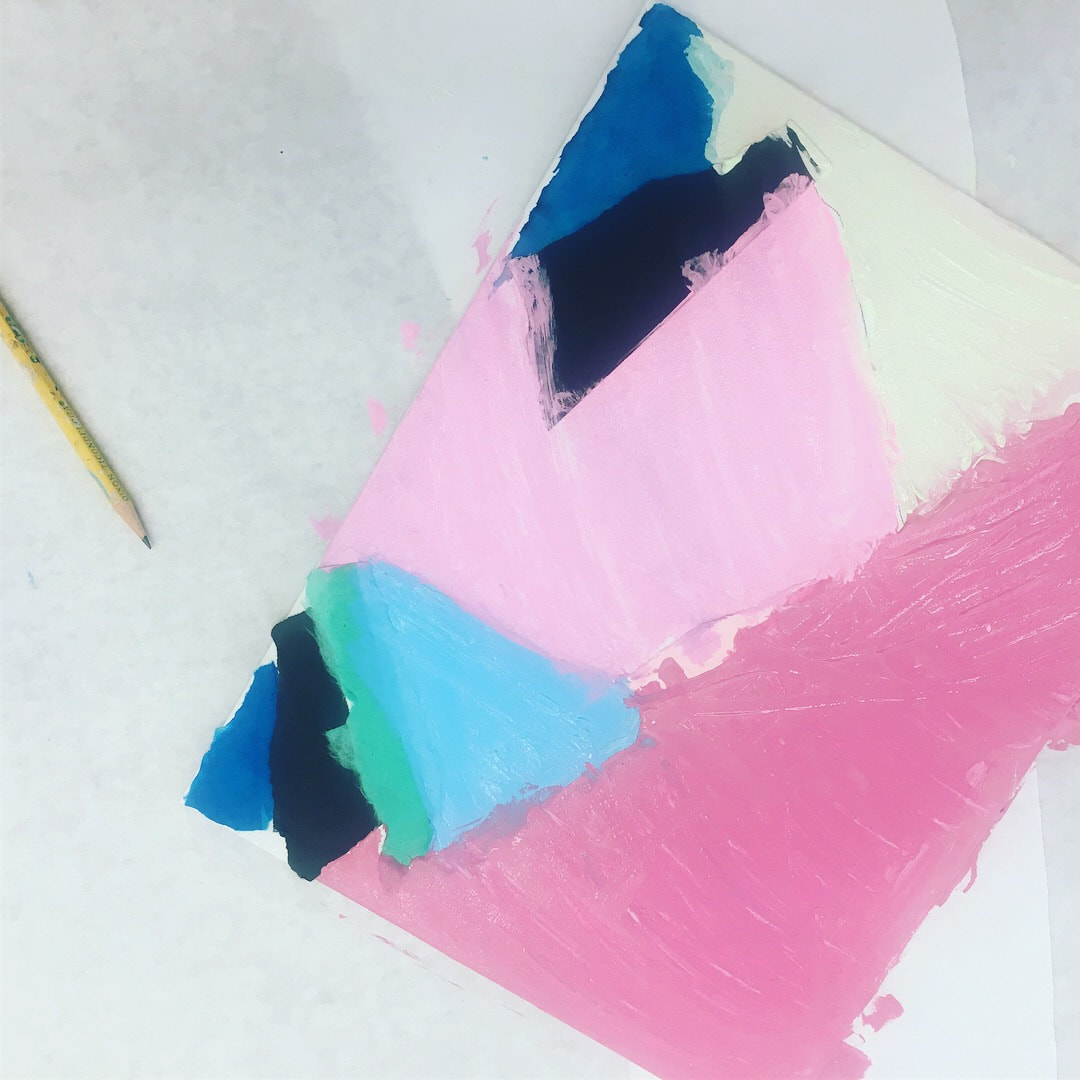
DIY Abstract Interior Painting - inspired by Leah BartholomewI have heard from many of you that you are looking for a creative outlet at this time to share with your kids! Perhaps, after being at home over the past few months, you have even tackled some home projects and have the desire to refresh your walls. I personally love a project that is created with my own two hands- along with one that sparks a memory for all of those involved. What better way to tap into your creativity than with an abstract painting project- that can even be accomplished with kids?! This project is one part color mixing and the other part observational drawing-both of which can be incredibly satisfying and fun! As you may know, I love to paint, especially abstracts! I often get the urge to paint more freely and in a meditative way. Color and abstraction really lend themselves to meditation. I recently came across Australian artist, Leah Bartholomew's work and I really fell in love with her style. I am a big fan of color, especially blues and pastels, so I got really excited. Here is a picture of one of her rooms below. One thing that you will love about this project is that you can do it alone, in tandem with your kids at home. 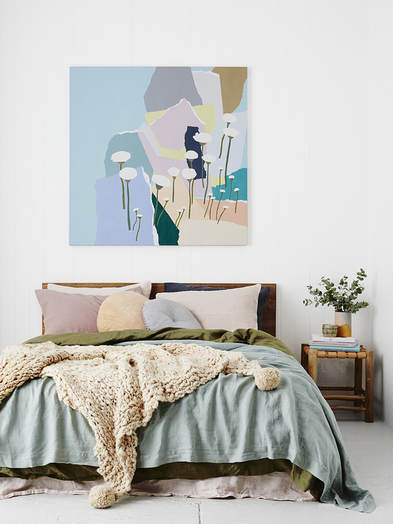 Image via Leah Bartholomew Abstract Painting MaterialsYou will want to gather some supplies for your abstract painting. First off, I would like to say that you do not need all of these supplies although paints, paper and glue are essential. I was actually able to clean out my collage paper drawer which consists of wallpapers and construction paper and I was able to re-use in that way.
 Studio Time • Process •Here is where I will summarize, what the process looks like for me.
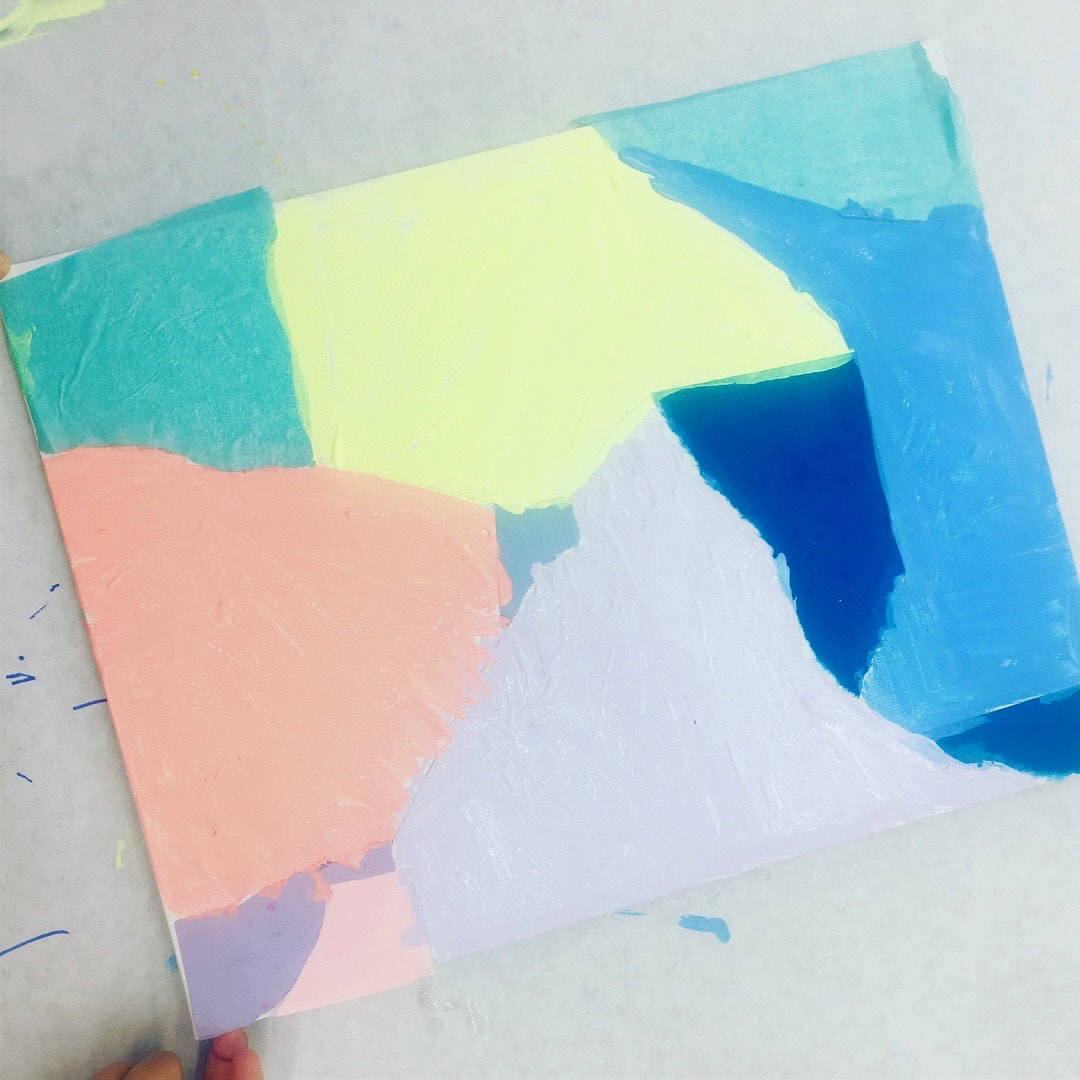
Here are some results from my students! Later, I added in a pear and an apple! I felt that fruits were easier for my students to draw than flowers. We used tracing paper to draw on, so that background would show through. I added a bit of Modge Podge on top to seal each one. If I were doing the project on my own, I would sketch in botanical illustrations in pencil. You could also experiment with size. Instead of ordering a set of 3 canvas panels, you could do one large canvas like Leah does - I like this 30" x 40" canvas size for interior art. It would even be fun to create a custom painting using interior paint colors in the room! I have to share one more of Leah Bartholomew's beautiful pieces with you before you go! So bright and summery, no? Project Variations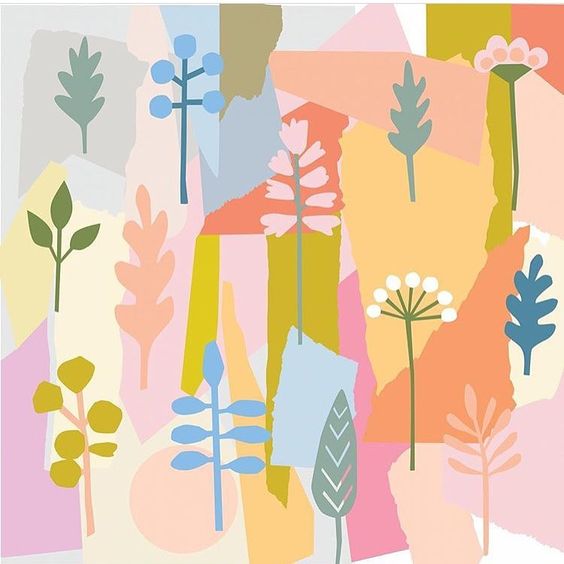 Image via Leah Bartholomew If you loved this project, you may consider joining one of our classes below:
For other family friendly art projects, check these out:
4 Comments
Today's the day! I have loved following along everyone's beautiful space. I am going to do a mini reveal (don't judge!) After six weeks, our contractor still has not completed the space, and he ran into a snafu yesterday when installing the glass shower door. To be honest, I have been distracted and justing letting him do his thing! I took a look at the space today and realized, he had forgotten to install the oak chair rail, along with our towel holders, hooks and accessories! These items will really make a difference when I am photographing the space because towels add great texture! On a positive note the grout is all done. Did I mention that I will be back in later to share more styled and complete photography? In the mean time check out the progress and know that all of you guest designers out there have really inspired me. To see where we started, check out Week 1 | Week 2 | Week 3 | Week 4 and Week 5 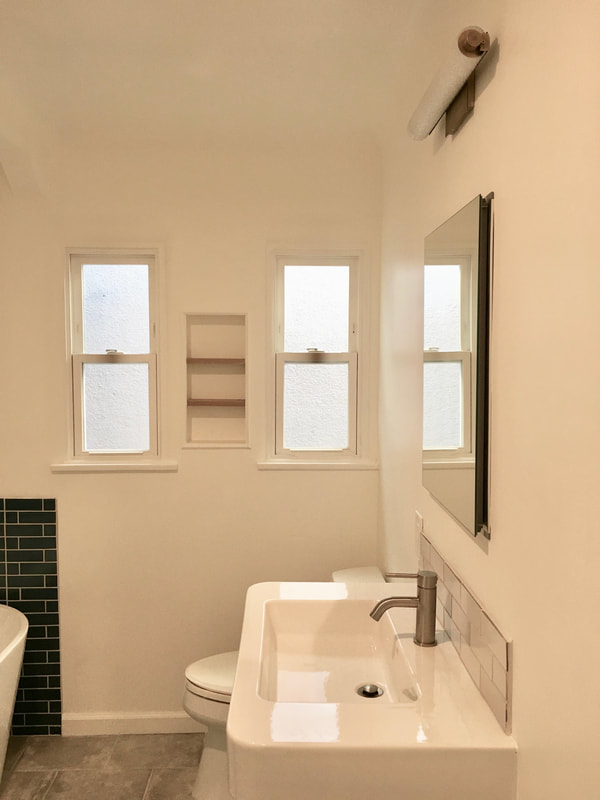 ORC Week 3: Main Bath Progress and DesignWe made some progress on the bath this week- so I guess we are really inching along here. Are you ready some framing and drywall progress?! Here is the view of the space from the doorway, which we repositioned about 2 feet to the right. To the left, is the shower surround, and beyond that is the space where the freestanding tub will go. Overall, I am happy with the space plan, but if I did it again, I would actually place the shower in the back corner of the room (where the ladder is) and have the tub be the first thing you see as you walk into the space. 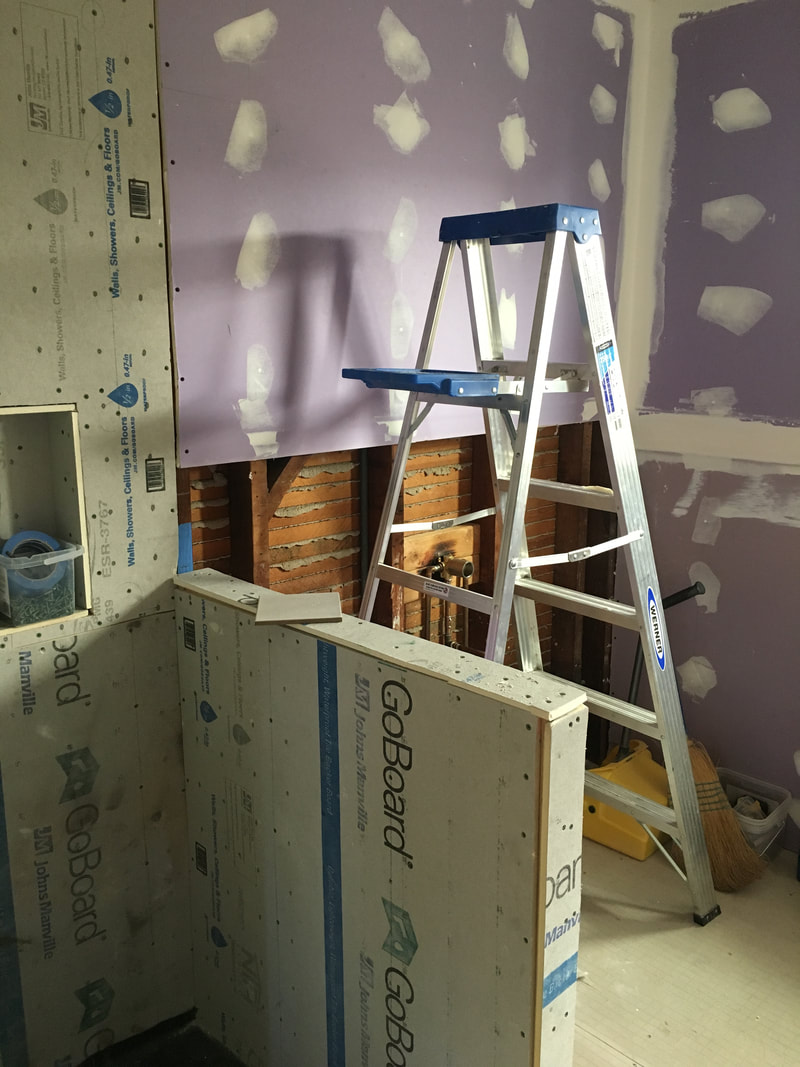 Here is a pic of the freestanding acrylic tub that we went with! It was the perfect size 59" for the space. We just couldn't go any larger than that for the nook with the tub. Later it dawned on us that a Japanese soaking tub might have been fun. 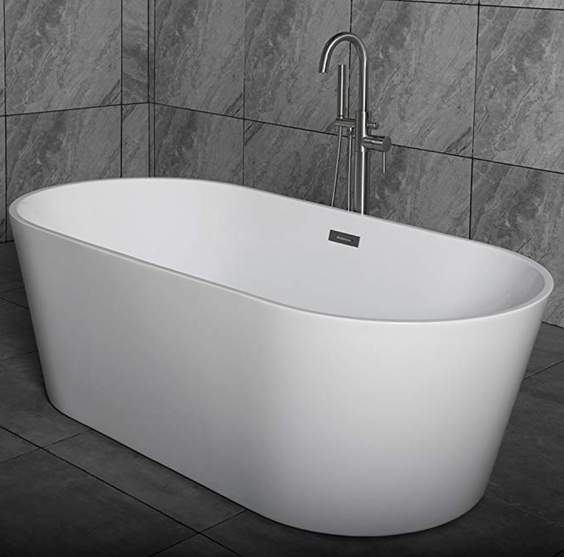 In the photo below, you can see that the sub-floor has been prepped with a Hardie Backer board for tile. We had selected a 12" concrete tile but in a twist of fate, we are considering doing a polished concrete floor in the bath. I am a big fan of the polished concrete look, and I want the bathroom floors to flow from the rest of the house. I have shared a few pictures of the polished concrete look below. I hope this extra step does not slow us down. I already have a concrete flooring specialist coming by on Monday to take a look, fingers crossed- we can do this! MAin Bath Flooring treatment: Polished Concrete inspiration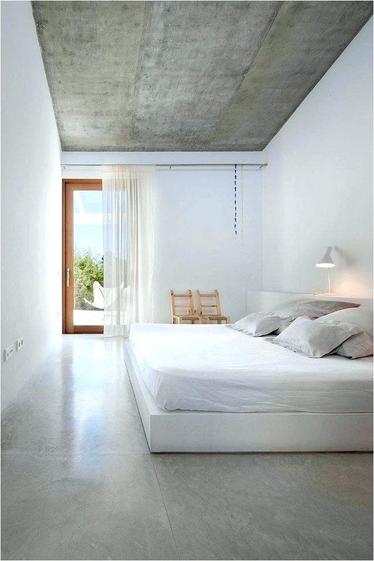 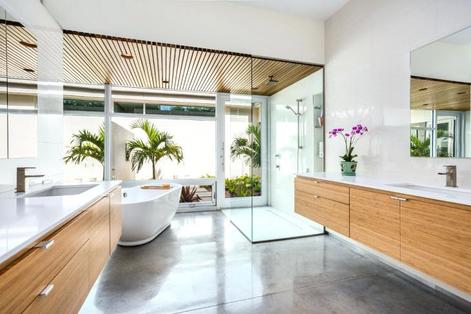 I leave you with the future site of our vanity mirror on the right. It will be a recessed medicine cabinet because that is what we really needed. Since, I am doing a floating vanity with storage baskets underneath, I needed a place to store small items away. 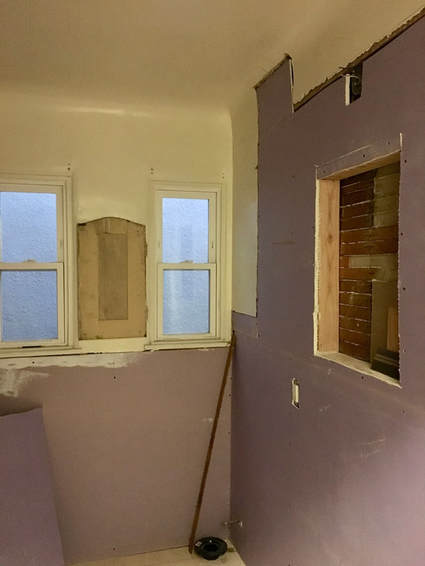 Also, we managed to install a recessed fan light this week. This is the first time that I am using something like this in lieu of a more traditional fan/light combo and I am happy with the look. We have a warmer and more decorative vanity light that I hope to have installed next week. In this photo, you can also see how we rebuilt the Spanish style arch in a more modern way. It is shallow and open and should be a nice touch in the space. 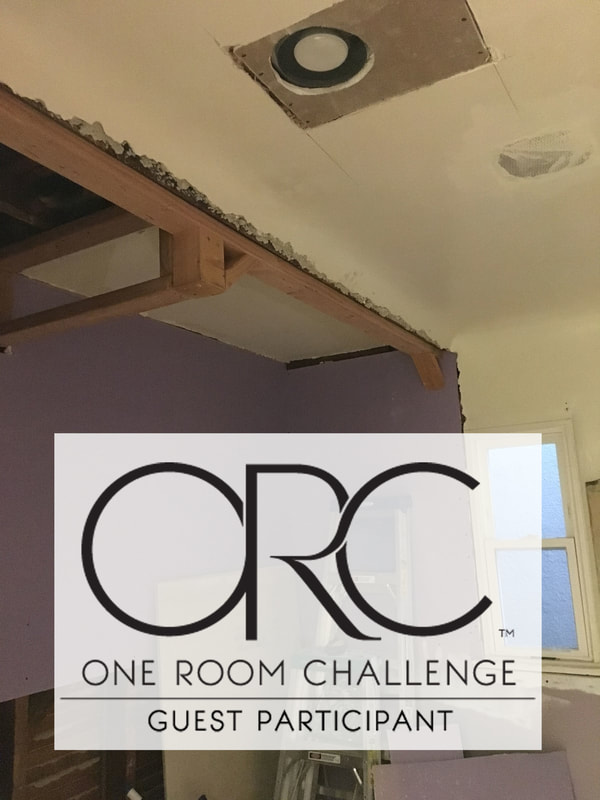 Until then, enjoy the weekend! I may pop-in back in with a to-do list or I might just save that until week 4, when things get serious! Also, I promise another amazing woodworking DIY in the next 2 weeks, so stay tuned. Be sure to check out the accomplishments of other the featured designers and guests participating in the challenge, and feel free to follow along on Instagram where I will be sharing other snippets of this project and more!
|

HI, I'M HILARY.
This is where I share inspiration for creative well living & following your dreams. With a love to sustainable conscious creation. You will notice that I offer workshops that inspire you to LIVE a soul-inspired life and manifest your dreams. I hope to meet you at one of my retreats or inside one of my group programs. I truly believe in the power of community and connecting with visionary femme creatives like you! For weekly inspiration -find me on YouTube 


Categories
All
FAVORITES
Archives
September 2023

BLOG COURTESY:
All layouts on this blog are created solely for, A Day in the Life. I enjoy sharing information and love when others enjoy my ideas enough to post the links on their own sites. I simply ask that you credit photos and link back to all original posts. Any comments that are inappropriate or spam will be deleted. All other rights reserved. |


 RSS Feed