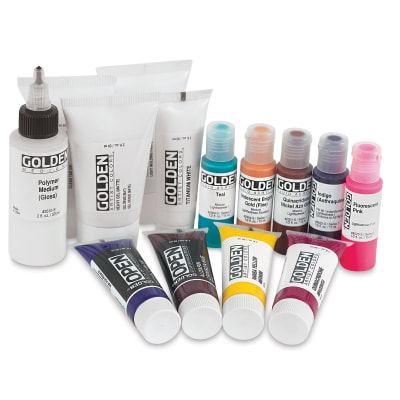
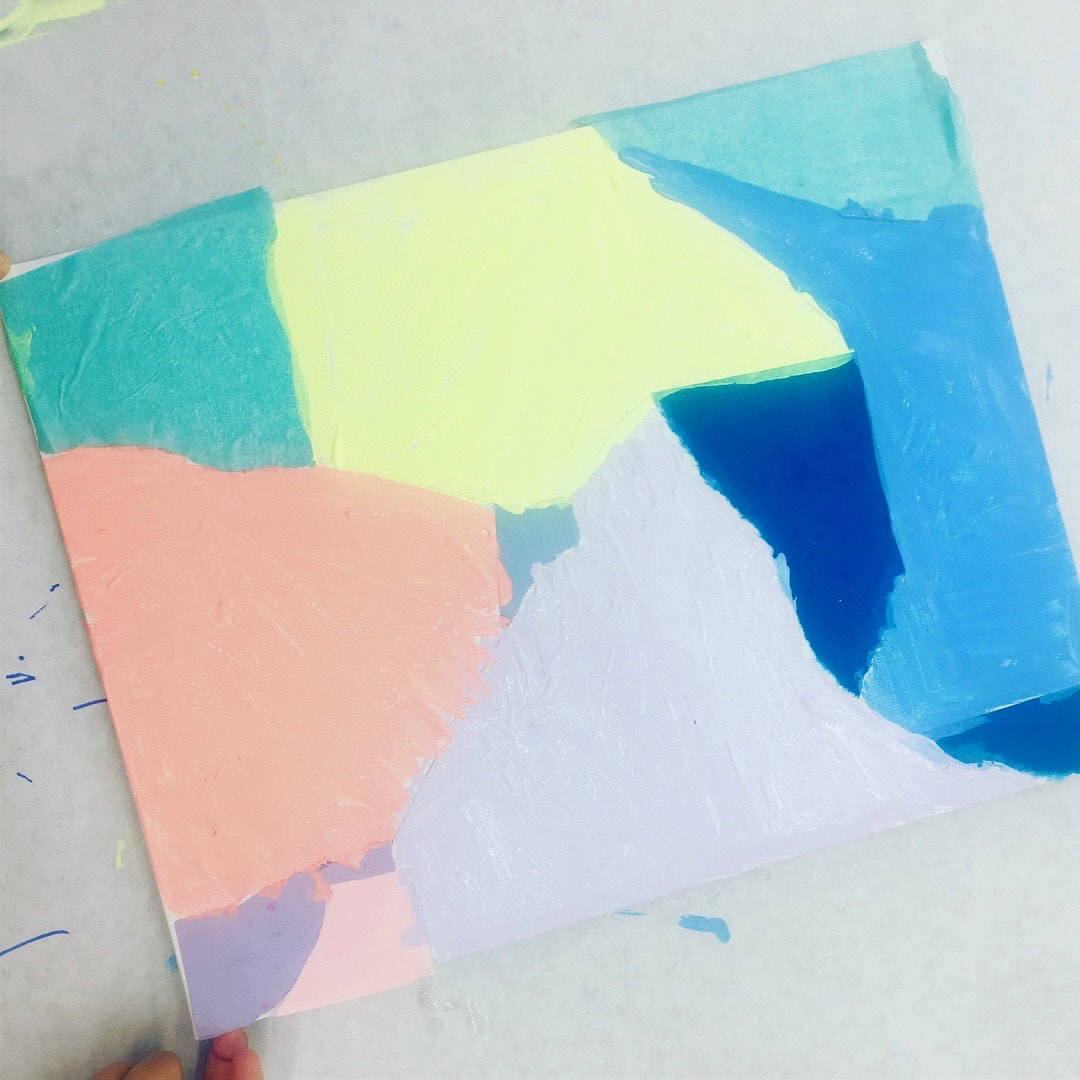
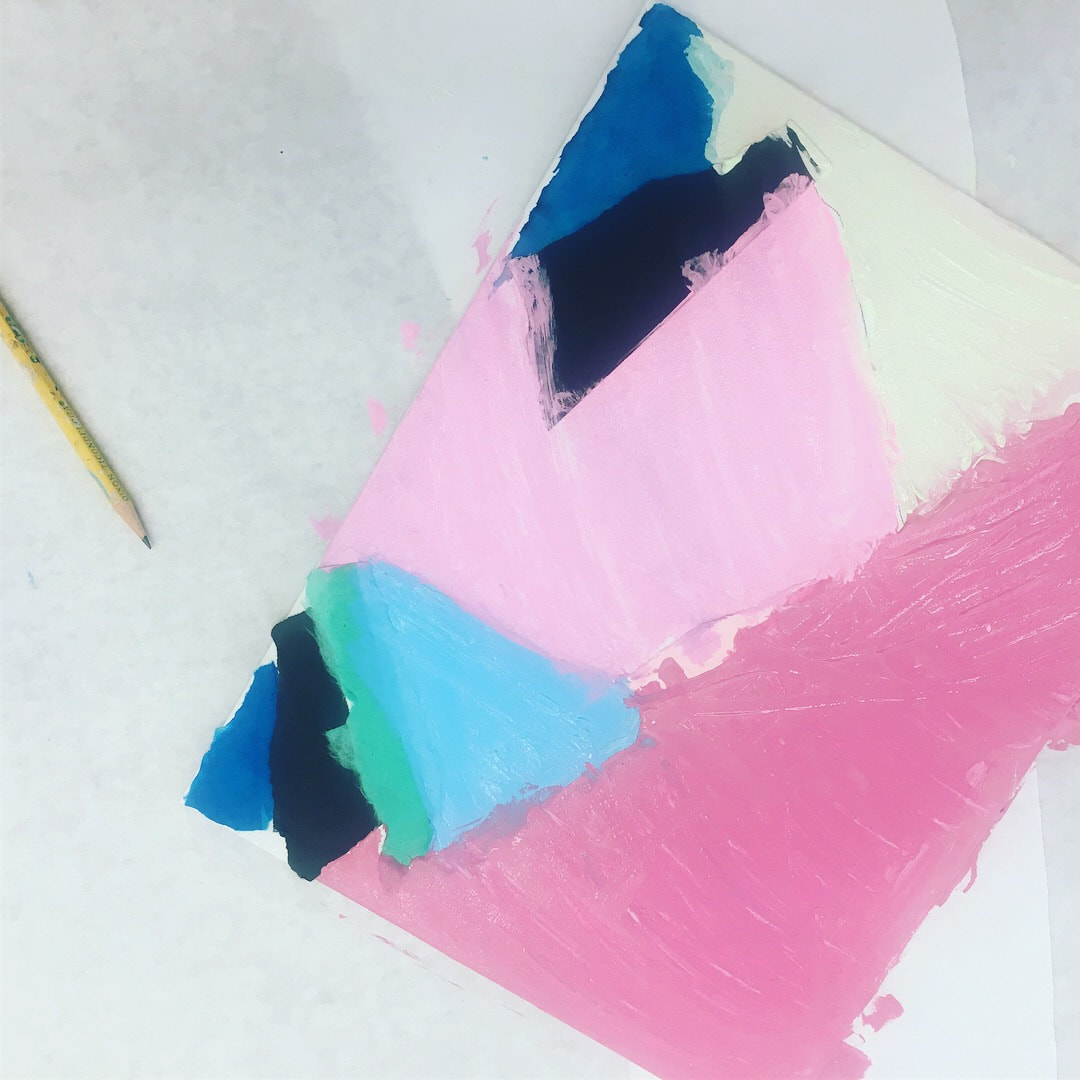
DIY Abstract Interior Painting - inspired by Leah BartholomewI have heard from many of you that you are looking for a creative outlet at this time to share with your kids! Perhaps, after being at home over the past few months, you have even tackled some home projects and have the desire to refresh your walls. I personally love a project that is created with my own two hands- along with one that sparks a memory for all of those involved. What better way to tap into your creativity than with an abstract painting project- that can even be accomplished with kids?! This project is one part color mixing and the other part observational drawing-both of which can be incredibly satisfying and fun! As you may know, I love to paint, especially abstracts! I often get the urge to paint more freely and in a meditative way. Color and abstraction really lend themselves to meditation. I recently came across Australian artist, Leah Bartholomew's work and I really fell in love with her style. I am a big fan of color, especially blues and pastels, so I got really excited. Here is a picture of one of her rooms below. One thing that you will love about this project is that you can do it alone, in tandem with your kids at home. 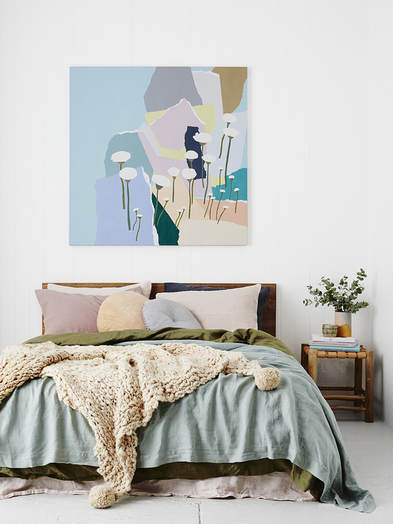 Image via Leah Bartholomew Abstract Painting MaterialsYou will want to gather some supplies for your abstract painting. First off, I would like to say that you do not need all of these supplies although paints, paper and glue are essential. I was actually able to clean out my collage paper drawer which consists of wallpapers and construction paper and I was able to re-use in that way.
 Studio Time • Process •Here is where I will summarize, what the process looks like for me.
Here are some results from my students! Later, I added in a pear and an apple! I felt that fruits were easier for my students to draw than flowers. We used tracing paper to draw on, so that background would show through. I added a bit of Modge Podge on top to seal each one. If I were doing the project on my own, I would sketch in botanical illustrations in pencil. You could also experiment with size. Instead of ordering a set of 3 canvas panels, you could do one large canvas like Leah does - I like this 30" x 40" canvas size for interior art. It would even be fun to create a custom painting using interior paint colors in the room! I have to share one more of Leah Bartholomew's beautiful pieces with you before you go! So bright and summery, no? Project Variations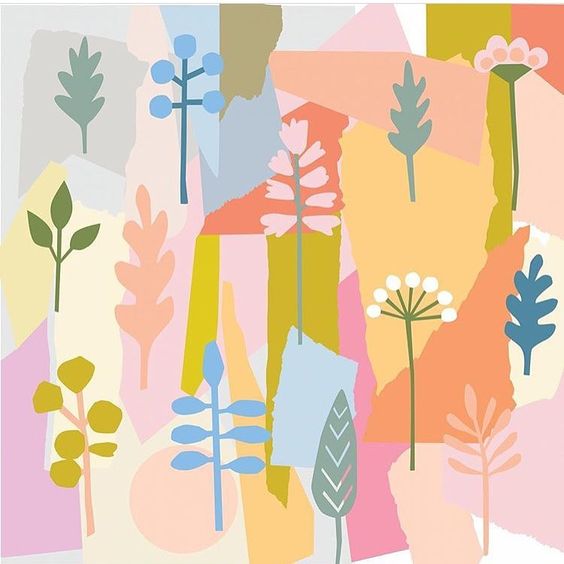 Image via Leah Bartholomew If you loved this project, you may consider joining one of our classes below:
For other family friendly art projects, check these out:
4 Comments
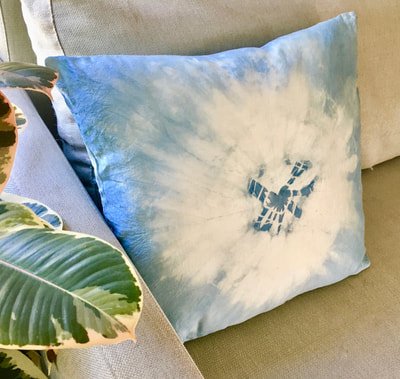
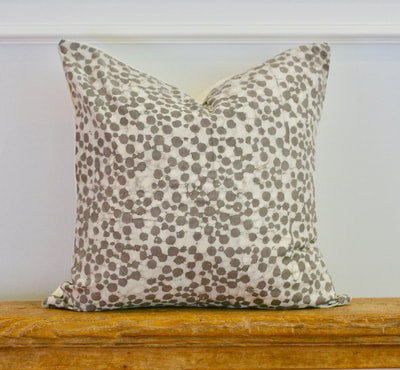
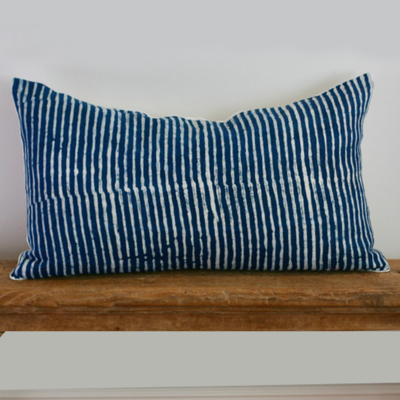
A Natural Artisanal Throw Pillow CollectionToday, I am excited to share a round-up of my favorite pillows from my capsule home collection that launched this Spring! First, a little bit about how this collection came to be. As many of you know, I am a painter and I have worked styling interiors. I love to design products and I wanted to extend that love of product design and painting to pillows. Over the years, I have had many pillows made for my clients. So, designing my own collection, came naturally and unfolded on a recent trip to India and Japan. One thing that is unique about my capsule collection is that it uses natural indigo dye. After working with natural and botanical dyes in my home studio, I sought out textiles that had been dyed using natural color. This collection is inspired by California living and being near the ocean. Reminiscent of both sea and sky. These pillows are meant to be a piece of art for your home. Energetic benefits of indigo include, a profound calming feeling of total relaxation. Also known as the deep blue color associated with the 6th chakra in the body, or the third-eye. Engaging with this plant and it's magical dye activates your awareness and inner reflection. Natural IndigoIndigo comes from the ancient plant, indigofera tinctoria, used for over 5000 years to dye fibers and clothing. Some of the pillowcases are hand-dyed, while others feature batik, crewel and Shibori techniques. All textiles are sourced from handmade artisans or dyed by me in my studio. Top Row from Left Sustainable Natural FIbersThe majority of the collection features natural cotton linen fabric, wool or silk. Our Sky Blue Lumbar pillow below is woven in wool from a regional geometric Kyoto motif. It measures 12" x 24" and was created from a unique roll of kimono width fabric, meaning that it was designed in a traditional fashion featuring a famous geometric motif. 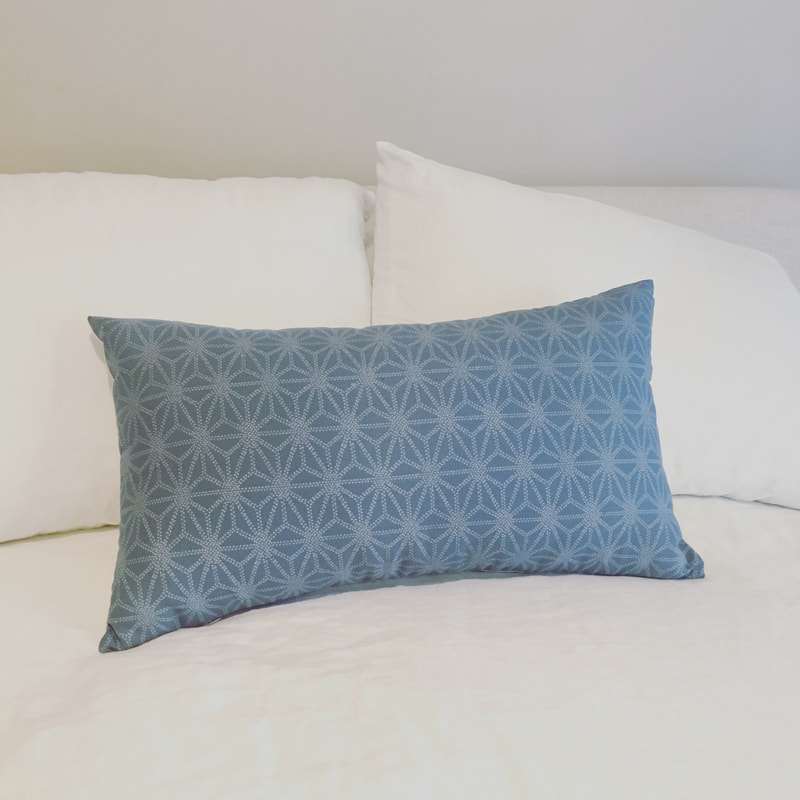 At the moment, I am exploring natural indigo on wild peace silk in a new 18" Expansion Kumo Shibori piece. These are a beautiful color, and made from a beautiful yet pricier silk in which the silk moths are not harmed in the process. This type of challenge is what motivates and inspires me to design something that is ethically made and eco-friendly. While, I stuck with mostly indigo blues. I couldn't resist this dhabu mud-resist batik fabric created in North India. I love the organic results of the dhabu technique along with the sandy texture and inspired me to create this Sand Batik Pillow in Spots, which is easy to mix and match within a space.  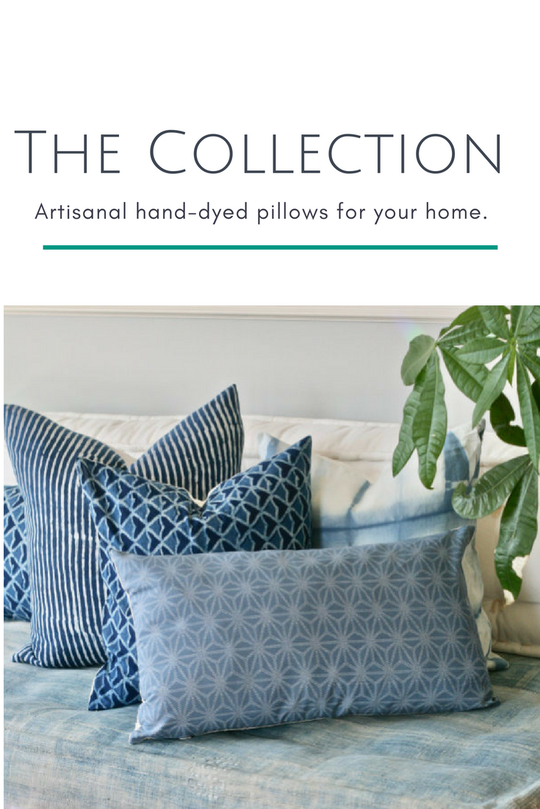 You can view the whole capsule pillow collection in my textiles shop. If you are located near the Bay area, I will be at Renegade Craft at Fort Mason, July 14th and 15th in San Francisco, I and would love to meet you in person!
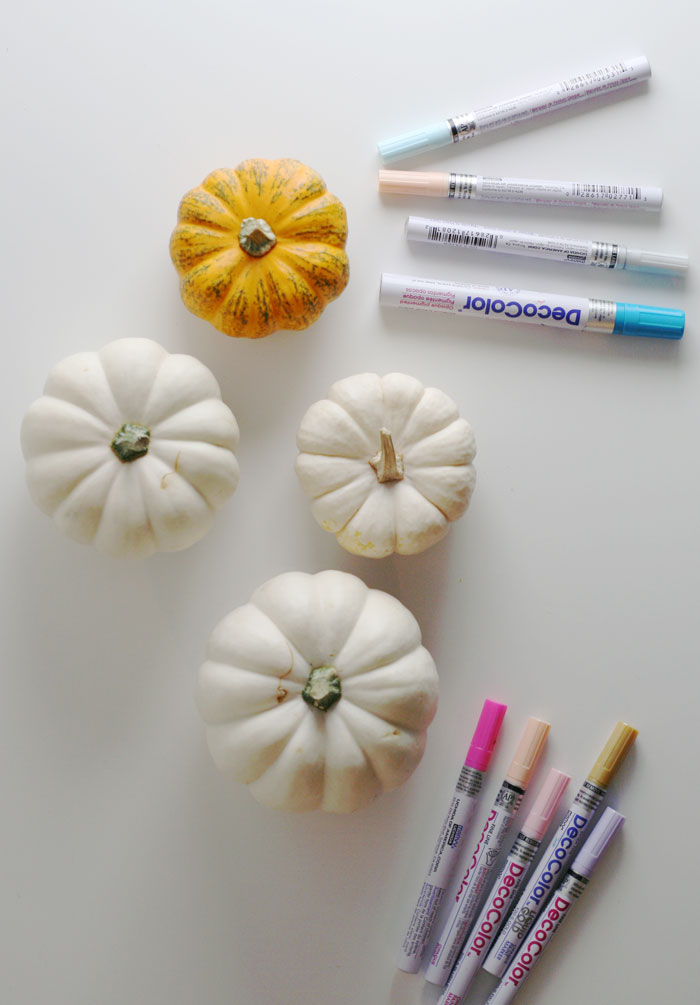
How to Decorate Pumpkins with Mandala Designs for FallAre you ready for a Fall carve-free pumpkin DIY today? This is a seasonal autumn project that can last Halloween through Thanksgiving! Lately, I have been inspired to create mandala designs using lines and patterns on paper and stone, I thought, why not try out a mandala pattern on a pumpkin too? 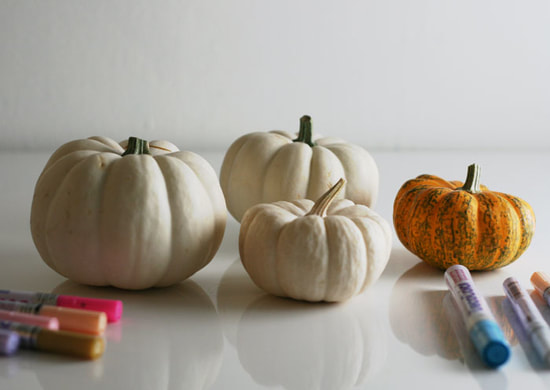 We scored some fabulous little pumpkins on our latest trip to the Underwood Farm, our favorite farm in the agricultural valley north of Los Angeles. We also picked up a few more pumpkins at Whole Foods! For this project, I used:
 Read on to find out how you can make one too and see the stunning results!
|

HI, I'M HILARY.
This is where I share inspiration for creative well living & following your dreams. With a love to sustainable conscious creation. You will notice that I offer workshops that inspire you to LIVE a soul-inspired life and manifest your dreams. I hope to meet you at one of my retreats or inside one of my group programs. I truly believe in the power of community and connecting with visionary femme creatives like you! For weekly inspiration -find me on YouTube 


Categories
All
FAVORITES
Archives
September 2023

BLOG COURTESY:
All layouts on this blog are created solely for, A Day in the Life. I enjoy sharing information and love when others enjoy my ideas enough to post the links on their own sites. I simply ask that you credit photos and link back to all original posts. Any comments that are inappropriate or spam will be deleted. All other rights reserved. |


 RSS Feed