ORC Week 3: Main Bath Progress and DesignWe made some progress on the bath this week- so I guess we are really inching along here. Are you ready some framing and drywall progress?! Here is the view of the space from the doorway, which we repositioned about 2 feet to the right. To the left, is the shower surround, and beyond that is the space where the freestanding tub will go. Overall, I am happy with the space plan, but if I did it again, I would actually place the shower in the back corner of the room (where the ladder is) and have the tub be the first thing you see as you walk into the space. 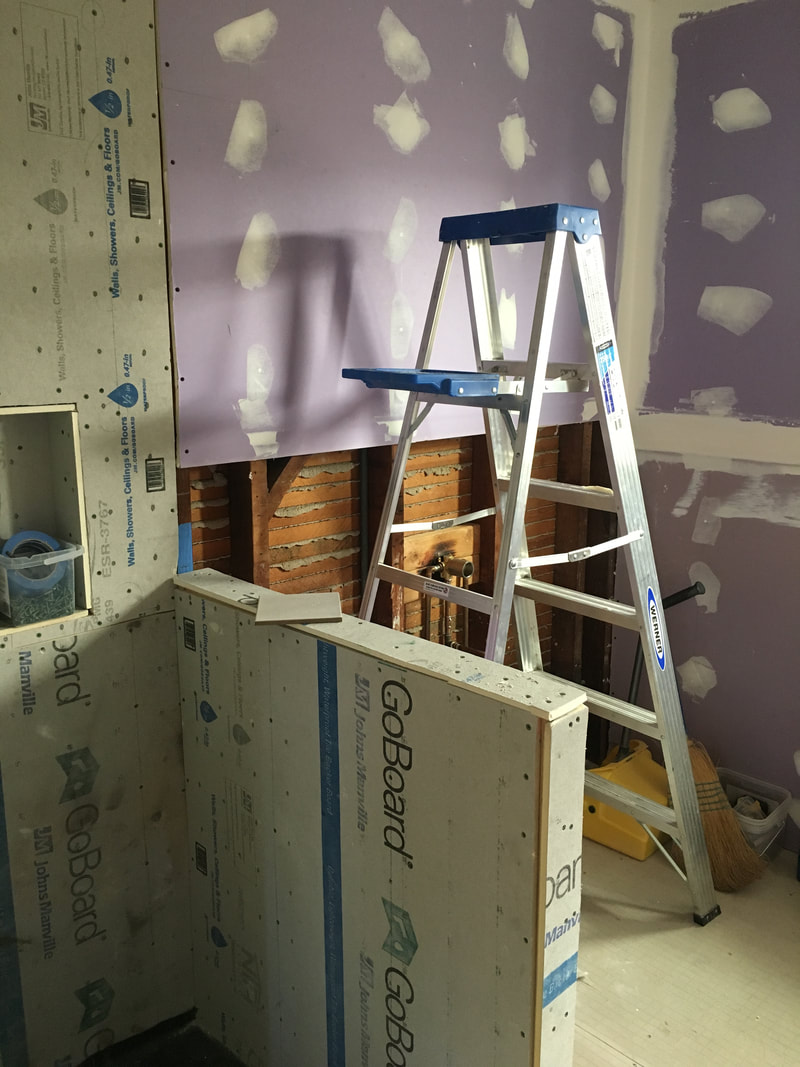 Here is a pic of the freestanding acrylic tub that we went with! It was the perfect size 59" for the space. We just couldn't go any larger than that for the nook with the tub. Later it dawned on us that a Japanese soaking tub might have been fun. 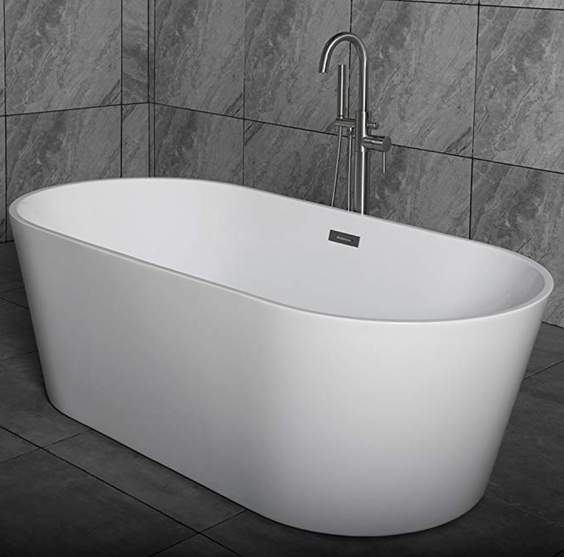 In the photo below, you can see that the sub-floor has been prepped with a Hardie Backer board for tile. We had selected a 12" concrete tile but in a twist of fate, we are considering doing a polished concrete floor in the bath. I am a big fan of the polished concrete look, and I want the bathroom floors to flow from the rest of the house. I have shared a few pictures of the polished concrete look below. I hope this extra step does not slow us down. I already have a concrete flooring specialist coming by on Monday to take a look, fingers crossed- we can do this! MAin Bath Flooring treatment: Polished Concrete inspiration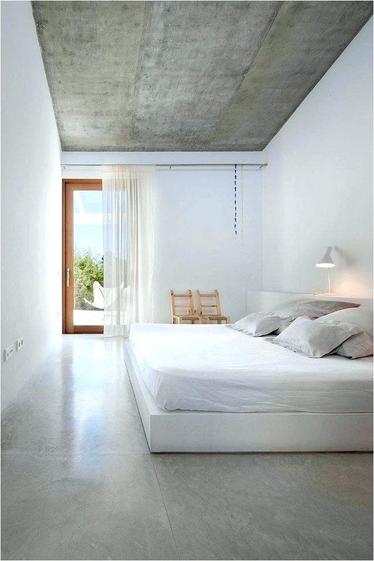 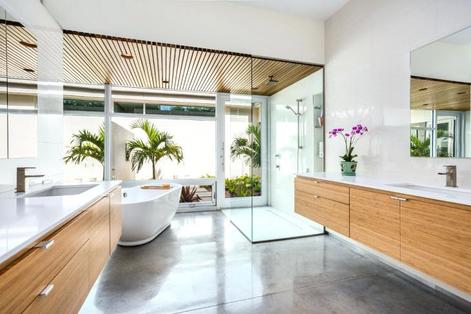 I leave you with the future site of our vanity mirror on the right. It will be a recessed medicine cabinet because that is what we really needed. Since, I am doing a floating vanity with storage baskets underneath, I needed a place to store small items away. 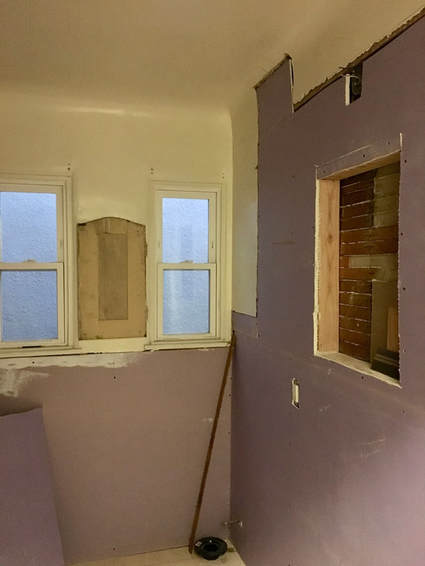 Also, we managed to install a recessed fan light this week. This is the first time that I am using something like this in lieu of a more traditional fan/light combo and I am happy with the look. We have a warmer and more decorative vanity light that I hope to have installed next week. In this photo, you can also see how we rebuilt the Spanish style arch in a more modern way. It is shallow and open and should be a nice touch in the space.  Until then, enjoy the weekend! I may pop-in back in with a to-do list or I might just save that until week 4, when things get serious! Also, I promise another amazing woodworking DIY in the next 2 weeks, so stay tuned. Be sure to check out the accomplishments of other the featured designers and guests participating in the challenge, and feel free to follow along on Instagram where I will be sharing other snippets of this project and more!
2 Comments
10/22/2018 10:58:14 am
Looks like a lot of work is going on in your space, looking forward to seeing it all come together - good luck! 10/22/2018 01:52:36 pm
Thanks for the encouragement Nicole:) Leave a Reply. |

HI, I'M HILARY.
This is where I share inspiration for creative well living & following your dreams. With a love to sustainable conscious creation. You will notice that I offer workshops that inspire you to LIVE a soul-inspired life and manifest your dreams. I hope to meet you at one of my retreats or inside one of my group programs. I truly believe in the power of community and connecting with visionary femme creatives like you! For weekly inspiration -find me on YouTube 


Categories
All
FAVORITES
Archives
September 2023

BLOG COURTESY:
All layouts on this blog are created solely for, A Day in the Life. I enjoy sharing information and love when others enjoy my ideas enough to post the links on their own sites. I simply ask that you credit photos and link back to all original posts. Any comments that are inappropriate or spam will be deleted. All other rights reserved. |


 RSS Feed