How to get started with a 123 Fructose VAt
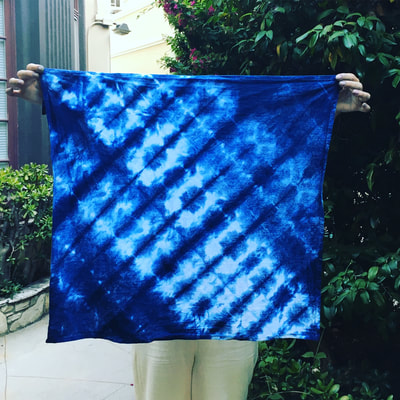
Over the past year, I have been exploring Shibori techniques and natural indigo dyeing. As a designer and educator this interest developed instantly and naturally for me. If you are getting serious about textiles and would like to learn more about natural indigo, I will link to all of my favorite resources at the end of this post. You may remember my post about my favorite indigo artists, many of whom I follow on Instagram. They are still a huge part of why I research indigo more deeply. I am offering private classes and workshops on the medium, I have two coming up this week, so this seemed like the perfect time to share the recipe with all of you!
While, my first few tries with indigo I used a kit containing pre-reduced indigo, I now focus on using organic indigo powder. I switched over for a couple of reasons, my top reasons are:
I hope that you will find the photos of the process, along with the recommended steps and supplies, equally helpful.
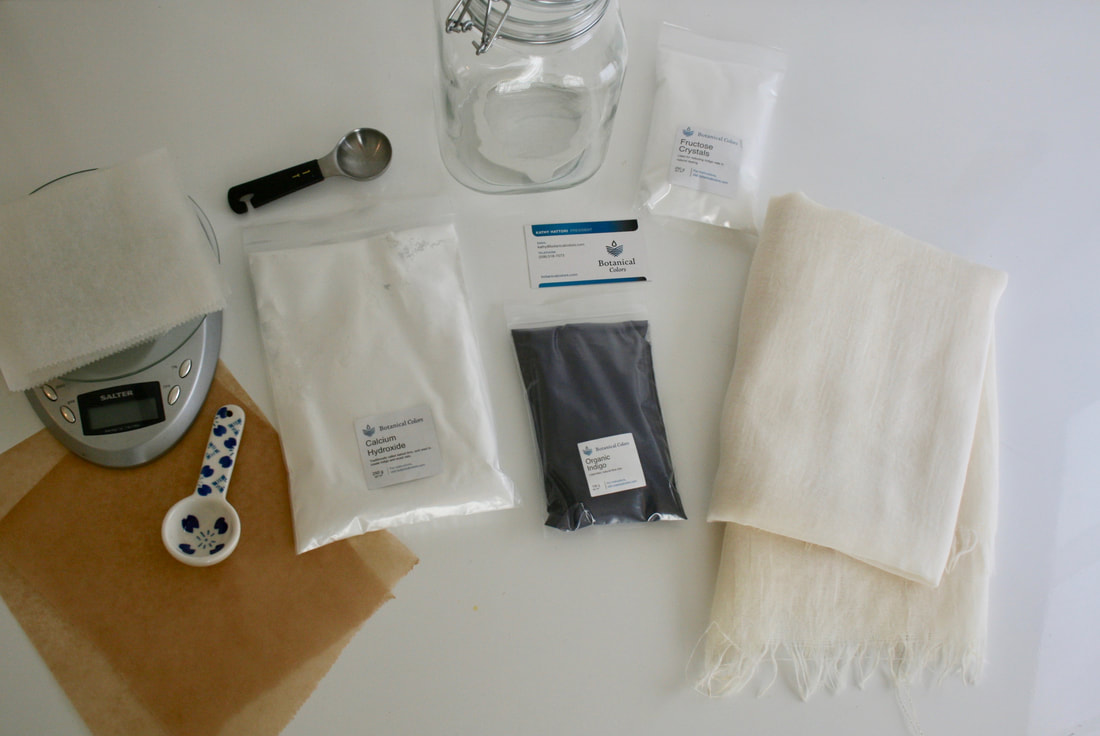
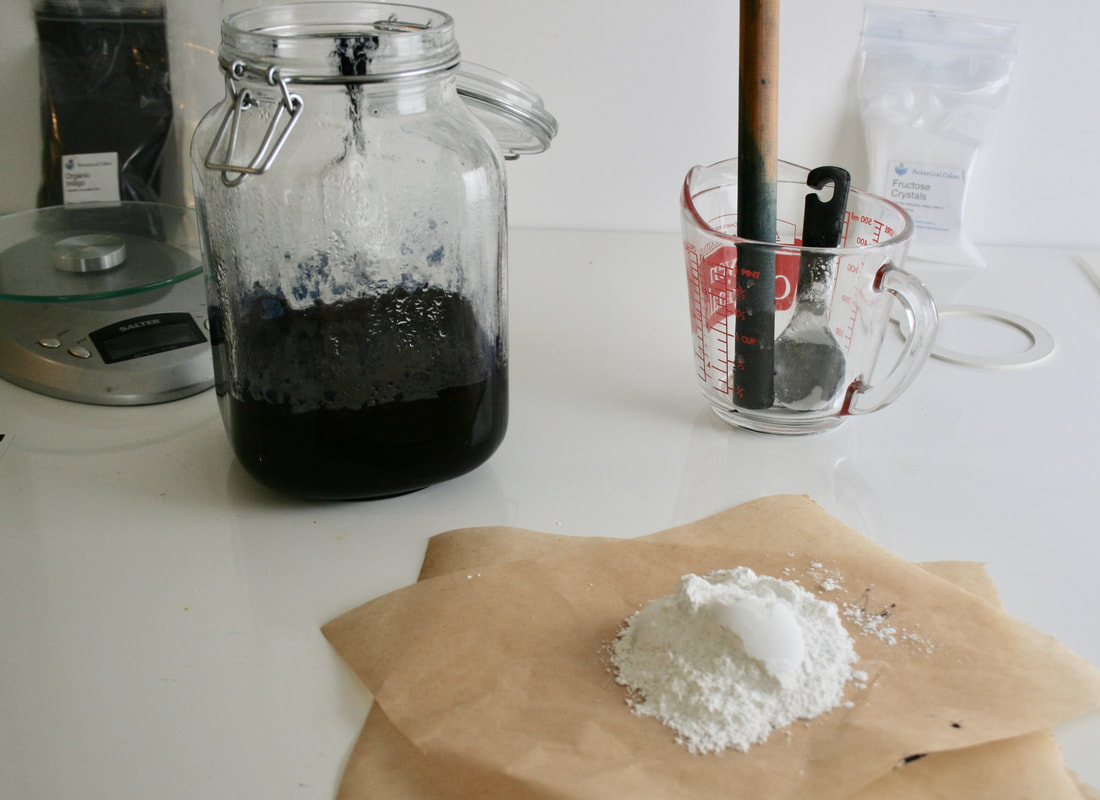
Gather your Fructose VAT Supplies
For this project, you will need:
I ordered all of my ingredients through Botanical Colors, a company founded by Kathy Hattori that specializes natural dyes. I love that she is passionate about using plant based materials that are from local farms and derived from nature.
In a pinch, since beginning with a fructose vat, I have even purchased a large quantity of fructose at my local health food store. Once you have gathered all of your supplies, you are ready to create your indigo stock.
1. Add 2 tablespoons of indigo powder, then wet it out with a bit of warm water to form a paste. 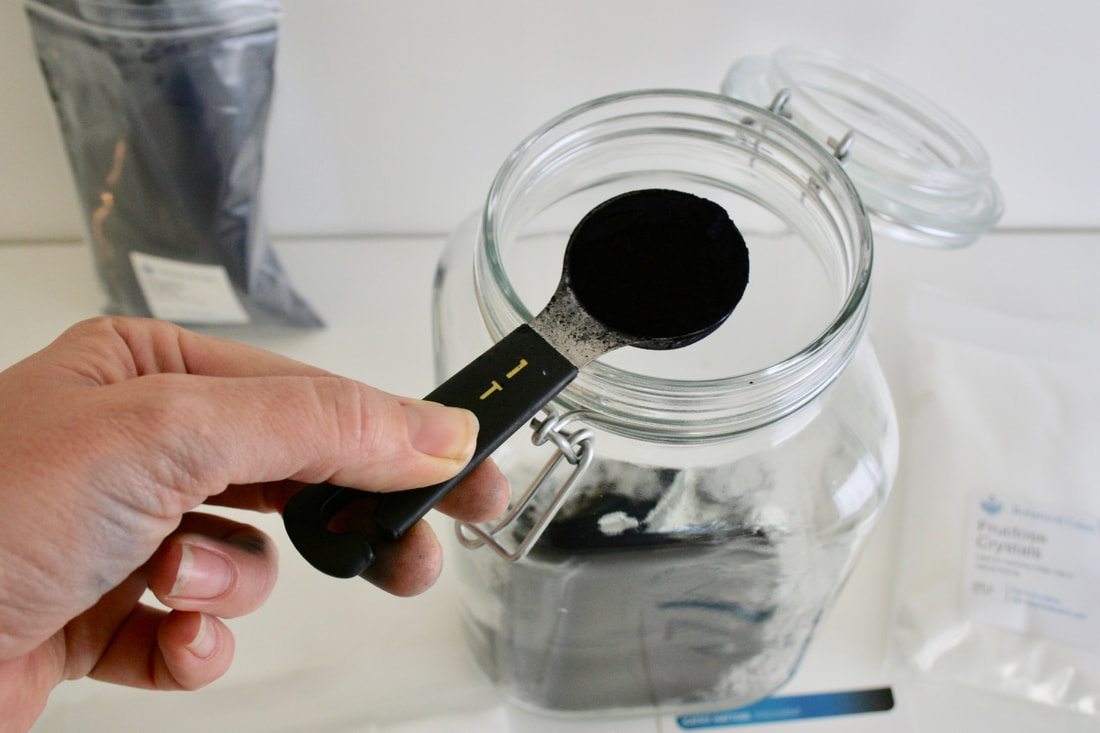
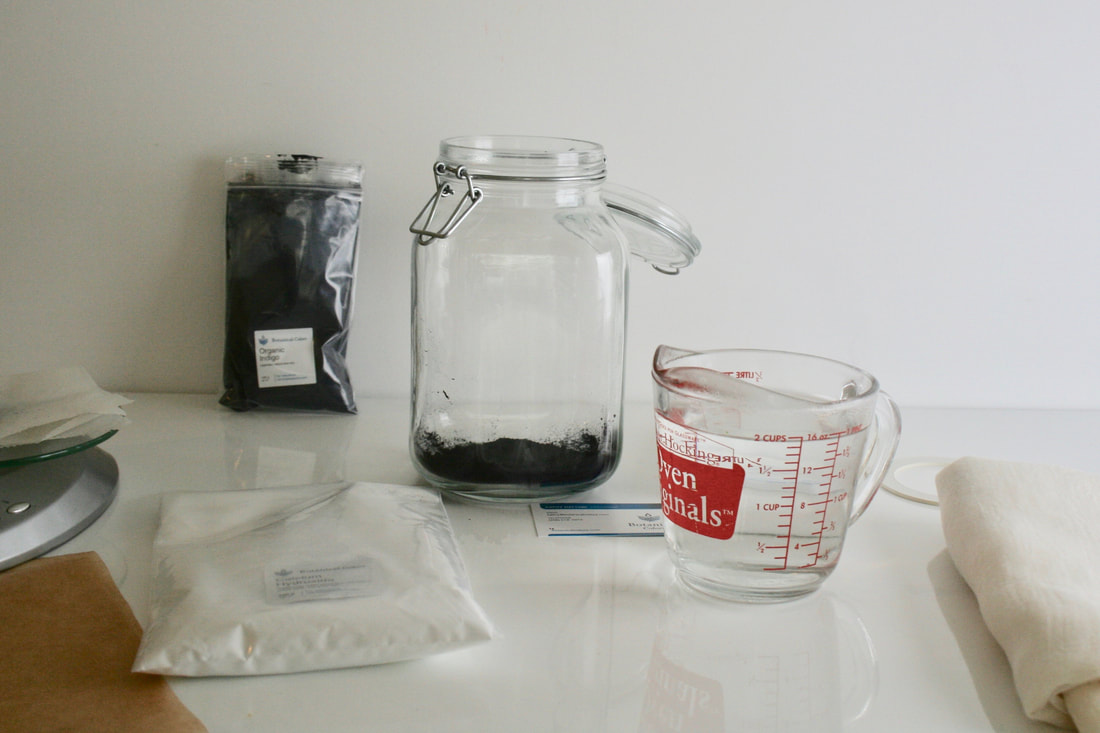
2. Next, you will add one cup of hot water.

4. Add 6 tbs of fructose stir it in, until it dissolves.
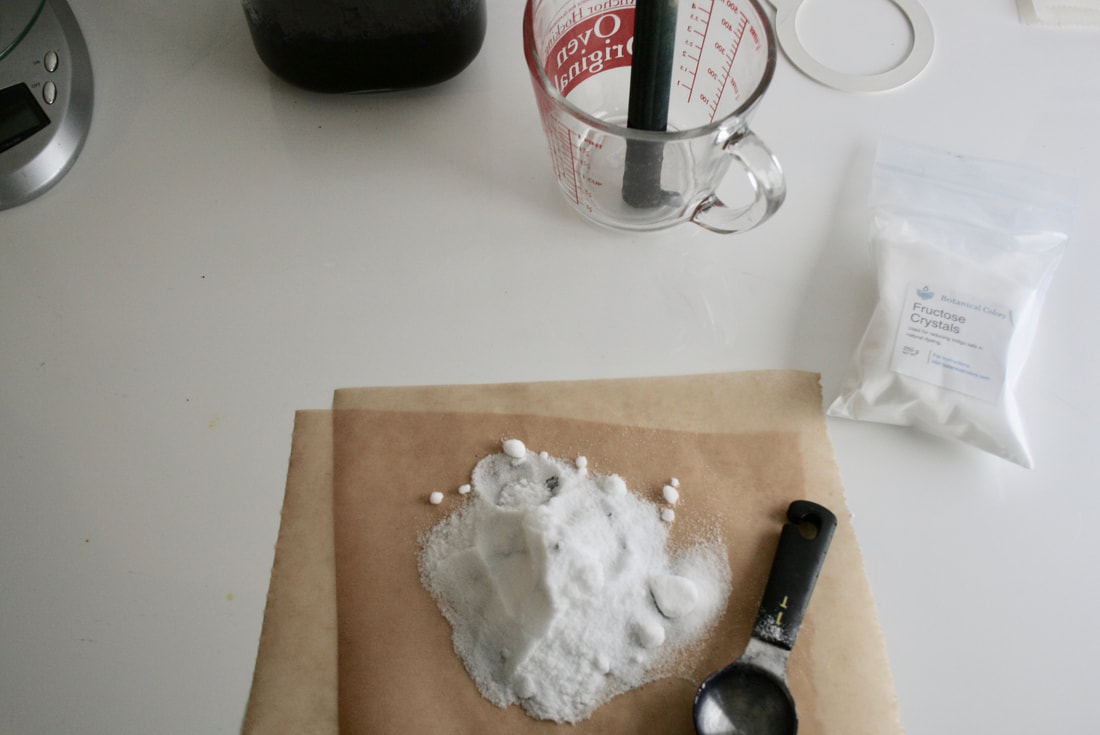
5. Then, add 4 tbs of calcium hydroxide and stir it in completely. I stir fairly slowly making sure to dissolve any lumps.
I did not have to wait long until the first bubbles and flower appeared on the top of the jar.
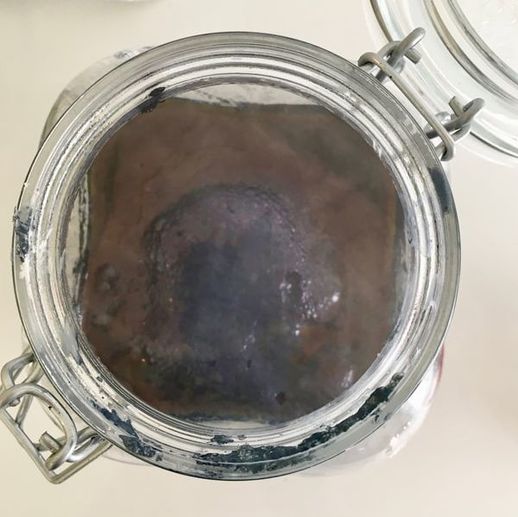
At this point, you will need to add in a bit more hot water filling the jar up to the top leaving about 1-2" of space. Then, let your stock settle completely and begin to react. This can take 15-30 minutes. In some cases the solution may look yellow-green when it is almost ready. In other cases, it may look reddish-brown. When those colors are achieved, your indigo solution is ready to go!
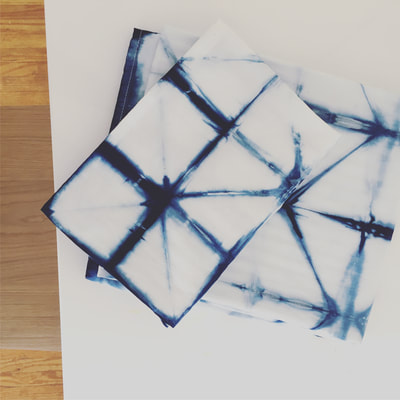
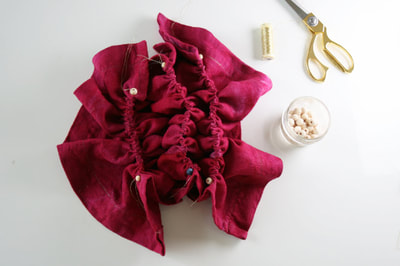
Once it is all ready, you will see the "indigo flower" (bubbles on top). I gently tip the stock solution into a vat of warm water. I bought a thermometer specifically for this and I keep the temp set around 120-130 degrees F. Once the liquid inside the vat has become a yellowish green color with coppery scum on the top, you are ready to dye! Since most of my indigo projects involve Shibori, I bind my fabrics first, then pre-soak them in water and ring dry prior to dyeing, in that order. 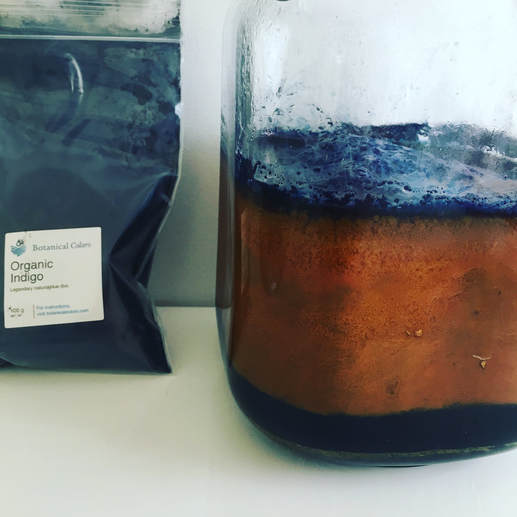
Resources for indigo Dyers
Here are some of my favorite resources that have helped me to learn more deeply about indigo dyeing:
Here are some additional posts on Shibori that I think you might enjoy!
6 Comments
3/12/2018 10:49:24 am
Have you tried to maintain this vat for an extended period of time. I want to learn how to nurture a vat to keep it going. 3/13/2018 10:25:30 am
Hi Dee,
Kim Springer
4/18/2018 10:51:47 pm
Can you use pre-reduced indigo? I live in Hawaii, where the temperatures fluctuate between the mid 60s to the high 80s. Would I still need to heat my vat? 4/21/2018 03:21:22 pm
Hi Kim,
Mary Ellen Davis
9/4/2022 05:23:04 am
Hi Kim! 9/4/2022 08:12:32 am
Hey Mary, I like to use warm water in my fructose vat or alternately, I create it in a steel vat gently warm it on the stove top. Always careful not to boil it. Leave a Reply. |

HI, I'M HILARY.
This is where I share inspiration for creative well living & following your dreams. With a love to sustainable conscious creation. You will notice that I offer workshops that inspire you to LIVE a soul-inspired life and manifest your dreams. I hope to meet you at one of my retreats or inside one of my group programs. I truly believe in the power of community and connecting with visionary femme creatives like you! For weekly inspiration -find me on YouTube 


Categories
All
FAVORITES
Archives
September 2023

BLOG COURTESY:
All layouts on this blog are created solely for, A Day in the Life. I enjoy sharing information and love when others enjoy my ideas enough to post the links on their own sites. I simply ask that you credit photos and link back to all original posts. Any comments that are inappropriate or spam will be deleted. All other rights reserved. |


 RSS Feed