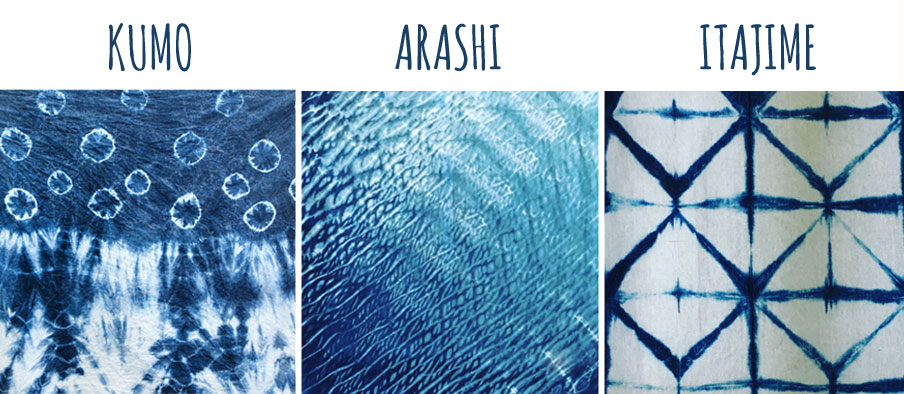
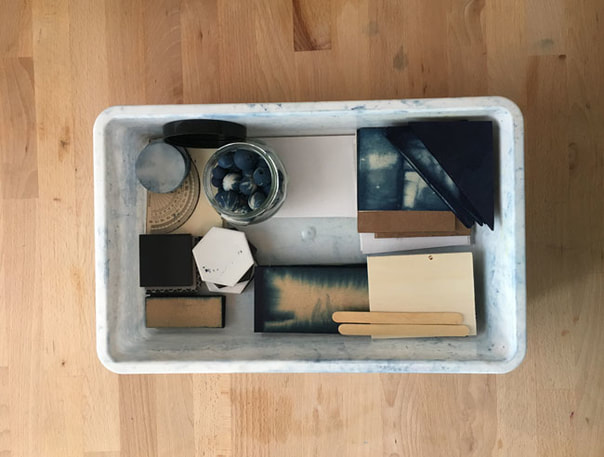
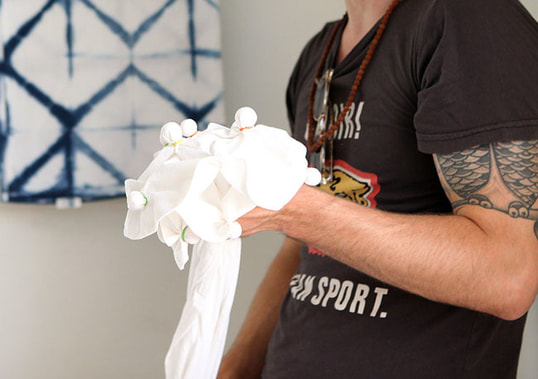
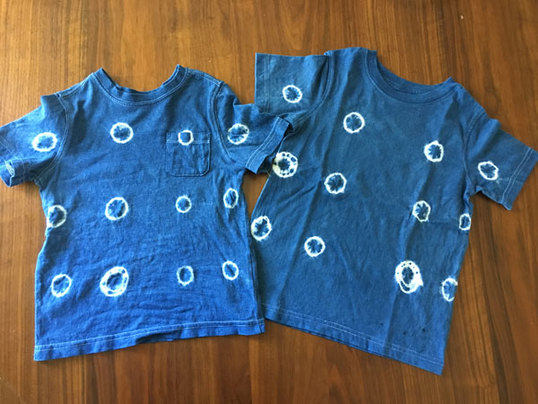
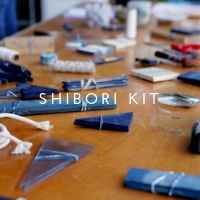
3 Basic Shibori Techniques: Kumo, Arashi, ItajimeWould you like to learn more about Shibori? I bet you might already be familiar with some of the beautiful tie and dye patterns that you can achieve from rings to lines. Many of these gorgeous shape-resist patterns can be achieved in an afternoon at home. Today, I will share 3 amazing Shibori techniques that I highly recommend to enhance or begin your textile design practice. Whether you are just starting out or an experienced designer, I think that you will find these techniques beneficial. My favorite Shibori techniques to teach at workshops and in my Natural Dye e-course are Kumo, Arashi and Itajime. I learned about these through reading, lots of experimentation and practice. In this article, I will share my top 3 techniques pictured below with you. Before beginning, I gathered all of the supplies that I needed for this project, which included rubber bands, beads, twine and wooden geometric shapes. I will share a more detailed list of all supplies alongside each method and I now offer a free checklist, that you can download:) It took me time and effort to pull together all of the supplies when I first started. Below, you can opt-in to receive my downloadable list of Shibori supplies! Kumo ShiborIYou are probably most familiar with Kumo Shibori, which means spider-web, and is a way to form a ring or a circle through binding. This technique comes to mind when thinking about colorful tie-dyed t-shirts, but it's origins are rooted in ancient Japan and India. Kumo is the practice of tying and binding found objects, which are often pebbles or stones. Below, you can see how Chris used wooden beads of various sizes to create uniform rings and circles on his tea towel. I suggest marking out your design with a pencil first and placing a dot where you would like center each bead. I wanted the circles on a grid for the matching t-shirts that I created for my son and his best friend. Next, I made concentric circles at random by tying two rubber bands, one inside the other leaving a narrow space in between. Kumo supplies:
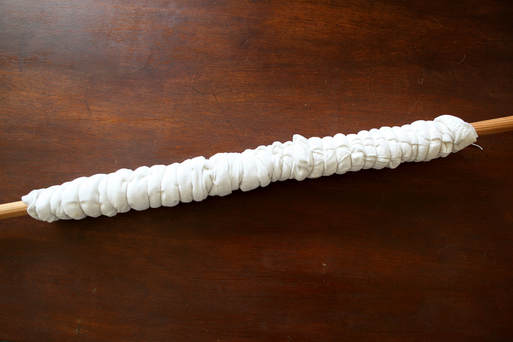
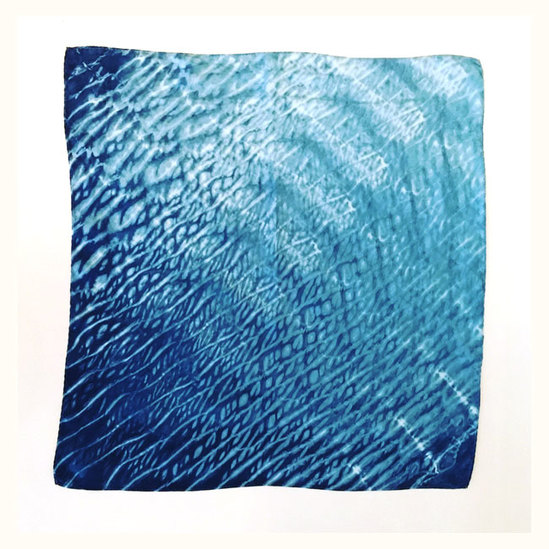
Arashi ShiboriNext, up is Arashi, a pole dyeing technique. The word Arashi, means storm, and in this technique twine is used to create directional lines. This effect is achieved through wrapping fabric around a dowel or pole, securing it with twine, then dyeing it. For this method, a deeper vat or 3 gallon bucket works well and the fabric can also be scrunched up toward the end of the pole. Below, you can see a pair of white pants, which are wrapped around a dowel. When I submerge the pole, I tend to scrunch the fabric toward one end of the pole. I was amazed at the Shibori results on a silk pocket square that I dyed for my husband's trip to Peru. Arashi supplies:
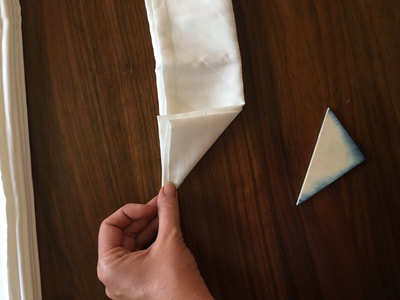
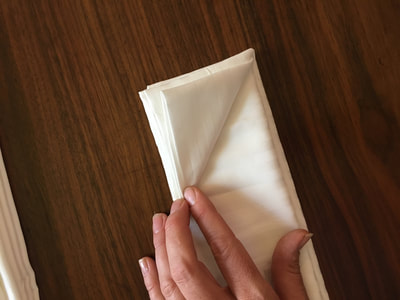
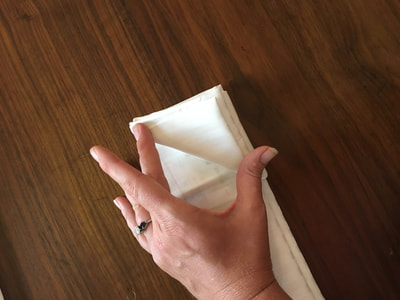
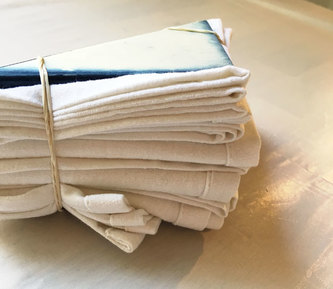
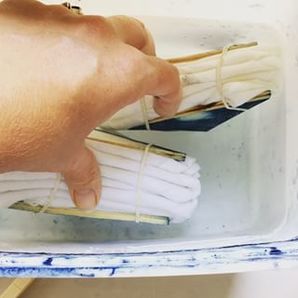
Itajime ShiboriA 3rd method is Itajime Shibori, using various folds to pleat the fabric then securing it with shapes. Then shapes are applied to resist the dye leaving the space where the shape is placed in white. Shapes can be cut from a variety of materials including wood, cardboard and plexiglas. In the first example, you will see how I folded the fabric, using a basic accordion fold shown here, to make it long and narrow, then I folded a right triangle back and forth. Once it was all folded up, I clamp it using 2 wooden triangles and secure it with rubber bands. Please note: I cut these triangles by cutting a rectangle (or square) diagonally in half to form 2 right triangles with 30 and 60 degree angles. Itajime supplies:
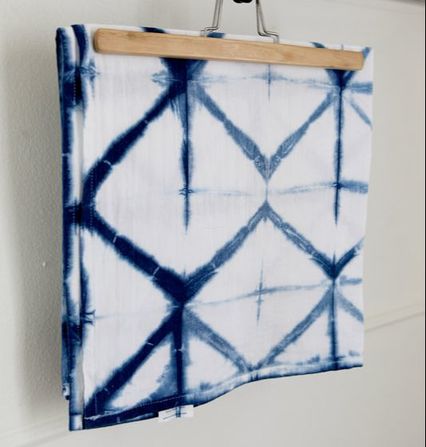
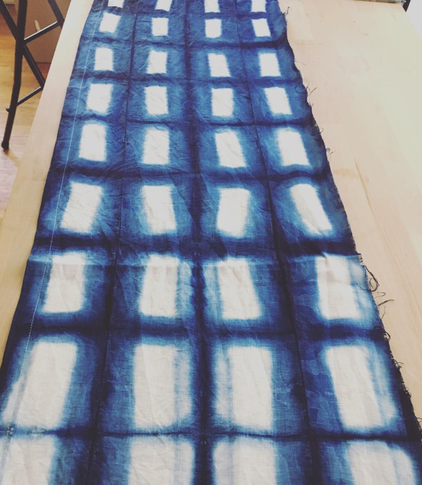
For the fabric below, I did the same long accordion fold then clamped the individual squares with a rectangular shape. This allowed more of the fabric to be exposed to the indigo dye, thus more of the fabric became a deep blue, leaving only the rectangle pattern in white. Shibori Resources
13 Comments
Fiona Fagan
12/11/2017 10:06:45 pm
Thank you for referencing my book Simply Shibori in your blog....great work!
Reply
12/12/2017 10:17:06 am
My pleasure, Fiona! Your book is one of my favorites. I just started working with a natural indigo fructose vat and I look forward to sharing more in the new year! cheers!
Reply
Ronda
4/12/2019 04:57:02 pm
I want to use black cotton and use bleach to whitening the edges, do you think it will work?
Reply
4/13/2019 09:43:33 pm
Hi Ronda,
Reply
Lee
7/30/2019 09:45:46 am
I’m looking for gauzy, light weight material to use for everyday scarves. I purchased some 28x28 inch flour sack towels from amazon. The texture and finished edges were perfect, I thought, but the size was too small. Is there a supply store you can recommend for finding larger blanks for me to play with? I’m looking for something a minimum of 40” square, or possibly long rectangles.
Reply
7/31/2019 10:17:06 pm
Hi Lee!
Reply
Carol
5/9/2020 06:42:02 am
Hi. I want to dye an old king-size duvet cover with a rectangular pattern. Do you have any suggestions on how to handle such a large piece? Thanks!
Reply
5/10/2020 03:23:12 pm
Hi Carol!
Reply
9/22/2020 03:07:38 pm
Hi Hillary- I love the way the silk pocket square seems to be both navy and blue green-. It's beautiful. Did you use 2 colors or just indigo? Your advice would be much appreciated.
Reply
Mimi Denman
10/4/2020 07:05:39 am
Will do. - Thank you.
Peggy
11/10/2020 10:24:20 pm
Could you share how you pole wrapped the pants, and what the result was?
Reply
Hi Peggy,
Reply
Leave a Reply. |
HI, I'M HILARY.
This is where I share inspiration for creative well living & following your dreams. With a love to sustainable conscious creation. You will notice that I offer workshops that inspire you to LIVE a soul-inspired life and manifest your dreams. I hope to meet you at one of my retreats or inside one of my group programs. I truly believe in the power of community and connecting with visionary femme creatives like you! For weekly inspiration -find me on YouTube Categories
All
FAVORITES
Archives
September 2023
BLOG COURTESY:
All layouts on this blog are created solely for, A Day in the Life. I enjoy sharing information and love when others enjoy my ideas enough to post the links on their own sites. I simply ask that you credit photos and link back to all original posts. Any comments that are inappropriate or spam will be deleted. All other rights reserved. |











 RSS Feed
