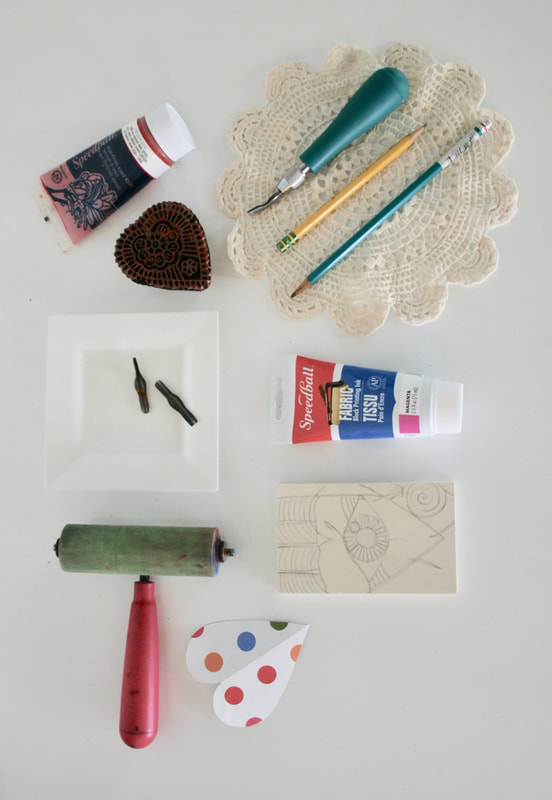
DIy Valentine's Lino-cut printsYou guys~ I am so ready to show you these DIY Valentine's Day cards. This project has been on the horizon for a few weeks and it is the kick off to the 2018 Make Nine challenge. My goal was to put it out there for you to try it out right before Valentine's Day, and I would encourage you to try this, if you would like to print your own Valentine's this year or if you have ever wanted to create a one-of-a-kind custom print for your space. The total project took me about an hour accomplish once I gathered all of the supplies and it was very satisfying to make. As I mentioned, this is project is my first selection of the 2018 Make Nine Challenge created by Rochelle of Lucky Lucille. You can see the other projects that I have chosen here. Are you ready to kick-off the challenge with me? 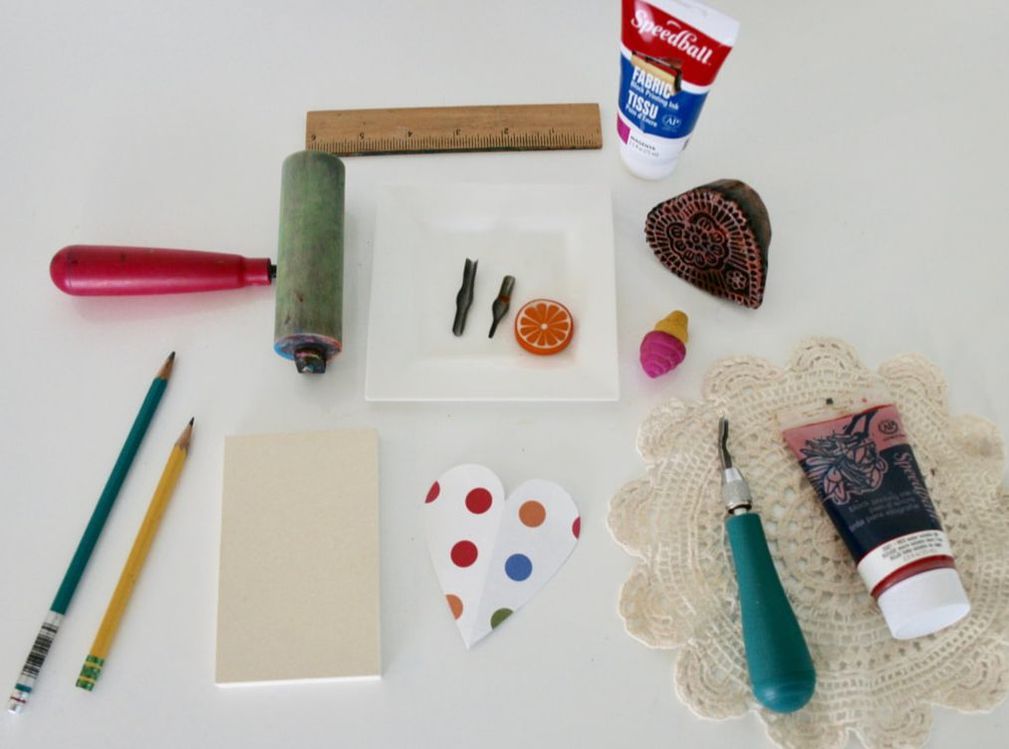 Keep on reading to see the full list of supplies and to see how you can make one too! You could say that this project is inspired by art-school, as I did my first linocut back in my AP Art class, when I fell in love with the process. Whereas traditional linocuts are carved into linoleum. This project, is slightly simplified as we will be carving into a rubber ready-cut block. I like these blocks because the results are more nuanced than carving into styrofoam, and a lot quicker than traditional linoleum and wood carving, which takes time and can be a real work-out for your arm! 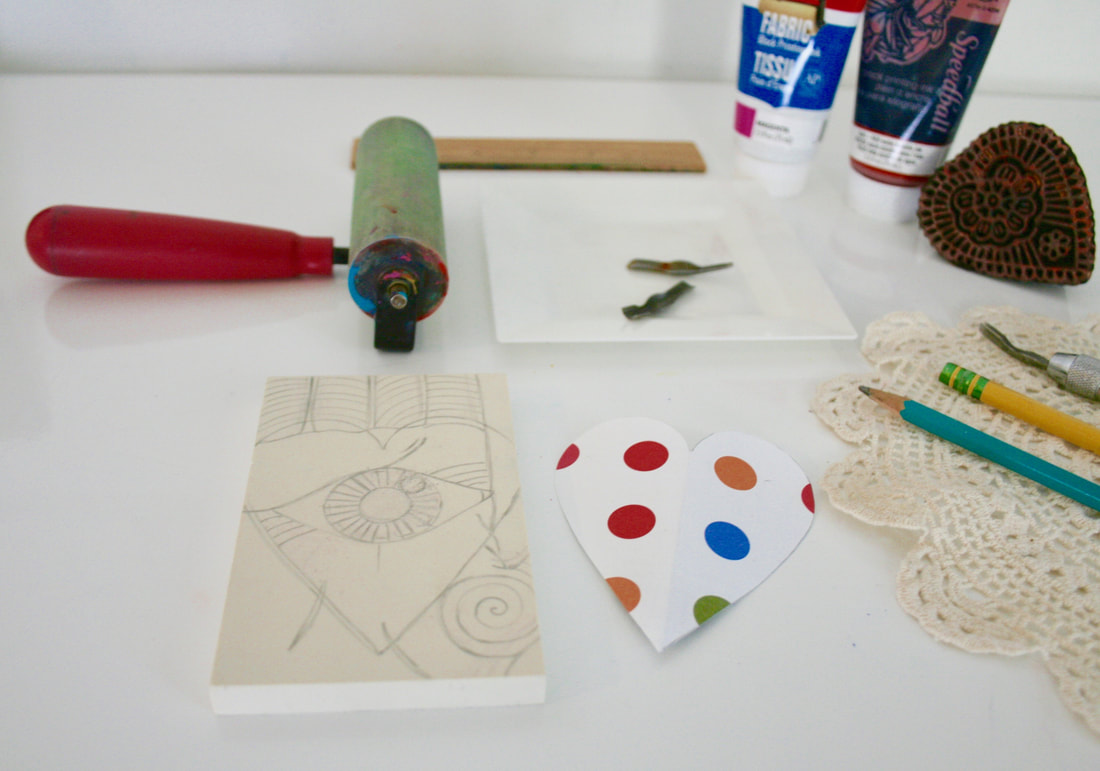 List of Linocut Materials:For this project, you will need:
 Once you sketch out your design, then you are ready to carve! I love the subtractive process of carving away the block, also known as a relief. To help you visualize whatever is carved out results in a white space on the paper and whatever is left behind holds the colored ink. 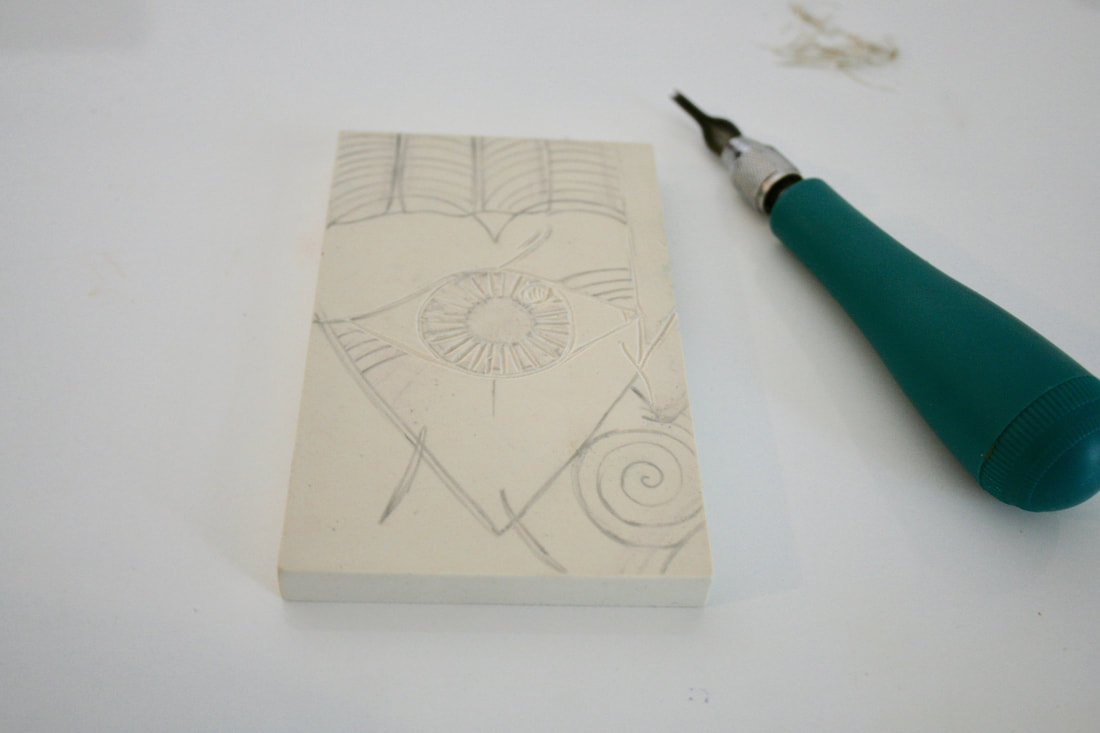 Next, you will roll your ink out smoothly on a plate, plexi or tray. I usually save my food packaging trays for this! You will notice that the ink is thicker than a medium body acrylic paint and it peaks on the brayer when it is coated evenly. You want to avoid having any blobs of ink that won't print smoothly onto your block. 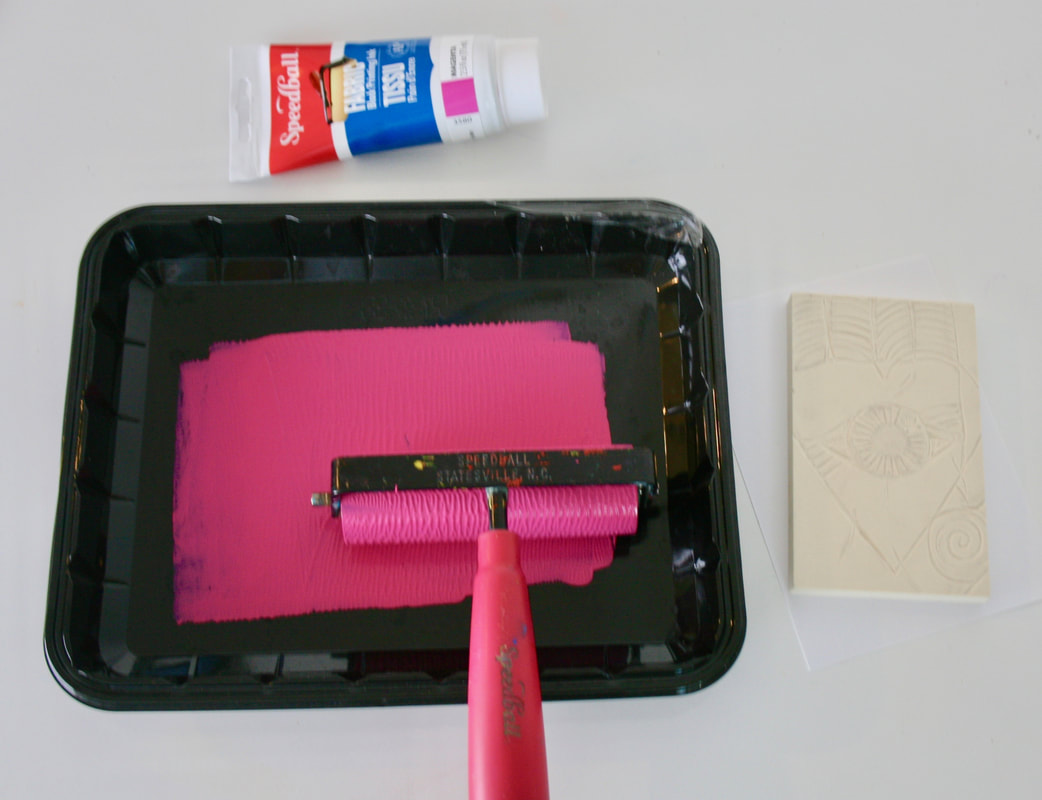 Then, you will roll out the ink onto the block evenly coating the surface. This will give you an idea of how your finished project will look. Later you can always clean your block and decide to carve more away if you wish! 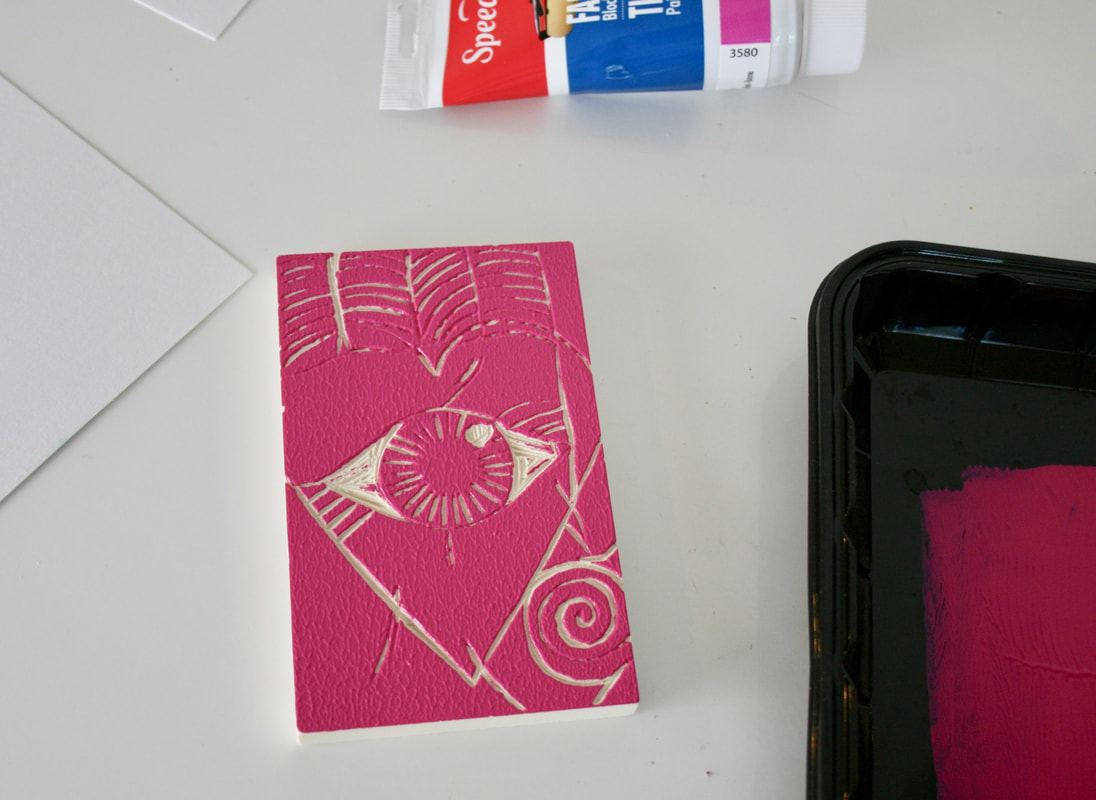 Lastly, I center my smooth multi-media paper, placing it on top of the block and press it down. Be careful that it does not slide around which can lead to a blurry print. I was able to pull 2 prints each time that I inked up my block. For your reference, my easy cut block is almost 3" x 5" which I thought was a nice size for designing multiple Valentine prints. I printed on to a paper that is about 4" x 5 1/2". 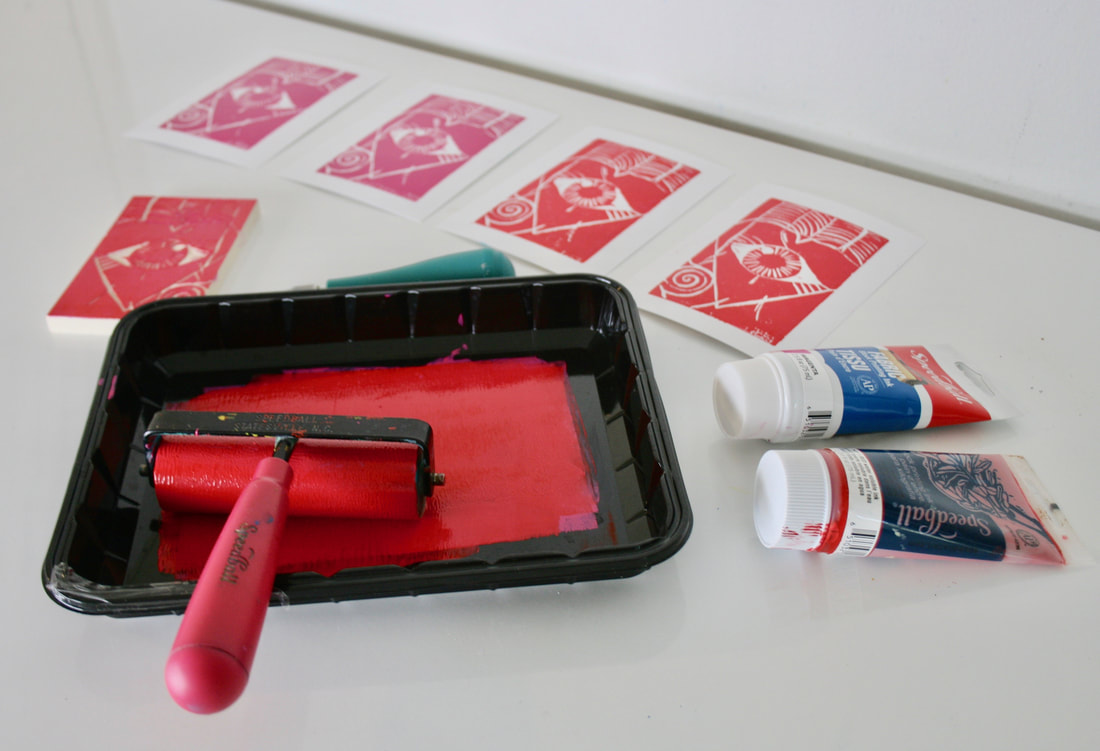 Ta-da! Here is the final print. I left a little space to write a note to the right! I look forward to celebrating friends and family this year! I was happy that my design came out a symbolic and abstract. I could always go back a carve out more using my wide U shaped gouge tool. 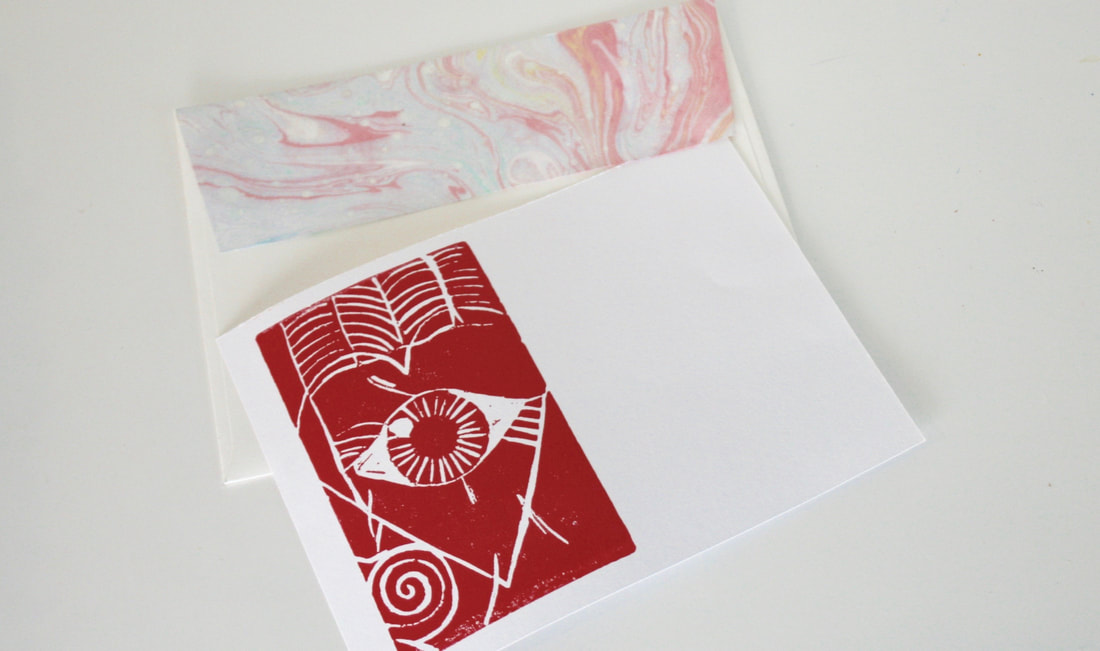 I hope you had fun with this project and I would love to see your results! You can share them with me on Instagram using the hashtags #2018MakeNine (official challenge hashtag) and #CreativeSundays (my brand hashtag).
If you enjoyed this project, then you might like to see:
If you would like to receive more free updates on DIY projects and workshops, please join our mailing list. Spread the love everybody!
2 Comments
2/1/2018 08:44:25 am
Thank you, Gemma! Would love to see if you happen to try it. Leave a Reply. |

HI, I'M HILARY.
This is where I share inspiration for creative well living & following your dreams. With a love to sustainable conscious creation. You will notice that I offer workshops that inspire you to LIVE a soul-inspired life and manifest your dreams. I hope to meet you at one of my retreats or inside one of my group programs. I truly believe in the power of community and connecting with visionary femme creatives like you! For weekly inspiration -find me on YouTube 


Categories
All
FAVORITES
Archives
September 2023

BLOG COURTESY:
All layouts on this blog are created solely for, A Day in the Life. I enjoy sharing information and love when others enjoy my ideas enough to post the links on their own sites. I simply ask that you credit photos and link back to all original posts. Any comments that are inappropriate or spam will be deleted. All other rights reserved. |


 RSS Feed