WORKING AS: A BLOCK PRINTER AND TEXTILE DESIGNERThis month, I made a cool new artist friend, Danielle Broder. When I came across her work, I new that she would be a perfect fit for my working as series, where we dive deep into the world of artist careers. Today, she shares her artistic experience and journey with us. You will learn all about block printing, and how you can get started creating unique textiles of your very own! Read the interview to see all of her trendsetting patterns and score a freebie from Danielle! 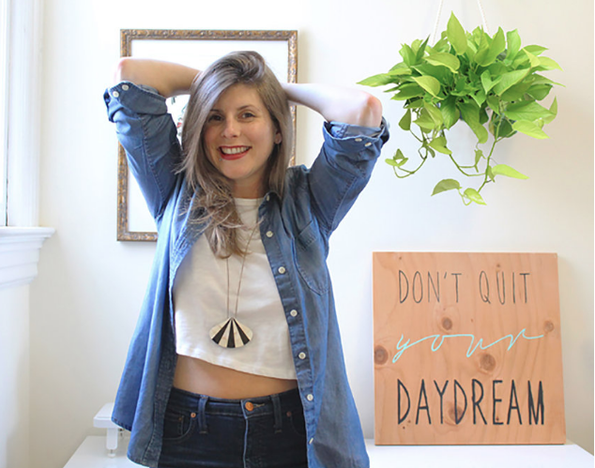 Danielle, can you please share a little bit about yourself? I’ve always been creative, but never considered it as a career until college. I was lucky enough to have an artsy grandma, mom and dad putting me in painting, drawing, jewelry, and crafting classes all the time as a kid. When I got to college, I decided to study illustration even though I didn’t know how that would eventually turn into a job. A year after graduating, I went back for a second degree in interior design and worked for a few designers and architects in L.A. While in college, I had all kinds of random art jobs, working for a home staging company, as an art teacher for kids (kill me), an art director at a summer camp, and doing graphic and web design for a few years. After I graduated the second time, I needed to get the heck out of L.A. So I moved to San Francisco and started my business shortly after. I started printing fabric and making wall prints, selling them online and at craft shows. After a few years it was going ok but it was growing painfully slow. I decided to quit doing craft shows cold turkey and worked more on my online presence. Soon I received a random email from a small company, asking me to create a class to teach my printing process. A few months later, I was teaching block printing from my kitchen table in SF through Groupon. Now 5 years later, that class has become my signature offer as I’ve tweaked it to accommodate up to 40 people in larger settings as well as a 1:1 class. I also started doing custom work for interior designers which I really love (even though some projects are SUCH a challenge!) 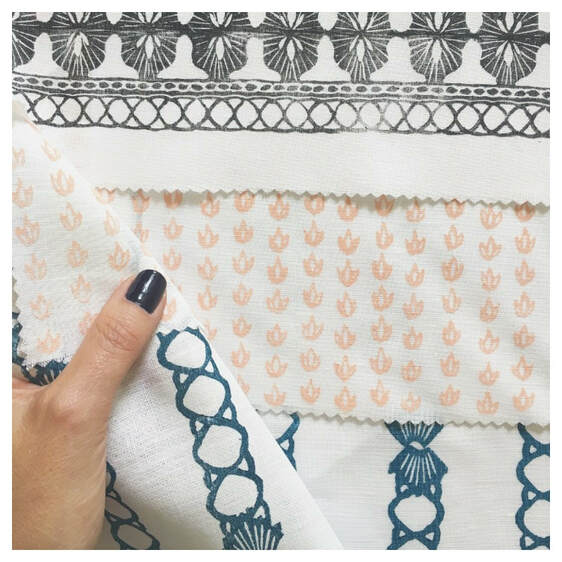 The Block Printing ProcessTell us a little bit about your process: I sketch designs in pencil and work them over in Illustrator until I get them perfect. Then I transfer those images to rubber, carve them out, and stamp them with inks onto giant pieces of fabric. I try and stay out of the sewing part...I really don't enjoy that part!! What kind of wood or material you use for your block? There are a bunch of materials you can carve to create a block print, but I use rubber blocks for all of my designs. I find that rubber in combination with the inks I use have the best effects on fabric, while still being really quick and easy to use. How long does it take you to carve it out? It depends on how intricate the design is. Most simple blocks I can carve up in less than an hour. More delicate and complex larger scale blocks can take up to a few days to carve. If it’s that detailed, I usually space it out over a week, so I can rest my eyes in between! 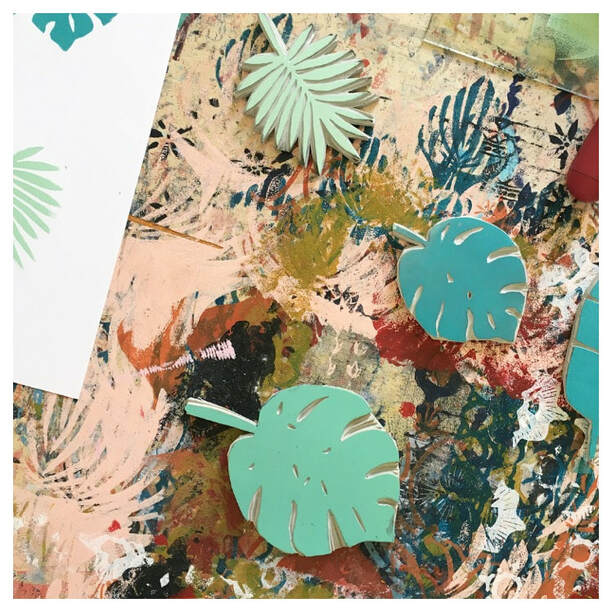 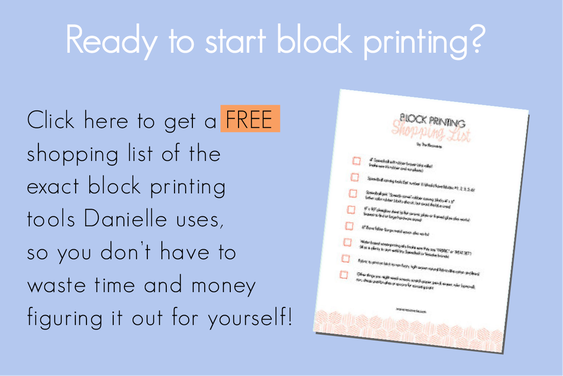 How did you get started? I spent 8 years in art school learning every medium under the sun, but somehow missed printmaking. Part of the senior project in my interior design degree was to take a part of my design project and construct a piece of it at full scale. I chose to make a fabric wall hanging because I was super stressed and that seemed really easy. I bought a piece of $4 burlap, and googled how to print my designs onto fabric. After a quick search, I came across a block printing tutorial and that was it. I got the supplies, carved my first block, and my project was a hit. What is your favorite pattern that you have ever created? I don’t really have a favorite (can’t choose!), but my favorite group of patterns were all designed when I took my second solo trip to France and Spain in 2017. I was really inspired by the D’Orsay Museum and spent hours in cafés sipping wine and sketching. Those patterns remind me of that incredible trip! What type of inks do you use? I use screen-printing inks for all my projects. I prefer them over oil inks because they are less toxic and much easier to clean up. 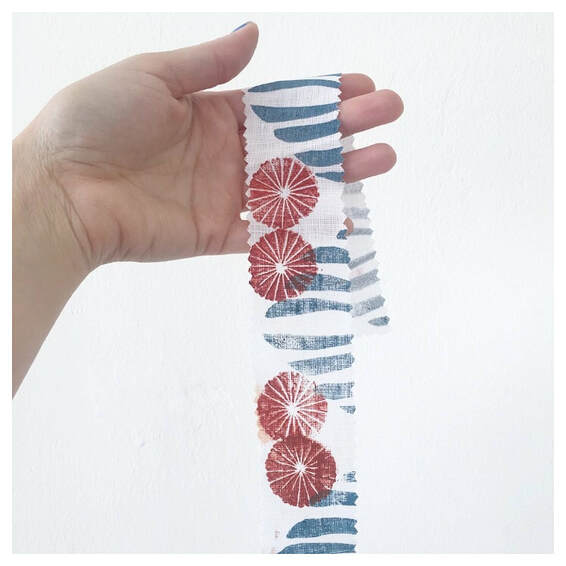 What projects are you most excited about right now? I’m finishing up some custom fabric for a woman who makes super cute pillows for interior design projects. I designed totally new patterns that stray from my usual style, so it was fun to break that boundary and do something new. I’m also updating my online course which is a video workshop where you can learn my entire process from start to finish. Where do you see your business in 5 years? That seems so far away! In 5 years I want to be teaching primarily online, while doing more large scale custom projects for interior designers. Oh, and I want to be hosting a rad art retreat! Thank you Danielle for sharing your expertise and inspiring us! You can find out more about Danielle here, and click below to grab her free list of supplies to get started. 
0 Comments
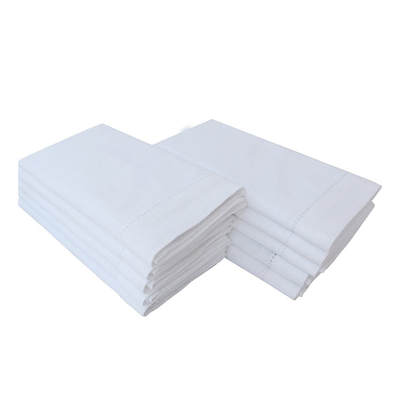
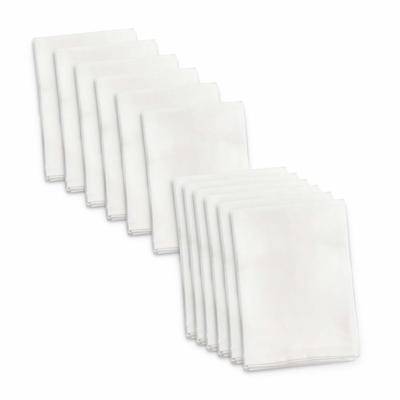
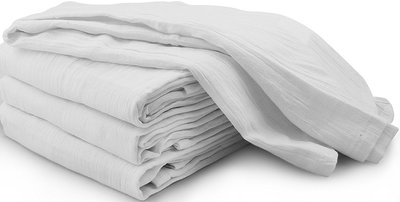
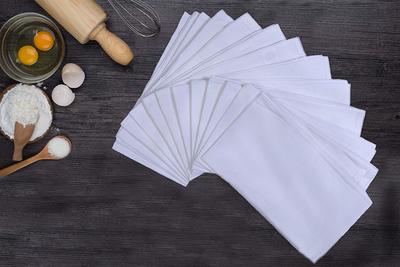
How to Create an Iron Vat for BeginnersBefore I began working with natural indigo, I was a long time admirer of the deep indigo hue on fiber. Today, I am going to share with you my current favorite Natural Indigo Vat, that I feel is friendly to beginning indigo artists or even those of you who wish to explore Shibori patterns in an afternoon. First, a little background on how I came to use the Indigo Iron Vat. As you may remember, I hosted my first ever Shibori workshop event mostly for friends. My friend Amelia and I, had discussed sharing our knowledge and skills to learn something like an art-form or craft in an afternoon. With my background and experience in art education, the idea of hosting a workshop, came to me organically. For the first class, I used a beginner's Indigo kitavailable by Jacquard. I often keep this kit as a back-up for parties or events, although I have shifted to using a completely natural kit with no synthetic reduction agents (they can be quite smelly, so be sure to work in a well ventilated space or outdoors, if you prefer this first kit!- my kit includes a few additional shapes and uses and all natural recipe- read on down for all the details!) 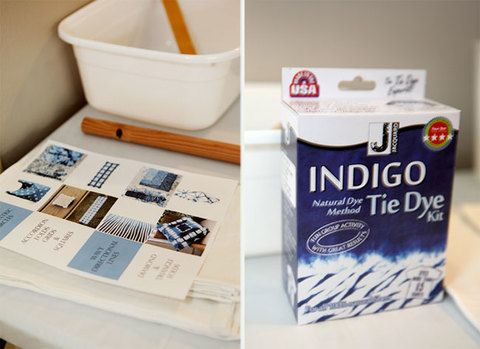 Next, I attended a block-printing workshop out in the high-desert, and to my surprise that day we dipped our textiles into a fructose vat, which I write about here. I set out working with the Fructose Vat for many months. I found it ideal for one time use over the course of an afternoon, I had more challenges when sealing off the vat to prevent oxidation or rebalancing the vat. Now, I enjoy working with the Ferrous Vat a.k.a. Iron Vat for long-term use! To my surprise one of my five gallon vats, has been fermenting an creating beautiful blues for quite a few months and I simply store it in the shade in my garden. Occasionally, I mix up additional stock to add more pigment to the vat. 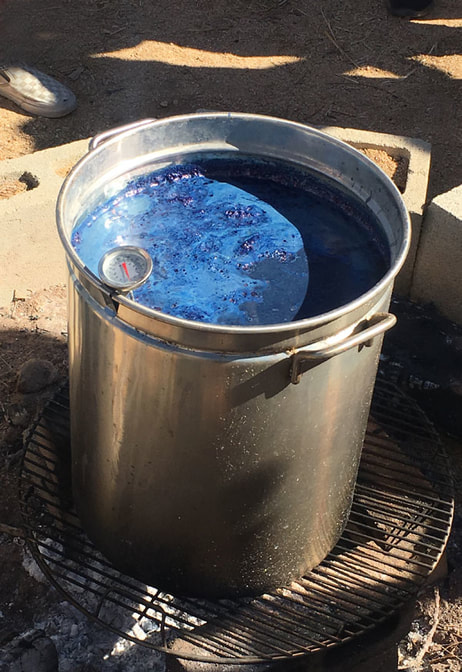 Indigo fructose vat on the coals Over the past few years, I have experimented with a variety of textile and surfaces for natural dyes. Indigo is my dye of choice, although I often experiment with botanical prints on fabric too. If you are a natural dyer, artist or simply someone looking to explore textiles in a more sustainable way, then I am going to share my favorite blank textiles for natural dyeing. As you will see, all of my selections for this round-up are either cotton, linen or silk, which are all natural fibers. Napkins and Paper Products
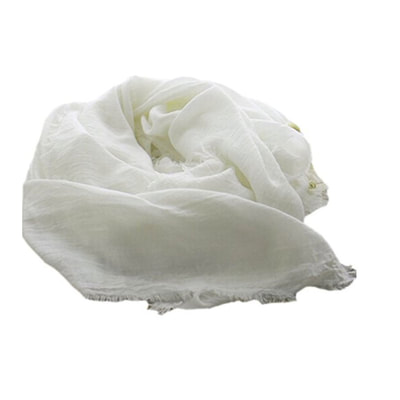
Tea Towels and Scarves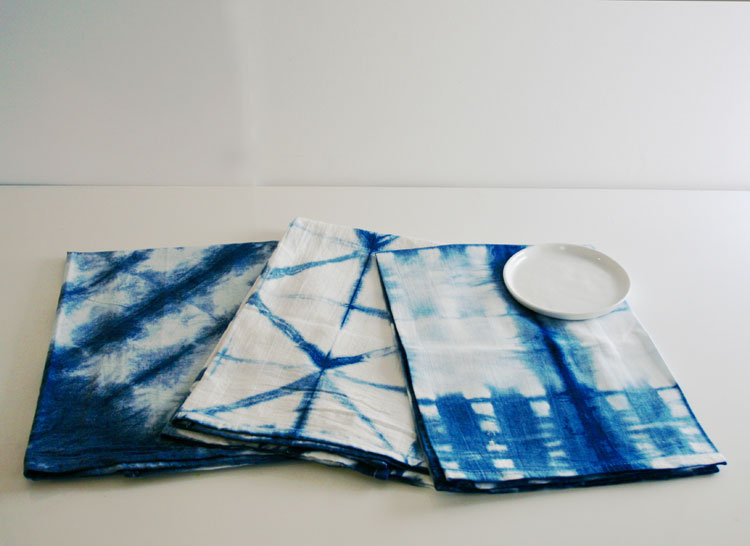 Tea towels are another awesome way to get started working with indigo and Shibori techniques. They make amazing accessories for your kitchen. If you wish to go larger or create a personal accessory, then I recommend a scarf!
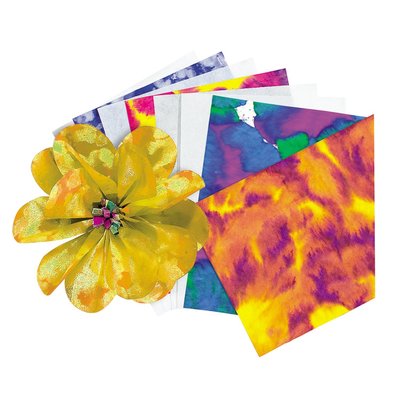
 Pocketsquares, T-shirts and TotesIf you are looking for additional items to dye that might make a great gift, then I highly recommend the items listed below. Pocket-squares make the perfect gift for a man, who likes to accessorize. Kid's t-shirts are a great birthday gift or baby shower gift, while tote-bags are reusable and always come in handy. 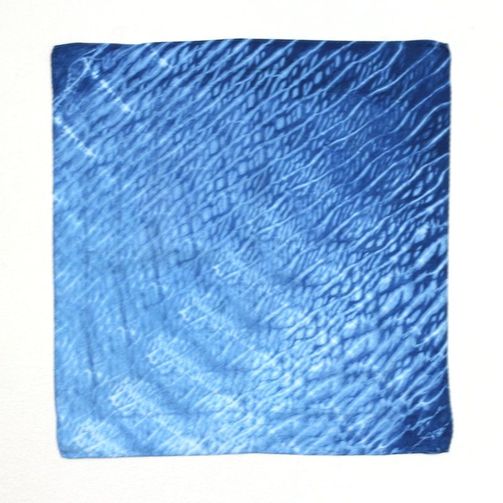 Indigo on silk pocket square  Happy natural dyeing! I hope you found something that you might like to dye here. I can't wait to hear all about the beautiful things that you create. Here are some additional links, that you will love:
|

HI, I'M HILARY.
This is where I share inspiration for creative well living & following your dreams. With a love to sustainable conscious creation. You will notice that I offer workshops that inspire you to LIVE a soul-inspired life and manifest your dreams. I hope to meet you at one of my retreats or inside one of my group programs. I truly believe in the power of community and connecting with visionary femme creatives like you! For weekly inspiration -find me on YouTube 


Categories
All
FAVORITES
Archives
September 2023

BLOG COURTESY:
All layouts on this blog are created solely for, A Day in the Life. I enjoy sharing information and love when others enjoy my ideas enough to post the links on their own sites. I simply ask that you credit photos and link back to all original posts. Any comments that are inappropriate or spam will be deleted. All other rights reserved. |


 RSS Feed