Organizing A design Studio
I began working on my art studio and office updates near the beginning of summer in order to refresh and basically clean out the work space. I'm guessing that most artists and designers can relate to the studio stacks of materials from projects that seem to build up and grow over time. I soon realized that my studio is usually in a state of evolving and occurring projects and that I would never be totally ready to completely for sharing. This was a nice challenge to tidy-up, photoshoot, and share my space as it currently appears.
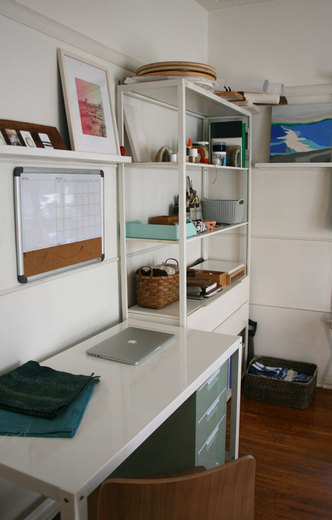
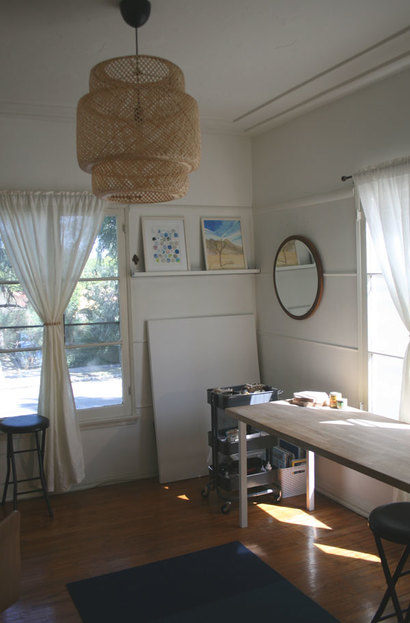
As you may remember, I planned to declutter and even host a Shibori workshop event this summer. I began with both inspiration and product boards, as I started to source pieces to help me reorganize my space. To begin to organize the space, I relied on new and old furnishings to give the room order and structure. So here it is, my studio, work in progress! 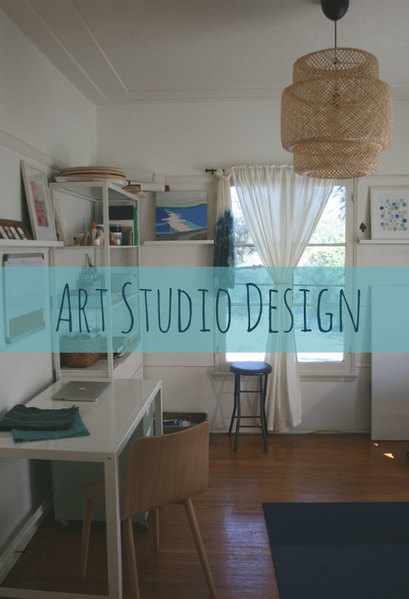
As you can see, the white open shelving with drawers hold most of my art materials, paints and textiles. My desk and writing space is to the left and my work table is to the right.
Read on down, to see all the details and progress as it comes together. Scroll to the bottom, to find out more about how to join my art studio board, so that we can design our artistic spaces and share inspiration. 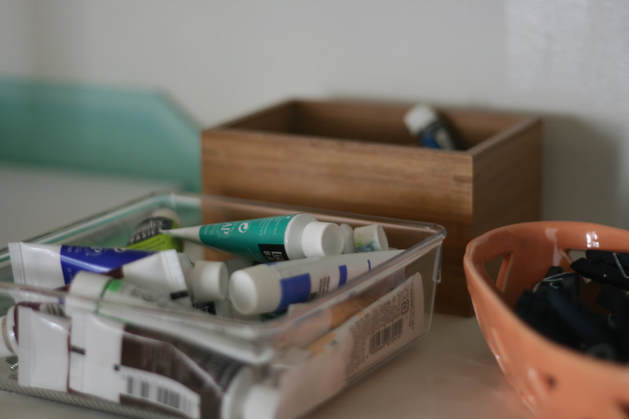
Collection various acrylic paint and gouache.
0 Comments
5 Tips to style and organize your entrywayHave you ever wanted to tidy-up and reorganize your entryway? The entrance of your home really sets the tone for the entire space from the moment you first walk in the door. Our entryway, is currently a work in progress. We have tackled organizing the space, which I find is a really good place to start. We are still on the hunt for a fabulous piece of art to make it feel complete. Today, I am going to share with you some ideas about how you can make your entryway feel absolutely organized and perfect as you walk in the door. This is a space that I worked for a client, a few years back when we were designing her living space. Here are 5 simple steps to make your entryway more appealing as you walk in the door, so you can take a deep breath relax and enjoy your home more! 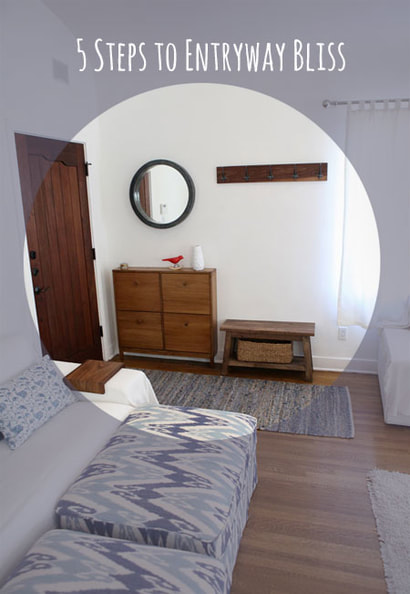 Remove all clutter and superfluous objectsI recommend that you start by removing unwanted objects and organizing clutter. Voila! You are already on your way to making your space functional and unique! 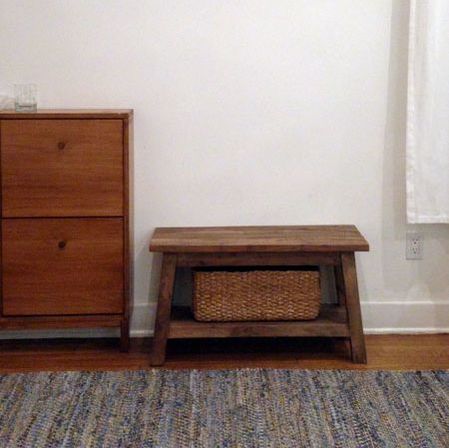 Follow these simple steps to get Organized Follow these simple steps to add function to your entryway. 1.Organize shoes with a storage cabinet, baskets or shoe rack. 2.Create wall storage with coat racks or hook to organize, hats, scarves, backpacks and bags. 3.Decorate walls by adding a mirror or floating shelves. It make the entryway feel larger and more inviting. 4. Address the floors, by adding carpet runner or doormat to keep floors clean plus add texture or color. We cozied up the wood floor with a long denim rug runner- like this one. 5. Accessorize with trays, bowls, and baskets. Bonus points, if you add a vase with fresh flowers. At the moment, personally like to use a woven storage bowl for keys. We added in a long basket below the bench too. I loved the challenge of organizing her entrance because it led me to design a range of walnut coat racks and floating mirrors. The walnut coat rack was designed around our need for a wooden piece that felt organic, modern and had a variety of tonal qualities. In this way, the coat rack pulled the other wood pieces, the bench and the shoe storage together for us. 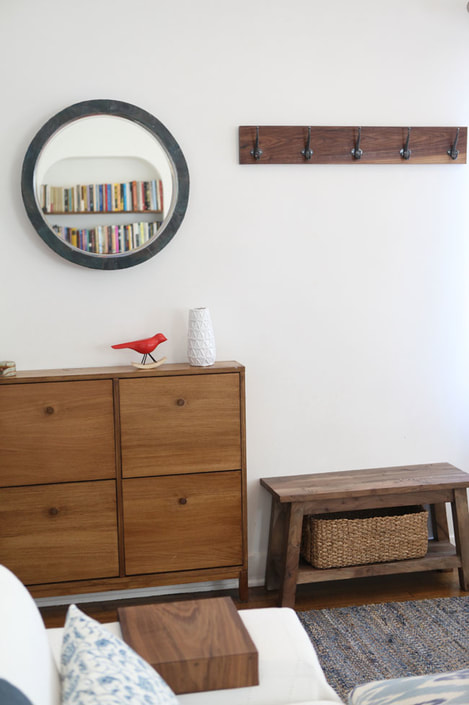 List of Sources for your spaceHere is the complete shopping list of the pieces that we used.
Below, you can see how the whole space came together with their front door and existing architecture. I promise to share how my own entryway redo is coming along very soon! 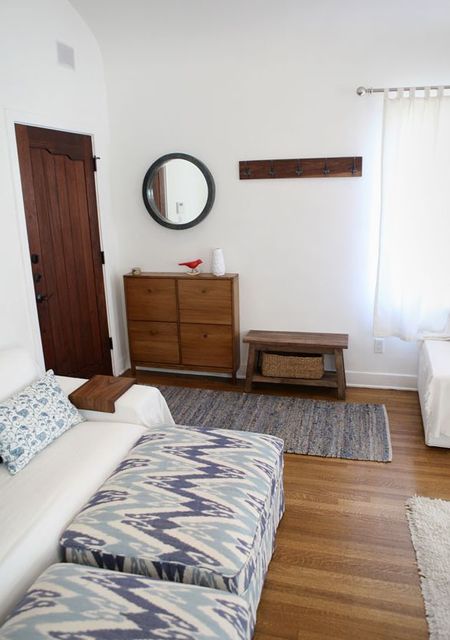 I hope you have enjoyed seeing how I organized her space. I'd love to hear from you. What are some of your favorite things to place in an entryway?
Please feel free share any tips or ask any question in the comments below! If you enjoyed this post, you might also enjoy following along the One Room Challenge with me, as I transform our spare bedroom into a Boy's Nature Bedroom over the course of 6-weeks. Happy Friday, everybody! It was a busy week for me and I wanted to take a moment to share with you another post from my kitchen renovation series. You may remember my previous post, kitchen renovation #1 where we did in our first full remodel on a budget in a historic neighborhood. For kitchen renovation #2, I am reflecting on a kitchen that I restored back in 2015. It was part of a complete remodel that we did to a property in Louisville, Kentucky near the University. This was my second full kitchen replacement and I started from a blank canvas continuing to hone my formula for creating a modern and Scandinavian kitchen as I go. I do love all white kitchens that feature modern Scandinavian design. For rental properties and resale purposes, it is somewhat safe to use all white. I find the color both clean and appealing. Since these properties are both located in Louisville, where the homes have a history, the updated look incorporates historical aspects in a modern way. Our renters have all embraced the clean and modern look which possesses crisp lines, white cabinets, and light birch (warm) countertops. For this kitchen remodel, I kept some things the same as in Kitchen Renovation #1
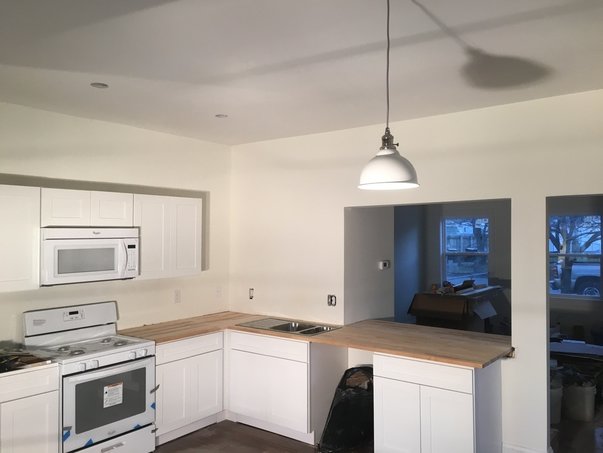 Keep reading see how it looks with a tile backsplash and I will share links to all products that I used at the end of this post.
|

HI, I'M HILARY.
This is where I share inspiration for creative well living & following your dreams. With a love to sustainable conscious creation. You will notice that I offer workshops that inspire you to LIVE a soul-inspired life and manifest your dreams. I hope to meet you at one of my retreats or inside one of my group programs. I truly believe in the power of community and connecting with visionary femme creatives like you! For weekly inspiration -find me on YouTube 


Categories
All
FAVORITES
Archives
September 2023

BLOG COURTESY:
All layouts on this blog are created solely for, A Day in the Life. I enjoy sharing information and love when others enjoy my ideas enough to post the links on their own sites. I simply ask that you credit photos and link back to all original posts. Any comments that are inappropriate or spam will be deleted. All other rights reserved. |


 RSS Feed