Wood Table Glue-up Repair
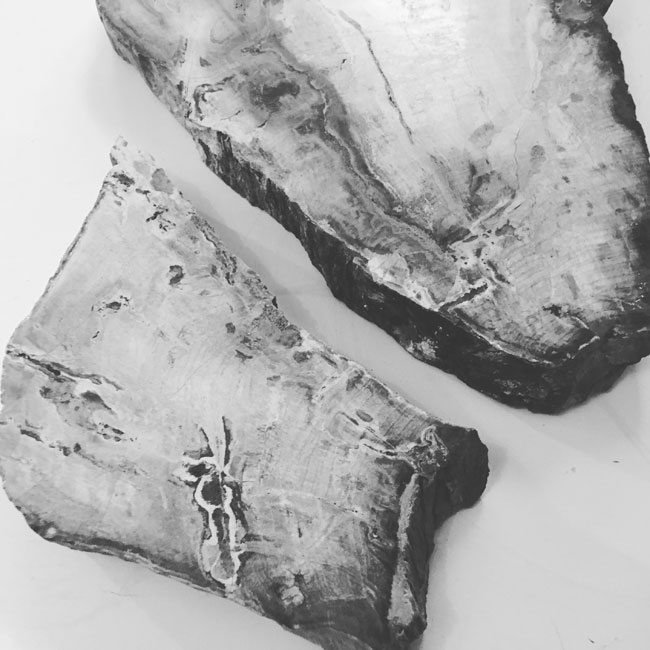
Today, I invite you to see how I repair simple slab of petrified wood in my studio. If you are interested in wood glue-ups or need to do a simple wood repair, then you can use this simple process.
This wood slab came from a high-end side table that my client purchased a few years back. When she reached out to me, I offered to repair the piece of furniture.
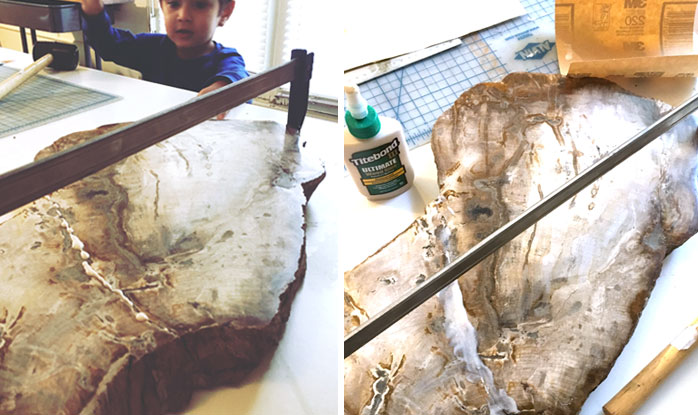
I was excited about this repair because the table was so beautiful and I felt like it could be repaired. I do occasional glue-ups when making a table top or even a large cutting board and I use a similar process to combine the two lengths of wood. In my woodworking class, I learned that wood glue dries stronger than nails. I use Titebond III for glue-ups because it is water resistant, which is perfect for both tabletops and cutting boards, anything that you want to resist moisture.
I use my 24" bar clamp a lot because most chairs and small tables fit within that size. The next size up, which comes in handy is the 36" bar clamp. I got lucky with this glue-up and was able to position the sides of the clamp on two semi-flat sections on the side of the table. I've found that it can be tricky, when glueing to natural edges and it helps if you can find 2 flat spaces on the edge which to clamp onto. After I run glue along both edges of the wood, I position the wood and tighten my clamp.
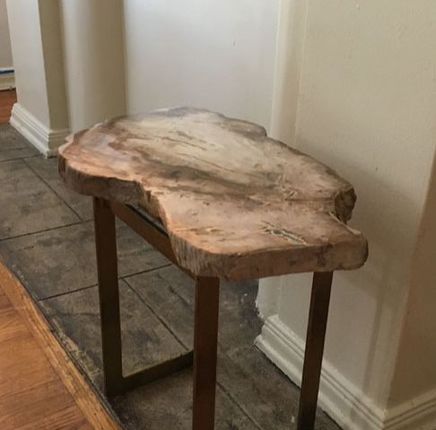
Once the wood glue had dried, I used a little bit of walnut wood putty with a putty knife to the crack to make it blend into the rest of the table. The crack is still slightly noticeable but gets lost in the style of the piece. I also sanded the wood putty filler once it was dry. Next, I used a multi-purpose adhesive to adhere the table top to the metal base. It works well and I use this product often when attached wood to metal or glass to wood. Then, I sand away the excess putty.
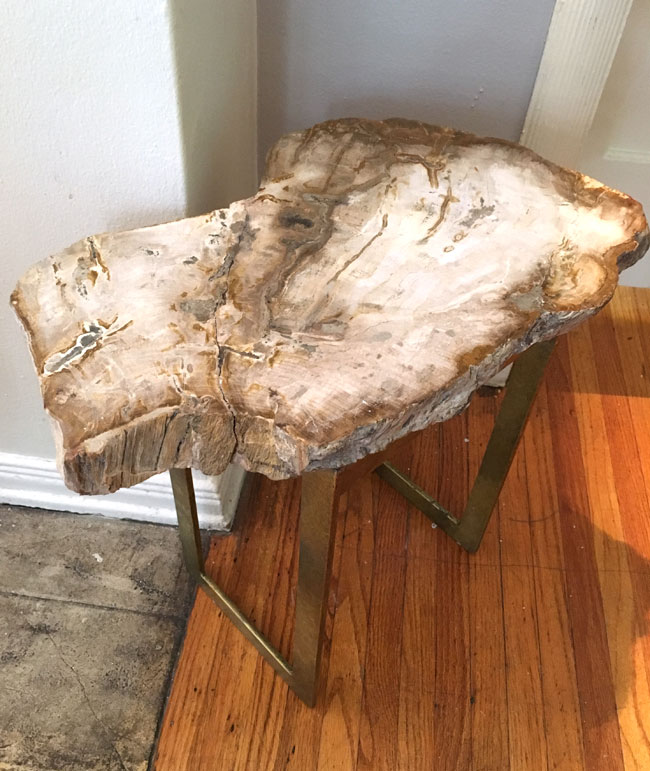
Below, you can see the side table after repairs. I plan to add a light coat of polyurethane to seal in the wood putty and ultimately seal the crack. I hope you have enjoyed this mid-week project and that this info will help you with any simple wood repair.
If you enjoyed learning about this simple wood repairs, then you might like to see how I refinished a vintage desk recently and you can too! To see more, repairs and tricks on wood refinishing please join my mailing list to receive monthly updates on how you can improve your home.
2 Comments
6/17/2022 09:34:04 am
Wow it was fun to watch these kind of videos.
Reply
Leave a Reply. |
HI, I'M HILARY.
This is where I share inspiration for creative well living & following your dreams. With a love to sustainable conscious creation. You will notice that I offer workshops that inspire you to LIVE a soul-inspired life and manifest your dreams. I hope to meet you at one of my retreats or inside one of my group programs. I truly believe in the power of community and connecting with visionary femme creatives like you! For weekly inspiration -find me on YouTube Categories
All
FAVORITES
Archives
September 2023
BLOG COURTESY:
All layouts on this blog are created solely for, A Day in the Life. I enjoy sharing information and love when others enjoy my ideas enough to post the links on their own sites. I simply ask that you credit photos and link back to all original posts. Any comments that are inappropriate or spam will be deleted. All other rights reserved. |






 RSS Feed
