Have you ever admired the beautiful color of indigo dipped textiles? Did you consider that you could create your own Shibori designs with natural indigo? 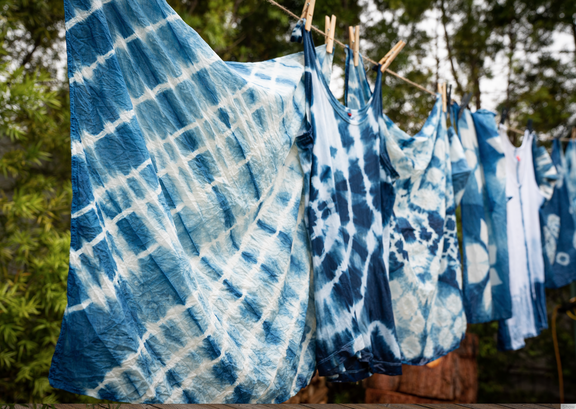 Shibori Ideas Shibori Design 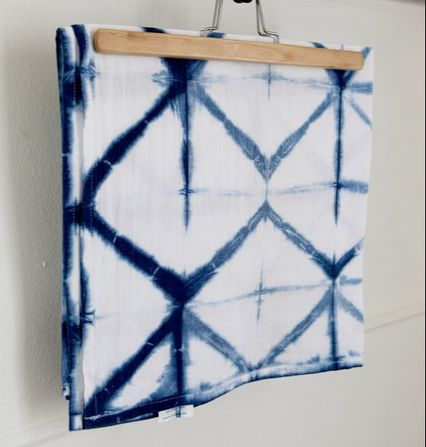 The Indigo Vat 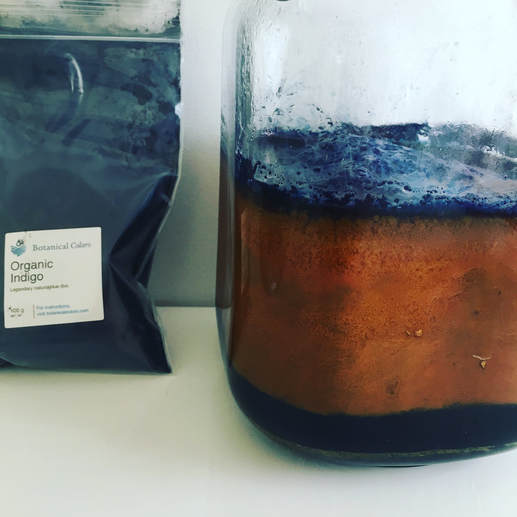 Selecting Fabric for Shibori 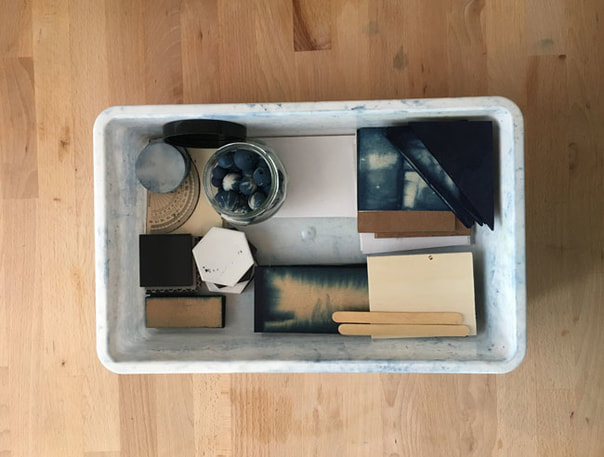 Advanced Shibori Techniques
4 Comments
5/15/2023 06:36:25 am
The examples you shared in this post really helped me grasp the concepts better. Thank you! 5/17/2023 06:46:51 am
"Thank you for going the extra mile and providing additional resources at the end of the post. It shows your commitment to helping your readers further." 5/26/2023 08:36:46 am
"You have a talent for explaining things in a clear and concise manner. It's easy to follow along and understand." 7/4/2023 06:51:47 am
Great little blog! Come back to posting more on your blog! Would love to hear more from you. Leave a Reply. |

HI, I'M HILARY.
This is where I share inspiration for creative well living & following your dreams. With a love to sustainable conscious creation. You will notice that I offer workshops that inspire you to LIVE a soul-inspired life and manifest your dreams. I hope to meet you at one of my retreats or inside one of my group programs. I truly believe in the power of community and connecting with visionary femme creatives like you! For weekly inspiration -find me on YouTube 


Categories
All
FAVORITES
Archives
September 2023

BLOG COURTESY:
All layouts on this blog are created solely for, A Day in the Life. I enjoy sharing information and love when others enjoy my ideas enough to post the links on their own sites. I simply ask that you credit photos and link back to all original posts. Any comments that are inappropriate or spam will be deleted. All other rights reserved. |


 RSS Feed