How make curtain tiebacks using wooden beads
One month ago, I hosted my first shibori workshop as part of a series of upcoming maker's events. It was super fun and creative, so basically I can't wait to share all the pictures with you. Since I put so much energy into that event, I wanted to share a simple and mess-free DIY. As many of you know, I have been updating my art studio to create a coastal vibe and modern office where I can work on my designs. I needed new curtain tie backs to tame my white linen panel curtains. I was really happy with the results and the whole project only took 15 minutes out my work-day. High-five!
This post originally appeared in early July, and quickly became one of my most popular posts. I am adding an update and improvement today to the project after using the ties for over a month. Here is how you too can make simple and inexpensive beaded curtain tiebacks in around 15-20 minutes. Happy Crafting!
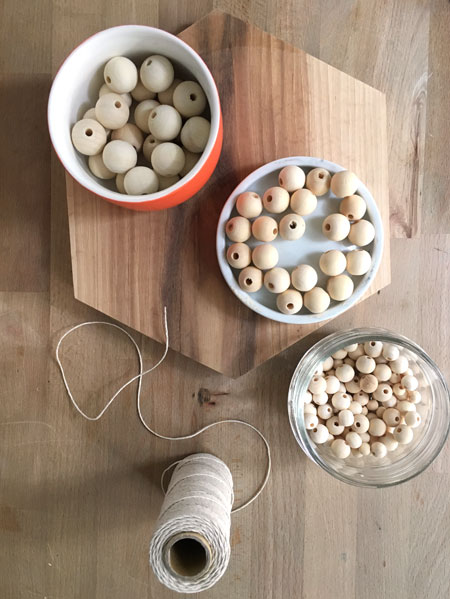
For this project you will need only two things:
Read on through for the full project and list of supplies!
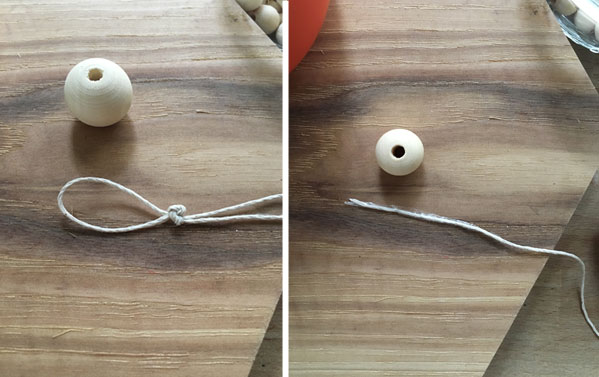
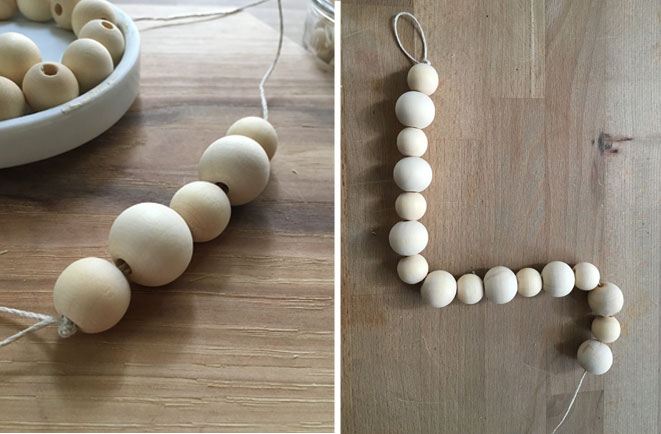
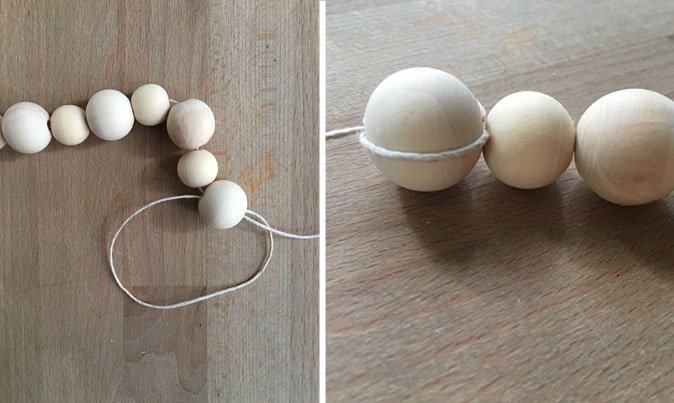
I began by creating a loop at one end of the cord. I knotted it 2 times so that the first bead would rest on the knot.
I began by stringing the medium sized bead first. I could not find my embroidery needle, so I simply taped the tip of the cord using packaging tape to make it easier to thread and prevent fraying as I worked. I created a pattern using medium and large beads in a pattern. I decided to use the small beads for another project although I do think they could be used to create a different pattern and/or longer beaded tiebacks.
I used 16 beads total and looped the twine through the last large beads a 3 times to secure it before knotting it and trimming the excess twine.
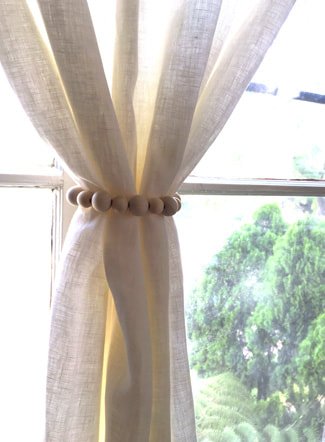
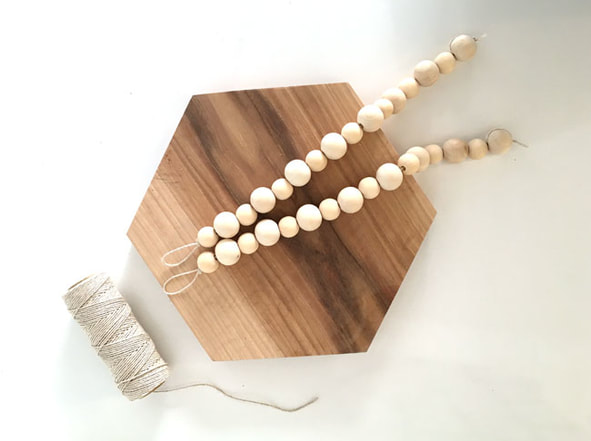
...Ta-da! you've got it. New tie-backs in about 15 minutes that look natural and Scandinavian chic!
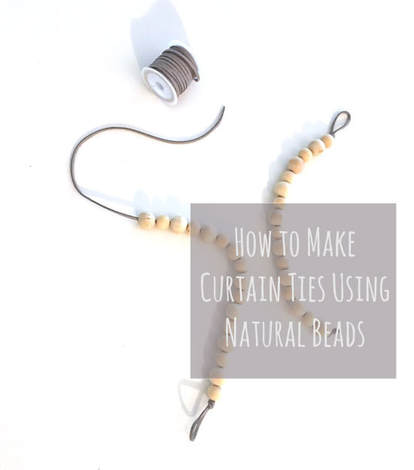
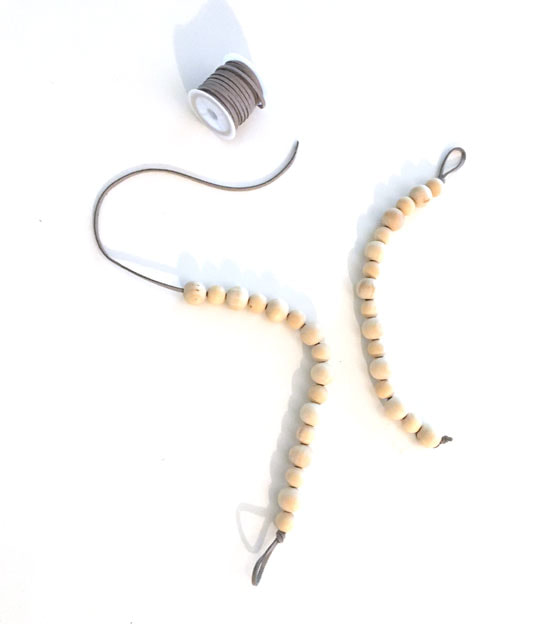
Here is the update look strung on vegan gray suede below! I am really loving this vegan leather cord and I feel like it has additional uses from shoe-lacing to gift-wrap.
I slide the last 2 beads through the loop at the end to adjust the length and tightness. Total Project Cost: $$ Here is a recap to the supplies I used below:
Making each tie-back was very affordable. I still have plenty of small and medium beads left-over so I might create 2 additional tie-backs or a wooden garland for other rooms in the house. Hope this simple project makes your curtains look perfect and more manageable. Leave a comment below, if you try it out or tag me on Instagram. If you enjoyed this project, you might enjoy other my other simple DIY projects like how-to create a modern hexagon collage for your room!
0 Comments
Leave a Reply. |
HI, I'M HILARY.
This is where I share inspiration for creative well living & following your dreams. With a love to sustainable conscious creation. You will notice that I offer workshops that inspire you to LIVE a soul-inspired life and manifest your dreams. I hope to meet you at one of my retreats or inside one of my group programs. I truly believe in the power of community and connecting with visionary femme creatives like you! For weekly inspiration -find me on YouTube Categories
All
FAVORITES
Archives
September 2023
BLOG COURTESY:
All layouts on this blog are created solely for, A Day in the Life. I enjoy sharing information and love when others enjoy my ideas enough to post the links on their own sites. I simply ask that you credit photos and link back to all original posts. Any comments that are inappropriate or spam will be deleted. All other rights reserved. |









 RSS Feed
