Girl's Nursery room Tour + Wall ArtHey there, everybody! I hope you had a fun and/or relaxing weekend. Ours was filled with several toddler related activites, which were all fun. Today, I wanted to share an impromptu post of a children's nursery picture that my friend Katie sent me a picture of on Friday. Katie and I went to high-school together and now she lives with her family in South Carolina. She is expecting a baby girl. I loved how she designed the her daughter's space using a clean white palette and soft colors. To add color, Katie used bedding, books, and artwork. She even used my watercolor painting, Amer Palace, Jaipur above the her changing table which meant a lot to me. Also, I really like the changing table! Isn't the mix of vintage and modern in the space lovely? 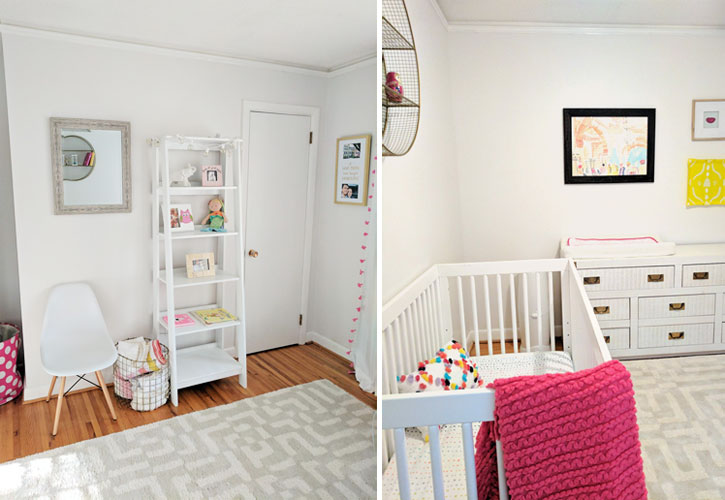 photos via Katie Devine Thank you Katie for sharing these lovely pictures and best of luck to you with the newest addition to your family. Today, I happen to be shopping for a new photographic print for our living room to hang above our sofa. I am looking for something neutral and beachy. You can order your beautiful unique framed prints here too. The coupon code 12GIFTS expires today...so hurry! I will try to update this post with new codes as they become available.  photo via Minted
1 Comment
How to Make a Fresh Wreath using GreeneryI am excited to share with you another post from my handmade holiday projects and workshops. This weekend, I explored wreath making at Rolling Greens nursery. In my mind, wreath-making is a lot like sculpting. I pictured myself arranging the branches, thinking about texture and how best to use color and how to group branches. In actuality, it was a bit like I had imagined and more challenging and fun too! This is how the base of the wreath looked when everyone began their creation. 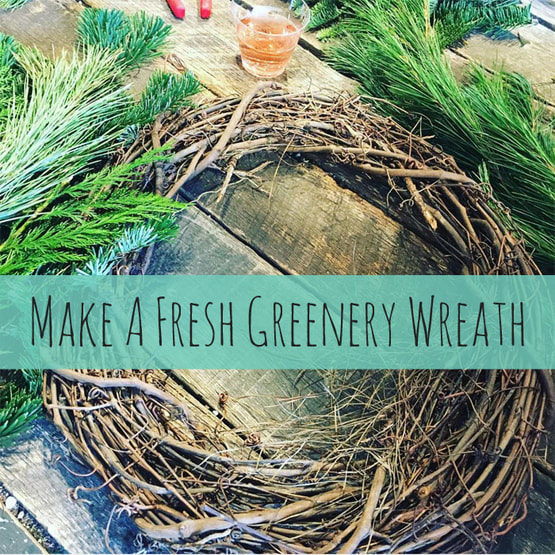 One thing that surprised me is that planning and "vision" go a long way. When I arrived at the workshop, I did not have any one idea in mind, other than wanting to do something minimal and fresh. One thing that I liked about wreath making was the fresh smell of cedar in the air. So if you're great at it or are looking to get more experience, either way it's totally worth it! Layering the branches, while imagining the design was both relaxing and therapeutic. After selecting various greenery for a layer of base greens, I was ready to begin by arranging the branches. The lady beside me suggested that I start with something flat (and she looked like she knew what she was doing!) so I began to lay out cedar branches in one direction around the wreath. 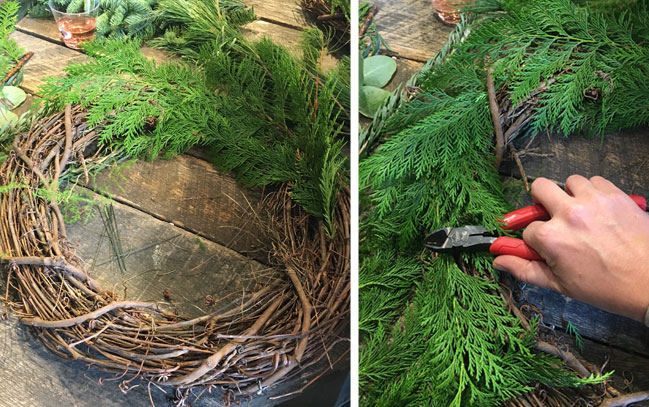 I used simple floral wire to affix the greenery. Before, I knew it I had attached a full layer of base greens. Another choice, would be to work clockwise and counter-clockwise and meet somewhere for a different effect. 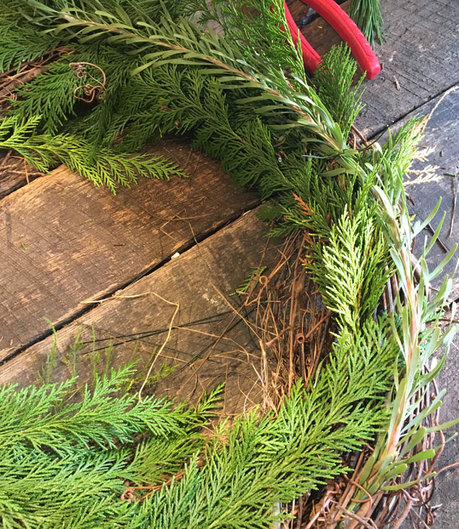 The next thing I knew, I was adding in a few green sprigs of eucalyptus. I chose eucalytpus because I love the texture, shape and smell of the leaves. One florist advised that I consider using multiples of 3, so I wove them in 3 places around the wreath. Along with a few other textural sprigs. 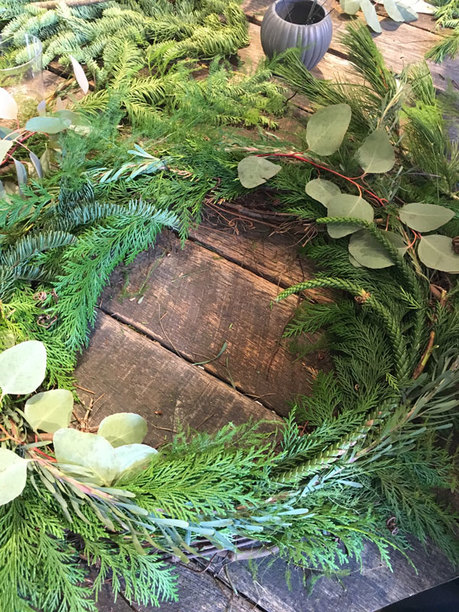 To do something like this at home, you will need:
We snapped a pic of the almost finished project outside of the store. 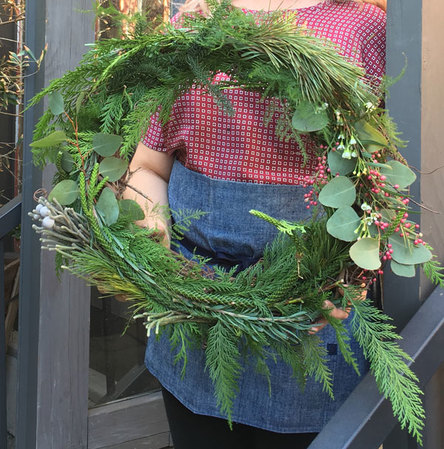 A FEW TIPS: A couple of things that I picked up along the way:
 I absolutely would recommend and attend this workshop again. There is another wreath workshop that I hope to attend in future. I'm not sure that I can wait until next December to create another wreath, so I am making plans to attend a Spring workshop. Do any of you have a workshop or online tutorial that you recommend? Until next time, Season's Greetings!
|

HI, I'M HILARY.
This is where I share inspiration for creative well living & following your dreams. With a love to sustainable conscious creation. You will notice that I offer workshops that inspire you to LIVE a soul-inspired life and manifest your dreams. I hope to meet you at one of my retreats or inside one of my group programs. I truly believe in the power of community and connecting with visionary femme creatives like you! For weekly inspiration -find me on YouTube 


Categories
All
FAVORITES
Archives
September 2023

BLOG COURTESY:
All layouts on this blog are created solely for, A Day in the Life. I enjoy sharing information and love when others enjoy my ideas enough to post the links on their own sites. I simply ask that you credit photos and link back to all original posts. Any comments that are inappropriate or spam will be deleted. All other rights reserved. |


 RSS Feed