Vintage Desk Makeover: Part 1Finishing and refinishing wood is one of my favorite things about working with it. When you finish a desk or a table, you try to imagine the potential and what the surface and wood grain might look like renewed and reimagined. When my friend Veronica, asked me to refinish her vintage piece, we reinterpreted it for a modern setting. For this piece, I liked the shape of the furnishing as well as the simple lines and that it feels lightweight and practical for the time. This is how the piece looked initially before I got into the sanding. I taped off the edges of the desk which have thin edge strip of brass patina underneath. 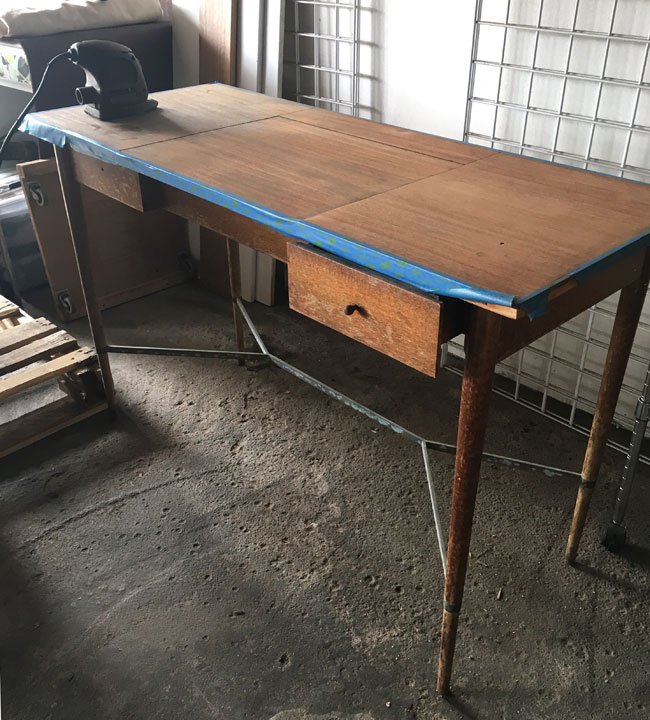 For this project: I used both of my sanders. I used my round hand sander in the small ones. I began to lightly sand the desk top using a medium grit sandpaper. Then, I filled in the holes here and there with my wood putty. 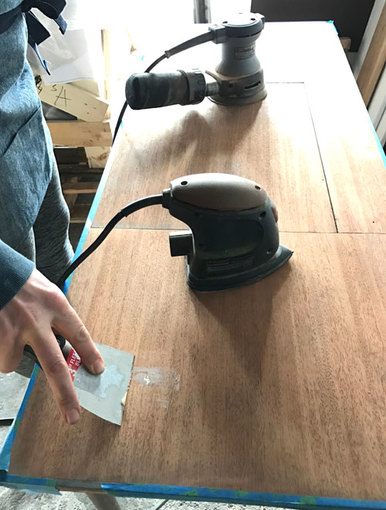 Below, you can see my orbital sander technique in which I apply light pressure and allow the sander to do most of the work. 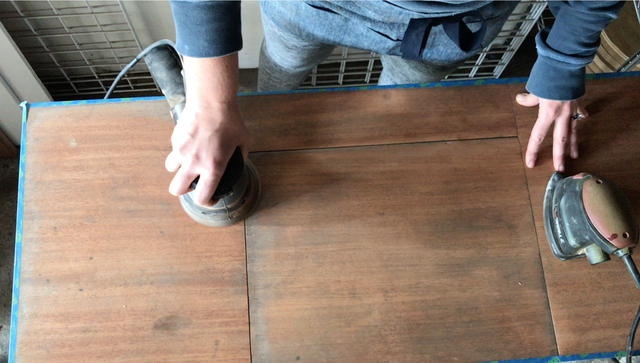 After sanding almost all of the top of the desk, I used the smaller sander to work on the legs, drawer and sides. As you can see the wood which looked gray before sanding appears reddish gold upon sanding. I chose to leave some of the natural weathering of the wood to add character when I stain it. For one of the drawers, the veneer needed to be reattached with wood glue prior to sanding. Here's a quick look at how the top of the desk looked when it was almost completely sanded down. 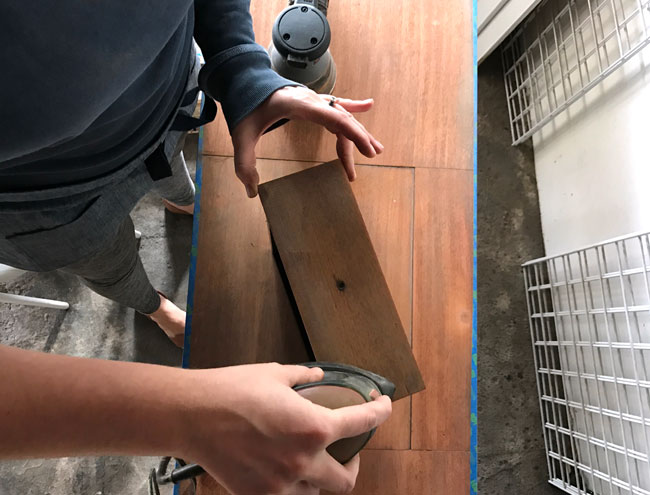  Next, I removed the tape from portions of the top edge of the desk to reveal the brass edging. I used Brasso polish to brighten up a section of the old brass. When I am finishing the piece, I will be working on this all the way around the desk. 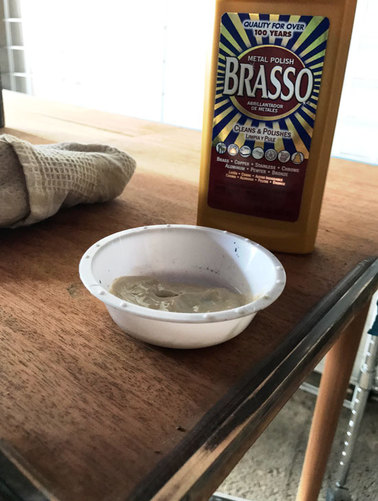 I look forward to showing you more next week in Part 2 of how I plan to restore and refinish this vintage desk. Did I mention that there is a mirror inside?
0 Comments
Virtual Visit to an Oregon HotelIt's Friday and I'd like to take you on a virtual adventure to a boutique hotel in eastern Oregon. Even if you are like me and you aren't going anywhere this weekend, I hope this post might inspire you. I came across this unique hotel a few weeks ago, back when I was searching for places to visit in Oregon (before we decided to go to Lake Arrowhead and Hawaii). Arrowhead for a long weekend, and Hawaii for a whole week, more on that later! I was specifically searching for boutique Oregon hotels, when I came across The Jennings Hotel. Immediately, I got excited about it's concept, which showcases the work of regional craftsmen and small businesses founded by Greg Hennes. One thing, that seems fun about visiting an art hotel is that guests truly get a sense of the character and culture of the people around them. The second part that draws me to the Jennings Hotel is the iddylic location: the breathtaking natural setting of mountains and lakes. I would love to take a week to explore it.  photo via Instagram I am drawn to this room which is simple and modern. I love that it features a black and white drawing, wall mirror and vintage furnishings. I love that the room's signature pieces are handmade by a visual artist and a local architect. I have a thing for walnut hanging mirrors and love this one too. 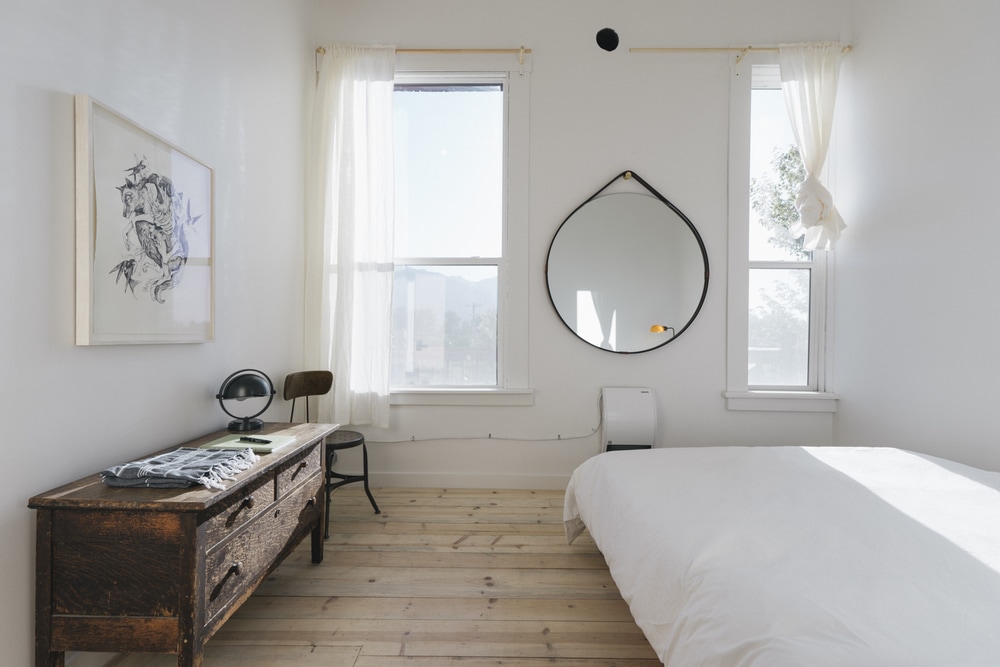 In the room below, I love use of black and white paint which creates an illusion within the positive and negative space, along with the sculptural walnut coat rack. 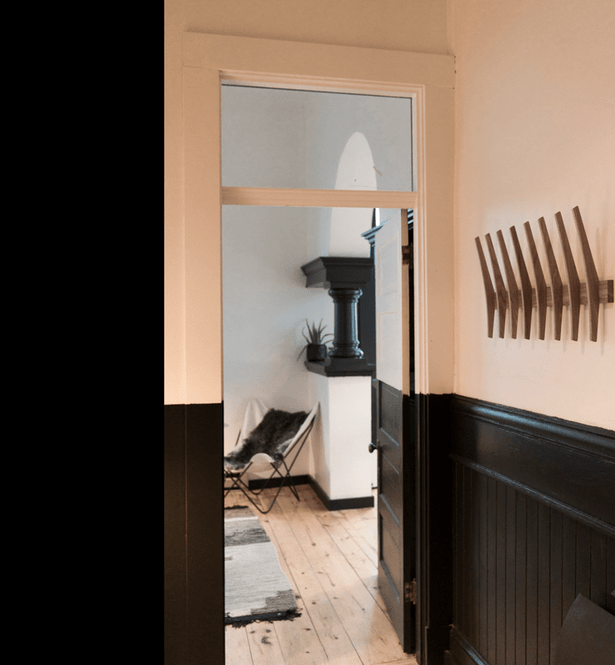 As for the kitchen, I like the minimal modern design and custom carpentry. 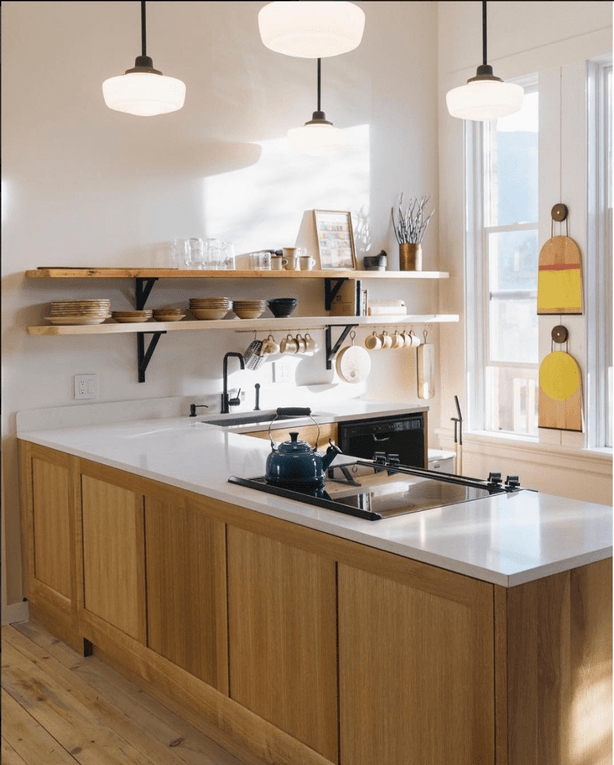 Another opportunity that I think is exciting is that the Jennings offers an affordable artist residency. I would personally love to stay and work in the wood-shop there on a mini-collection. Have you considered doing a long term or short term artist residency? If so, where did you do it? I admire the work of Phloem Studio and their chairs created for the hotel. 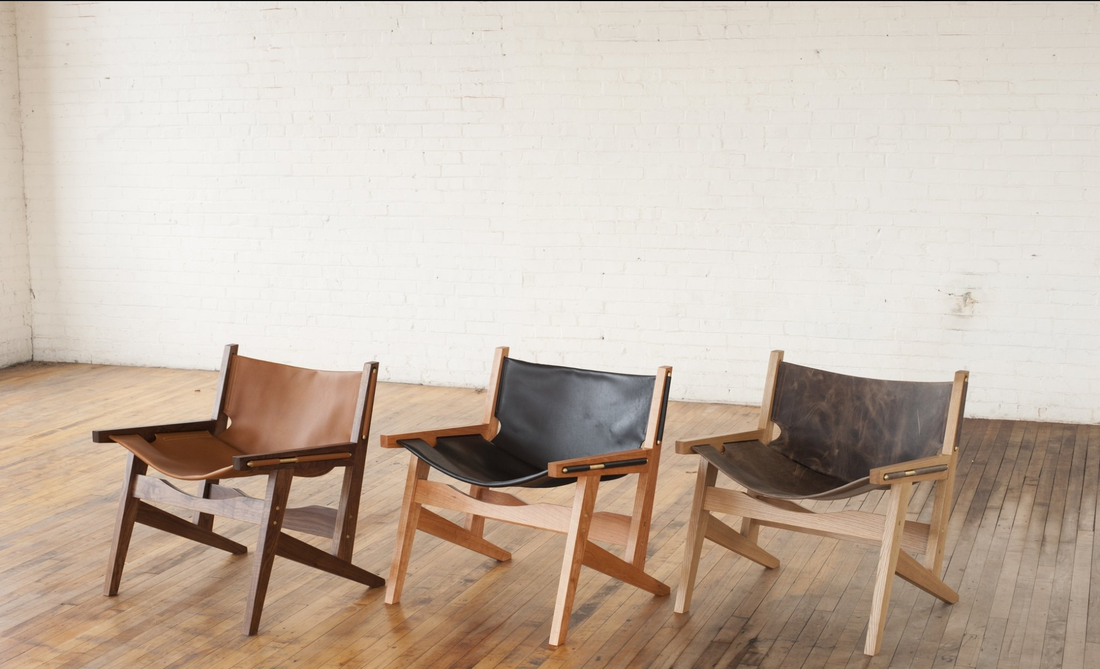 photo via The Jennings Hotel Hennes, the founder was able to get his project off the ground largely through a Kickstarter campaign. I have often wondered about the prospects of tackling a renovation project of this kind through a crowd-sourcing platform. I think his idea to engage the community through art and local interests is innovation at it's best. There are other art hotels across the country that I have seen or read about in my travels each unique in it's own way. I hope to share more of those places with you soon.
In the mean time, I am making travel plans for the near future and I'd love to hear about your travel plans. Where are you going on your next getaway? A quick project that we decided to take on over the weekend is styling out our entryway. We wanted our space to feel fresh and welcoming when we walk in the front door each day. It can be a challenge with a all of our personal items, from mail to jackets, tote bags, boxes and accessories that tend to accumulate around our front door and entryway. Objects that are on their way out or in tend to end up in this space so we decided restructure it in a fun weekend project. I will outline our approach to clearing out the old objects and welcoming in better organization in the New Year! Here are 5 steps that we followed to declutter and reorganize our entryway: Step 1: Remove clutter We started by removing everything that we had in the space such as boxes, a small coat rack, a basket by our door, and random clutter etc. Trust me, I took a before photo, but it is too embarrassing to show you! Next, after removing all of the objects in the space, we decided to repaint the walls to create a blank slate. We chose a beautiful light gray paint called Shale by BM for the entryway and Cloud White by BM for the adjacent room and trims. Step 2: Paint Fresh paint acts like magic eraser on your walls! Especially for us, since our toddler likes to draw on them;)  Step 3: Storage Solutions Use hooks and racks to organize all that you need to hang. First, we found nice slim 3-hook white-washed mail box cubbies by Umbra. We got two. 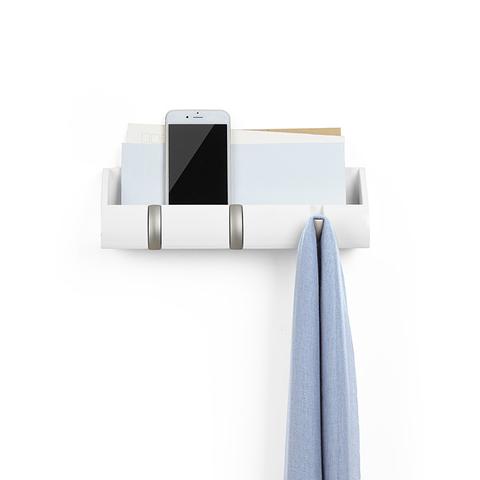 Next, We are considering adding in these angled walnut hooks below for more vertical storage. We would need at least 2. 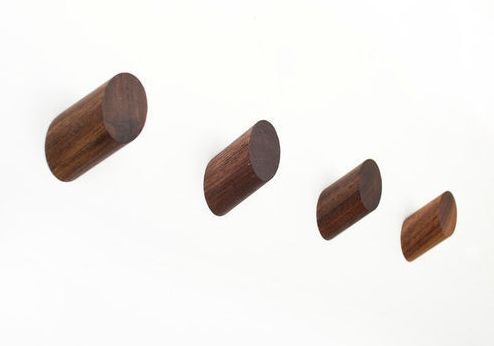 photo by Light and Ladder via Etsy Step 4: Add plants Add something beautiful to your wall that you will love seeing as you walk in the door. We have used mirrors and photography in the past. This time around, I want to try a wall hanging to add a touch of green plant energy. These planters below are an option. 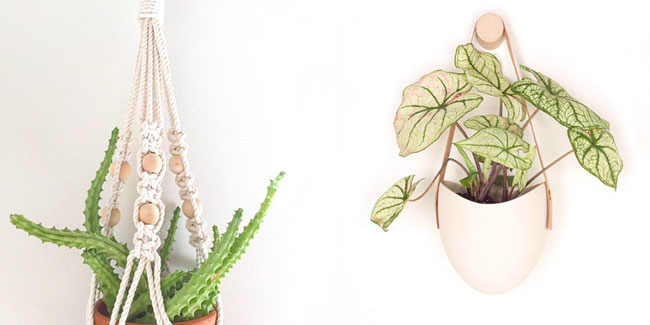 image by Light and Ladder via Etsy . Lastly, I hope to make or find the perfect a raw edge handmade bench. I like this one below. I am drawn to it's contrast in wood grain which stand out nicely. Step 5: Add furniture Add a long bench, entryway table, or shoe organizer that suits your needs.. I'm thinking of doing a wooden bench with room for storage below. I like the depth of this piece along with the shape. I might do this George Nelson mid-century modern bench that comes in 4', 5' and 6' lengths. 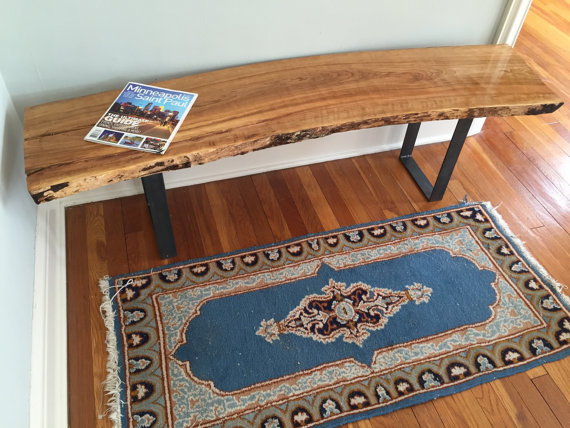 Bench by Stockton Heritage via Etsy I hope you have enjoyed these quick tips for your Monday. I promise to update this post with pictures once it all comes together a little more. How do you use to organize your entryway? and how what feeling do you want to get when you enter a space? If you have any pictures that you would like to share of your entryway I would love to see them! I will leave you with this clean black and white entryway. 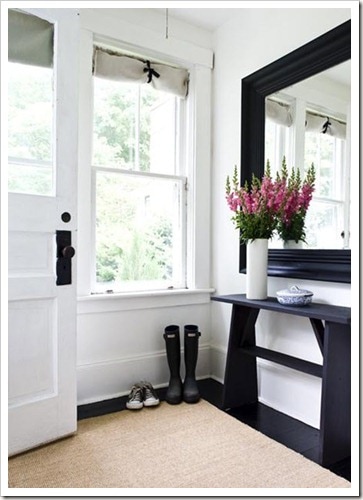 |

HI, I'M HILARY.
This is where I share inspiration for creative well living & following your dreams. With a love to sustainable conscious creation. You will notice that I offer workshops that inspire you to LIVE a soul-inspired life and manifest your dreams. I hope to meet you at one of my retreats or inside one of my group programs. I truly believe in the power of community and connecting with visionary femme creatives like you! For weekly inspiration -find me on YouTube 


Categories
All
FAVORITES
Archives
September 2023

BLOG COURTESY:
All layouts on this blog are created solely for, A Day in the Life. I enjoy sharing information and love when others enjoy my ideas enough to post the links on their own sites. I simply ask that you credit photos and link back to all original posts. Any comments that are inappropriate or spam will be deleted. All other rights reserved. |


 RSS Feed